

Peanut Butter Spider Cookies
There is a quiet magic to the kitchen at spiilled as Halloween approaches, where creativity meets nostalgia. Peanut Butter Spider Cookies blend childhood memories with each bite, echoing the joy of trick-or-treating. Transforming simple ingredients into spooky delights is a cherished tradition here.
The secret to their playful appearance lies in chilling the mini Reese’s cups before pressing them into warm cookies. This technique ensures the presentation delights both eyes and taste buds.
Ingredients That Weave the Magic
- Unsalted Butter: Creamed together with sugars, it creates a luscious base that melts in your mouth with each bite.
- Brown Sugar: Adds a rich molasses flavor, enhancing the depth of the peanut butter.
- Granulated Sugar: Balances the sweetness and helps achieve a delightful chewy texture.
- Creamy Peanut Butter: The star of the show! It brings a nutty richness, ensuring every bite is velvety.
- Large Egg: Binds the ingredients together, giving structure to our cookies.
- Vanilla Extract: A hint of vanilla rounds out the flavors, adding a fragrant warmth.
- All-Purpose Flour: Forms the backbone of the cookies, providing the necessary structure while keeping them tender.
- Baking Soda & Baking Powder: This duo works together to give the cookies their lift and soft texture.
- Salt: Just a pinch enhances all the flavors, balancing out the sweetness beautifully.
- Granulated Sugar for Rolling: Adds a delightful crunch and sparkle as they bake.
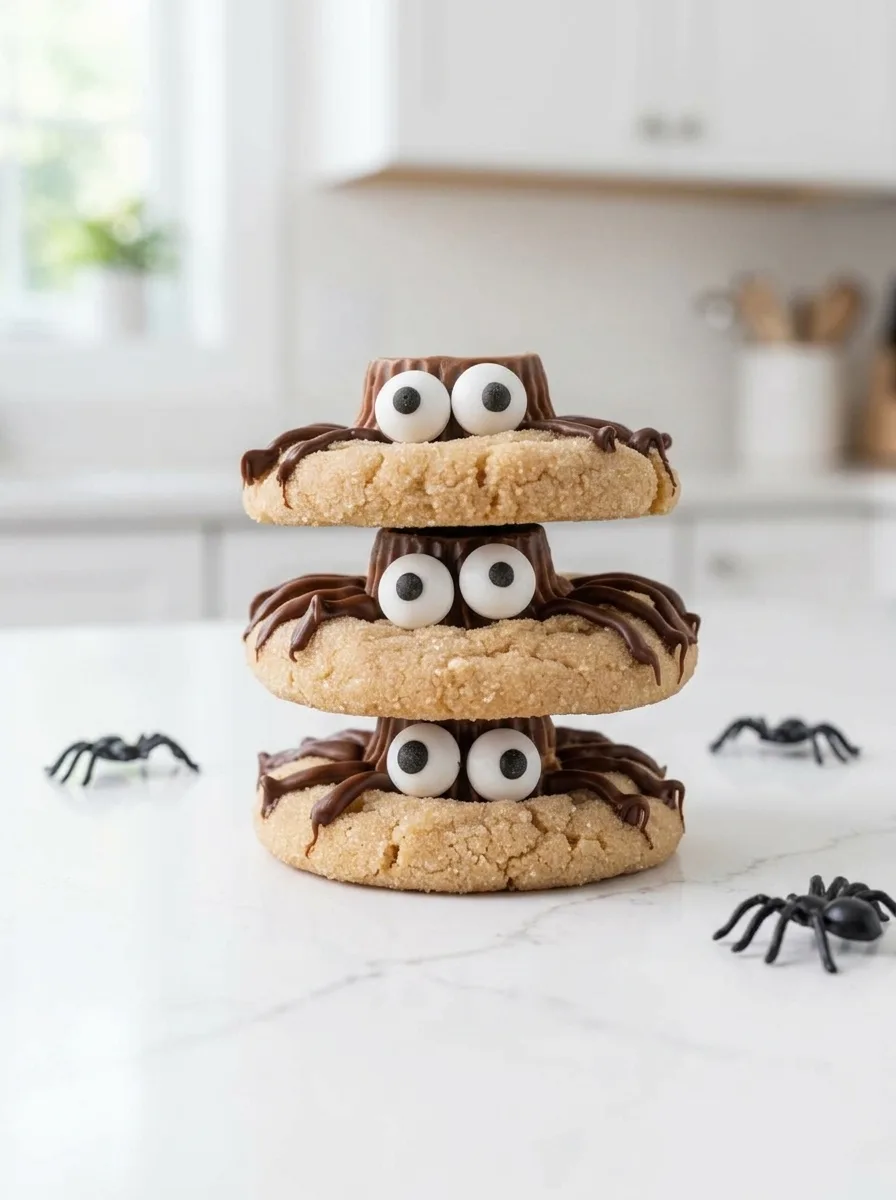
- Mini Reese’s Peanut Butter Cups: Chilling them is key. They create the charming ‘spider’ bodies atop each cookie.
- Semi-Sweet Chocolate Chips & Neutral Oil: Melted together, these create the ‘spider legs’.
- Candy Eye Balls: Transform cookies into charming, edible art—spooky for Halloween festivities.
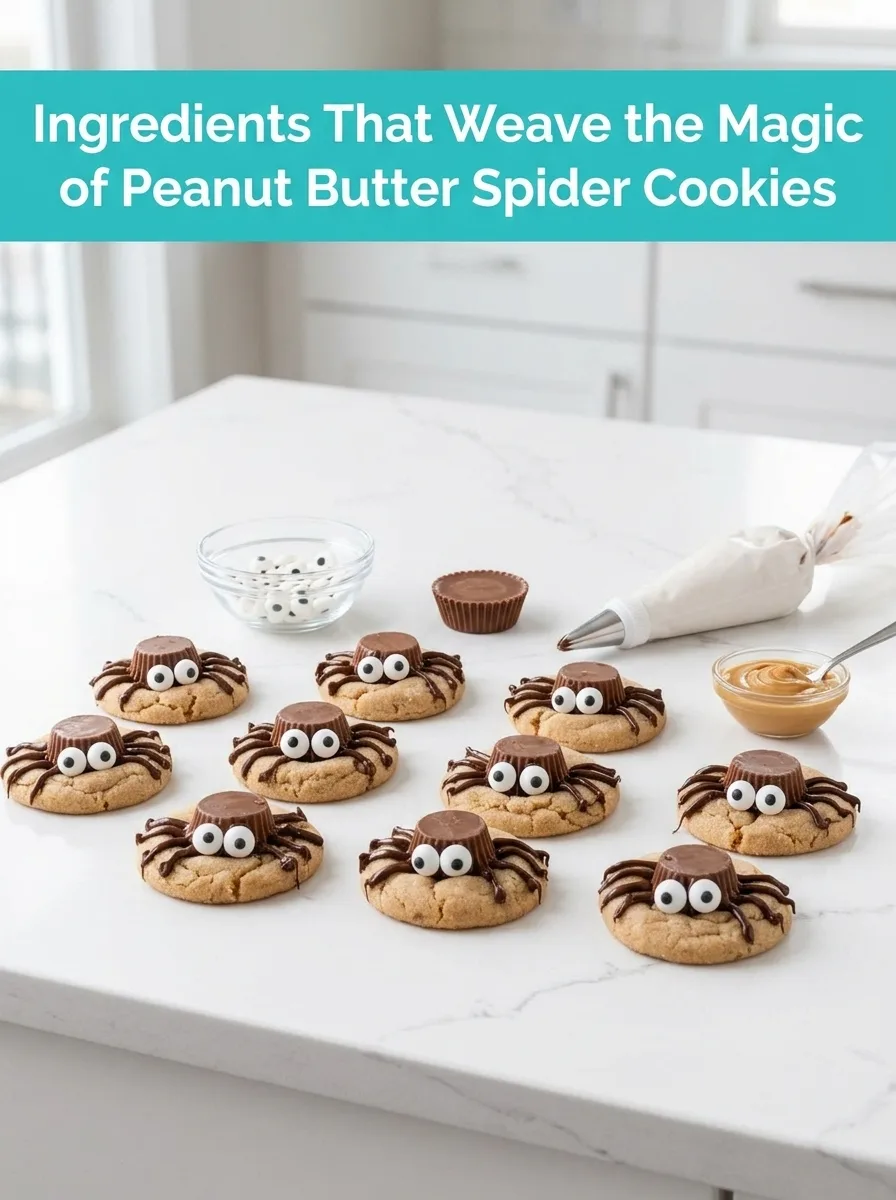
Every ingredient here is chosen not just for its flavor, but for bringing a touch of magic to your kitchen.
Let’s Create Peanut Butter Spider Cookies!
With a total time of just 26 minutes, these cookies are your ticket to Halloween fun. Let’s dive into the kitchen magic together!
- Freeze Reese’s Cups: Start by unwrapping about 24 mini Reese’s cups. Place them in a bowl and slide them into the freezer. This chill time ensures they hold their shape on the hot cookies.
- Preheat Oven: Set your oven to 350ºF (175ºC). Feel the cozy warmth as you prepare for baking.
- Cream Butter and Sugars: In a mixing bowl, combine ½ cup room temperature unsalted butter with ½ cup brown sugar and ⅓ cup granulated sugar. Beat with an electric mixer for 1 minute until smooth and fluffy.
- Mix Wet Ingredients: Add ¾ cup creamy peanut butter, 1 large egg, and 1 teaspoon vanilla extract. Beat again for less than a minute until incorporated.
- Combine Dry Ingredients: Gradually add 1½ cups all-purpose flour, 1 teaspoon baking soda, ½ teaspoon baking powder, and ½ teaspoon salt. Mix on low to prevent over-mixing.
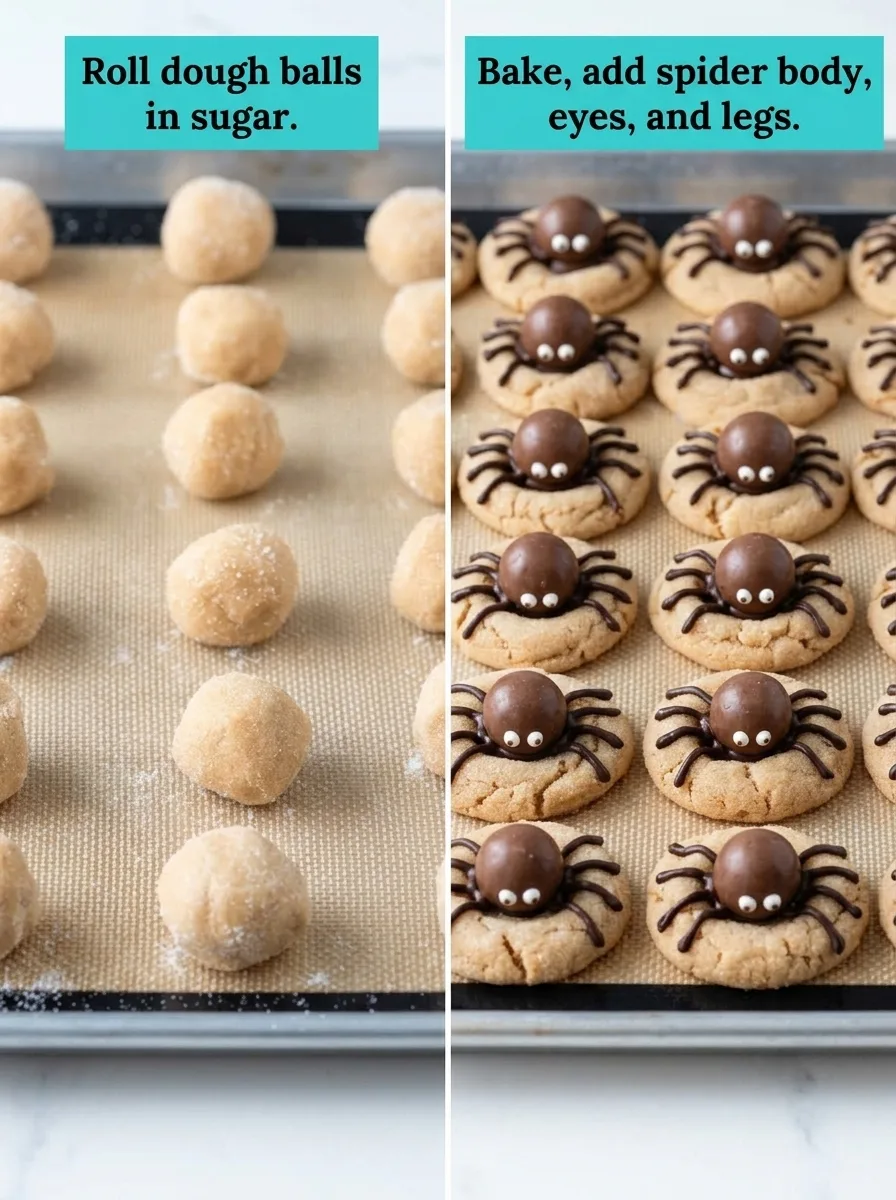
- Form Cookie Balls: Scoop tablespoon-sized portions from the dough. Roll into balls, roll each in granulated sugar, and place on a silicone-lined baking sheet, spaced 2-3 inches apart.
- Bake Cookies: Bake for 8-11 minutes until the edges crack and the tops turn golden.
- Add Reese’s Cups: Remove cookies from the oven and immediately press a frozen Reese’s cup into each center. Cool for 15-20 minutes.
- Melt Chocolate: Melt ½ cup semi-sweet chocolate chips with ½ teaspoon of neutral oil in a microwave-safe bowl. Stir until smooth.
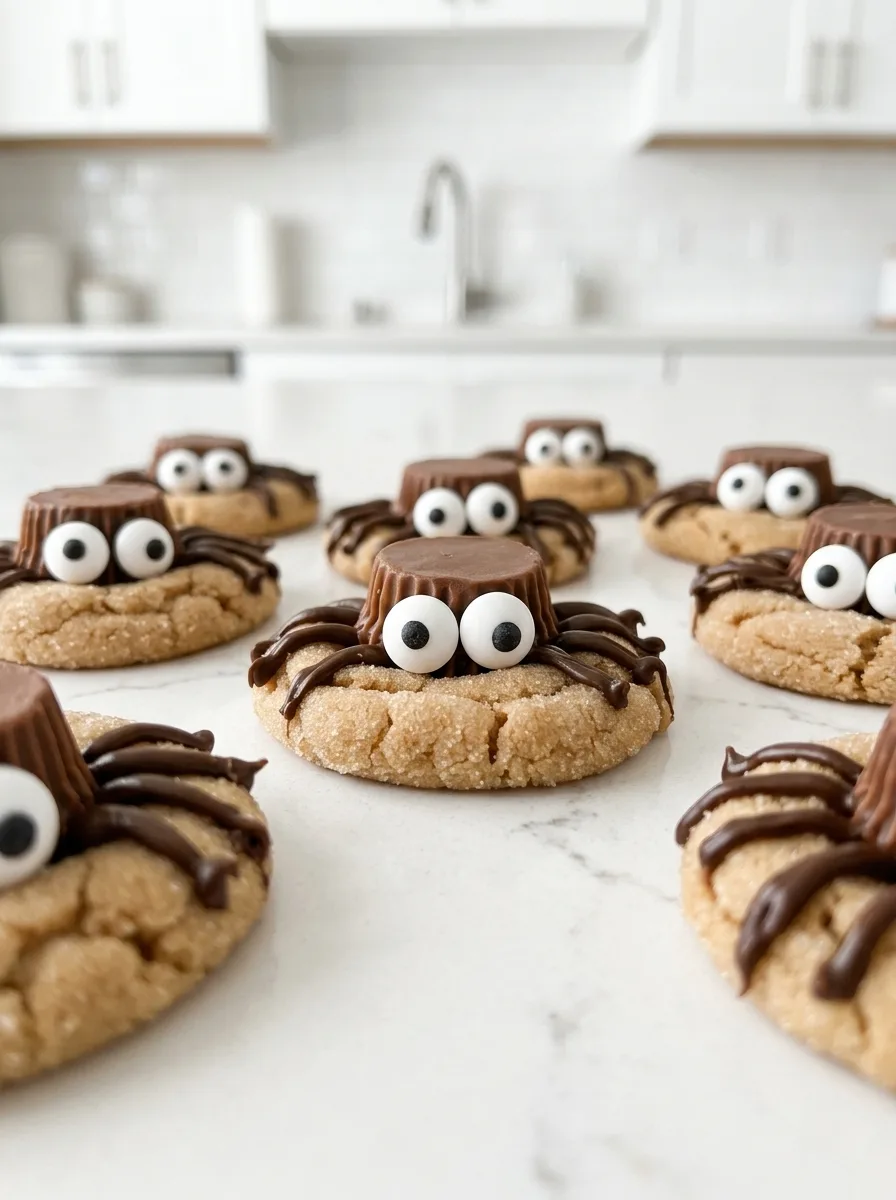
- Decorate Cookies: Transfer the melted chocolate into a squeeze bottle or bag with a snipped corner. Create 4 legs on each side of the Reese’s cup and affix candy eyeballs.
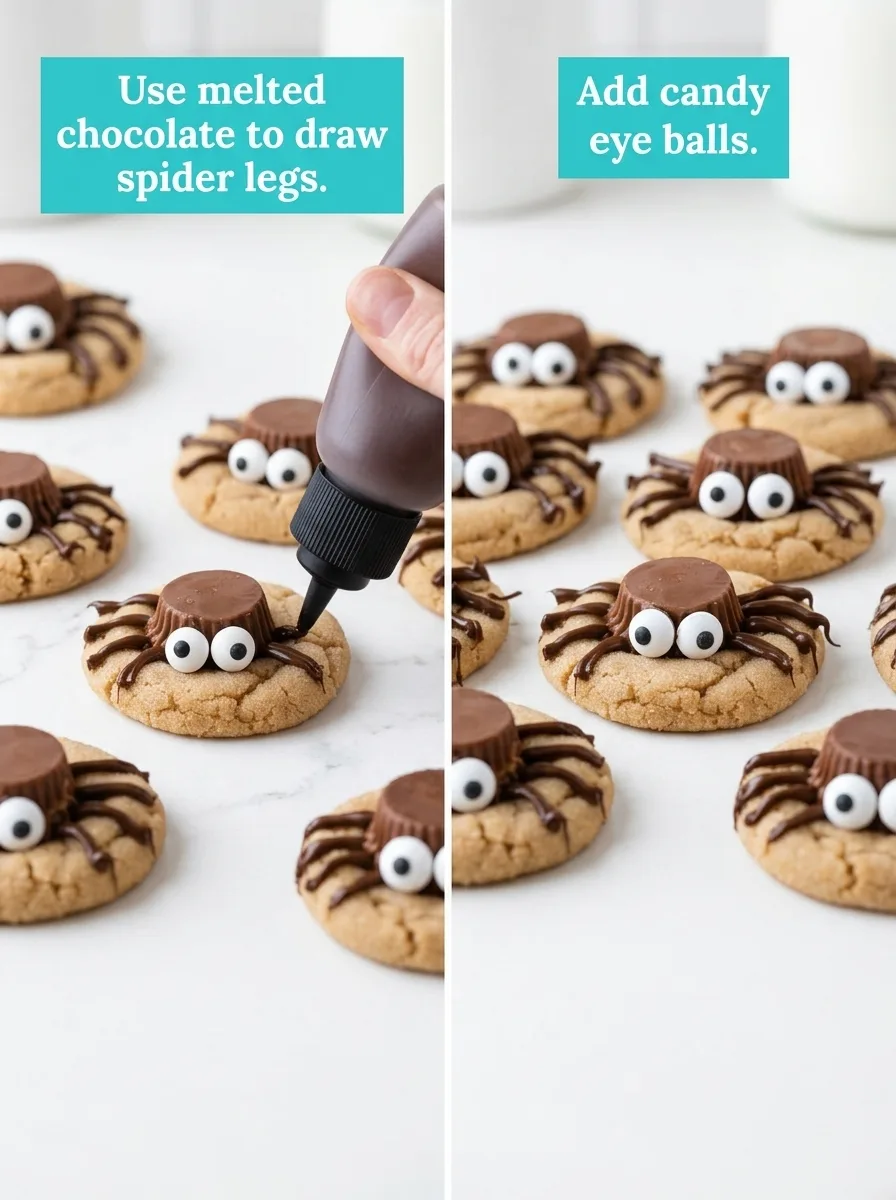
Let the chocolate set, and your Peanut Butter Spider Cookies are ready to enchant. Enjoy this treat, and share the smiles they bring!
Spooky Spins & Tasty Twists
Add creativity to our cookies with some fun variations. These twists keep Halloween alive and allow a touch of personal flair!
- Choco-Mint Spiders: Swap the Reese’s cups with mint chocolate candies for a refreshing twist.
- Nutty Buddy Variations: Experiment with chunky peanut butter if you’re craving texture. Avoid natural types to maintain consistency.
- Eye Candy Wonders: Craft spooky eyes with white icing and a mini chocolate chip in the center.
- Dark & Delightful: Use dark chocolate chips instead of semi-sweet for an intense cocoa flavor.
These tweaks let you personalize the recipe while keeping each cookie deliciously spooky.
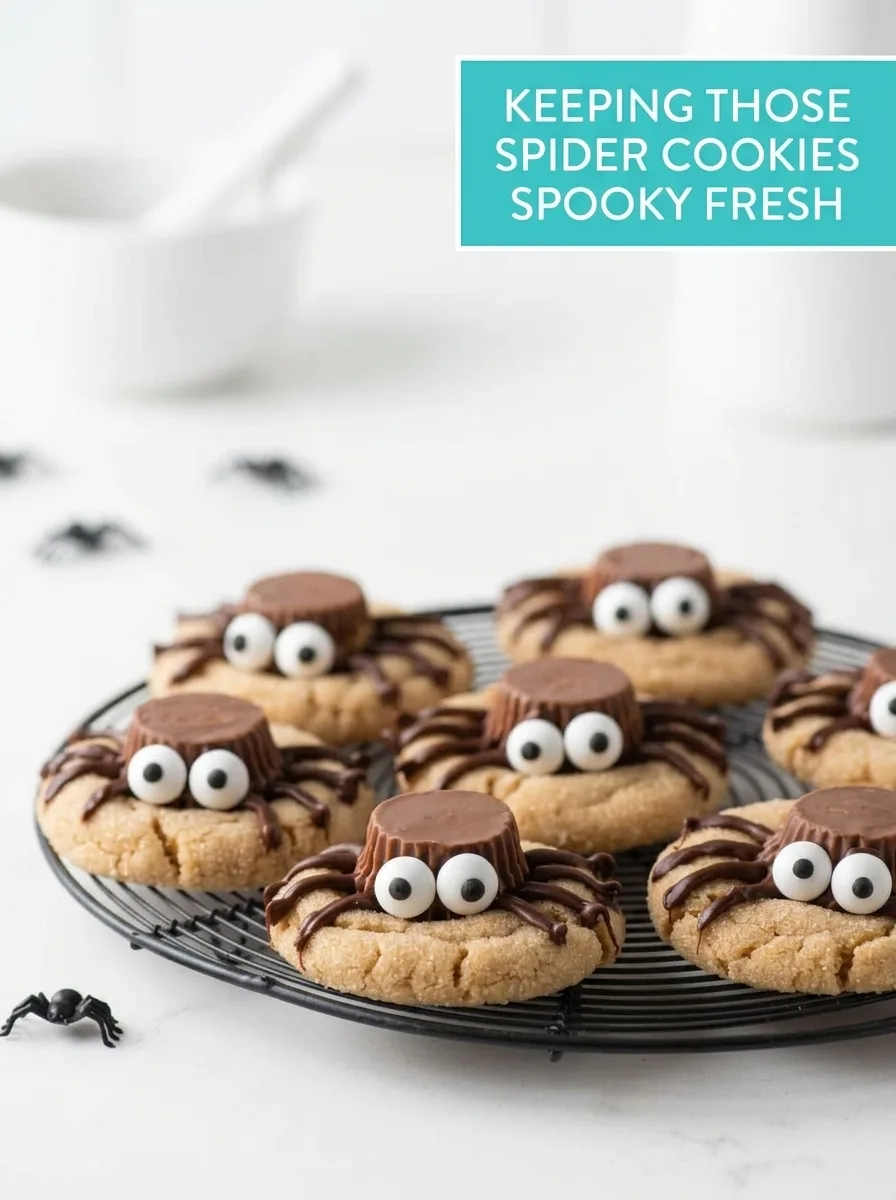
Keeping Those Spider Cookies Spooky Fresh
To keep cookies as fresh as the day they were baked, store them in an airtight container at room temperature for up to a week. For a longer life, refrigerate them where they’ll stay fresh for up to two weeks. Make sure the cookies are completely cooled before sealing to maintain texture.
When you’re ready to enjoy them again, gently reheat in the microwave for about 10 seconds. Watch closely so they don’t soften too much—these spiders still need their legs to stand out!
Perfect Pairings for Peanut Butter Spider Cookies
As you enjoy these cookies, consider elevating the experience with a few thoughtfully chosen accompaniments.
Sides Block
- Cold Milk: The creamy texture offers a contrast to the peanut butter center.
- Warm Cocoa: Complements the semi-sweet chocolate legs beautifully.
- Spiced Apple Cider: Its spices bring a tart contrast that’s playful.
Garnish Block
- Crushed Peanuts: Adds crunchy texture.
- A Pinch of Sea Salt: Brings out the sweetness and adds a savory twist.
- Cocoa Powder Dust: Gives a powdery finish and enhances the chocolate allure.
With these pairings, your cookies become the centerpiece of a delightful Halloween gathering. Now, what childhood treat transforms your kitchen into a whimsical wonderland? I’d love to hear all about it!
Peanut Butter Spider Cookies
Ingredients
Method
- Unwrap about 24 mini reese’s cups, place in a bowl and put in the freezer. This helps them to maintain their shape once added to the hot cookies. Preheat the oven to 350ºF.
- In a mixing bowl, combine the butter, brown sugar, and sugar. Beat with an electric mixer for 1 minute, until smooth and fluffy.
- Add in the peanut butter, egg, and vanilla extract, beat again, less than 1 minute.
- Add in the flour, baking soda, baking powder and salt, mixing on low or with a spatula just until combined. Be careful not to over mix.
- Use a small cookie scoop or tablespoon to form tablespoon sized balls from the dough. Roll the dough between your hands to form a uniform ball, then roll in granulated sugar. Place the cookies 2-3 inches apart on a silicone lined baking sheet and bake for 8-11 minutes or until the edges of the cookies begin to crack and turn golden in color.
- Remove the cookies from the oven and press a mini reese’s cup into the center of each cookie. Allow the cookies to cool for 15-20 minutes before moving to cooling rack. Moving the cookies while they are still warm can cause the reese’s cup to sink, losing its shape.
- Place the chocolate chips and oil if needed in a microwave safe bowl. Microwave for 3 minutes on 50% power, stirring after each minute. Continue to microwave until fully melted. Transfer the melted chocolate into a squeeze bottle or a sandwich bag with the corner cut off. Draw 4 legs on each side of the cookies.
- Use a small amount of melted chocolate on the back of the candy eye balls to attach them to the reese’s cup. Allow the chocolate to set before moving the cookies to a serving platter.


0 Comments