

Monster Meringues
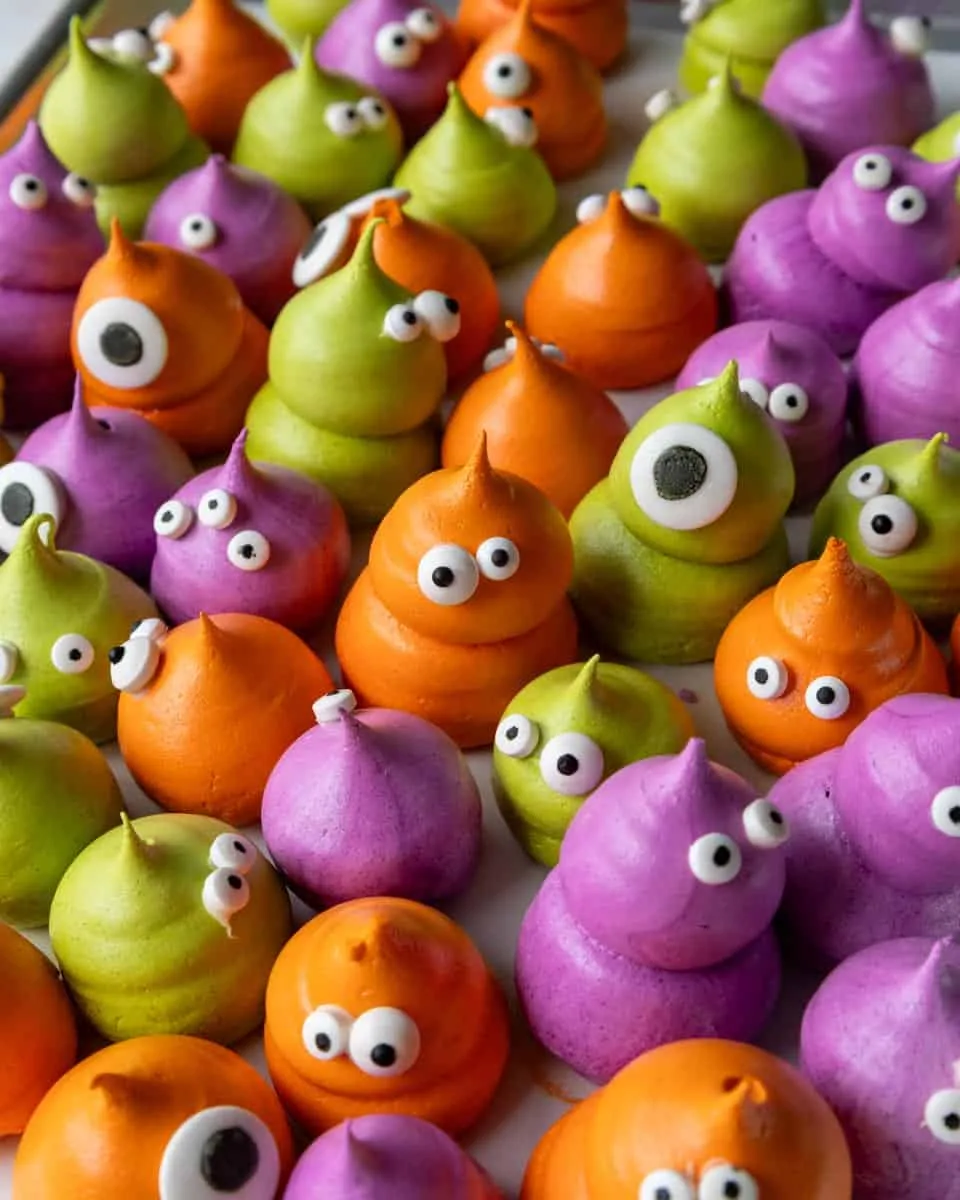
On a rainy afternoon, the kitchen at spiilled transformed into a lively hub of creativity, inspired by vibrant colors. With a playful spirit and a bowl of egg whites, I crafted these Monster Meringues, each with its own personality. As whimsical creatures came to life, ready to enchant us all, the rain gently faded into the background.
The secret to these enchanting treats is in gradually adding sugar to the egg whites, ensuring a stable, glossy meringue that holds its shape beautifully.
Ingredients that Bring Monster Meringues to Life
- Egg Whites: The star of meringues, creating a light, airy texture. Let them come to room temperature for maximum volume.
- Cream of Tartar: Stabilizes the meringue, helping it hold its shape. Optional but highly recommended.
- Superfine Sugar: Essential for that glossy finish. It dissolves smoothly into the egg whites.
- Vanilla Extract: Adds warmth and depth. Try almond extract for a nutty twist if you like.
- Gel Food Coloring: The fun part! Orange, neon purple, and neon green turn plain meringues into colorful monsters.
- Candy Eyes: The whimsical touch that gives each monster its unique personality.
- Key Technique: Gradual Sugar Addition: Slowly incorporating sugar ensures a stable, smooth meringue that holds its glossy peaks.
Making these Monster Meringues is like conducting a colorful celebration, with each ingredient playing its vital role. Enjoy the process and let your imagination soar!
Let’s Bring These Monster Meringues to Life!
Embark on a colorful adventure that transforms basic ingredients into playful treats in about 190 minutes. Dive into the magic of creating these delightful creatures, adding personality to each dollop.
- Preheat Oven: Set the oven to 200°F (93°C). Prepare your battleground by lining a baking sheet with parchment paper or a silicone mat. Your canvas is ready for some color!
- Prepare Equipment: Before whisking, ensure no traces of grease remain on your bowl or whisk. Use a vinegar-moistened paper towel to wipe away any lurking grease, ensuring an airy meringue texture.
- Whip Egg Whites: Add 4 large, room-temperature egg whites to your stand mixer. Whisk on medium speed until small bubbles cover the surface. Listen for the gentle whirring and feel the transformation.
- Add Cream of Tartar: Sprinkle in 1/4 tsp of cream of tartar, mixing until the egg whites reach soft peaks, leaving swirling tracks. The meringue should feel light and delicate.
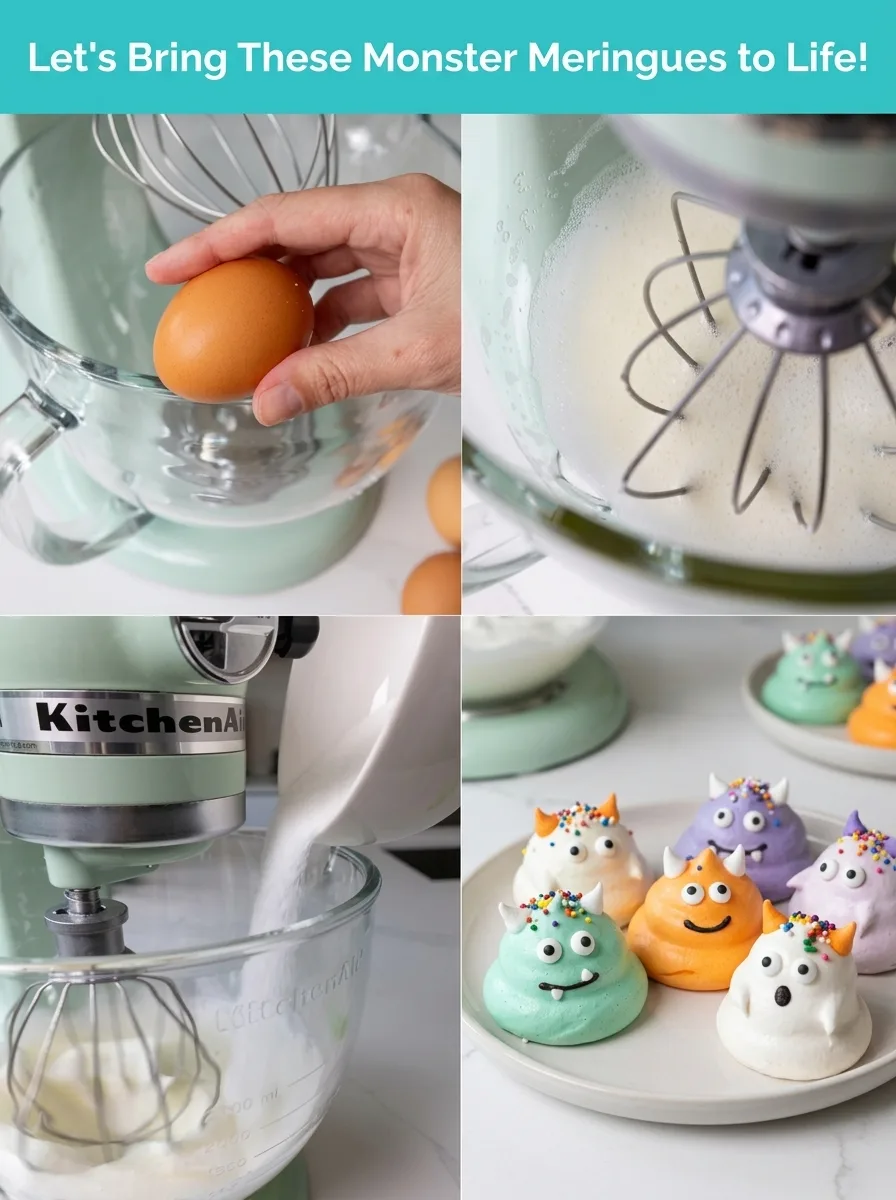
- Incorporate Sugar Gradually: Slowly add 1 cup of superfine sugar, one tablespoon at a time, mixing on medium-low speed. Watch as the structure strengthens, each granule dissolving beautifully into the mix for a glossy finish.
- Boost to Stiff Peaks: Increase mixing speed to medium-high (about setting 6 on a KitchenAid). As stiff, glossy peaks form, add 1/2 tsp of vanilla or almond extract. The aroma should now be sweet and inviting.
- Color the Meringue: Divide the meringue into thirds. Color one portion green with gel food coloring. Mix until evenly colored, revealing vibrant hues. Repeat for neon purple and orange.
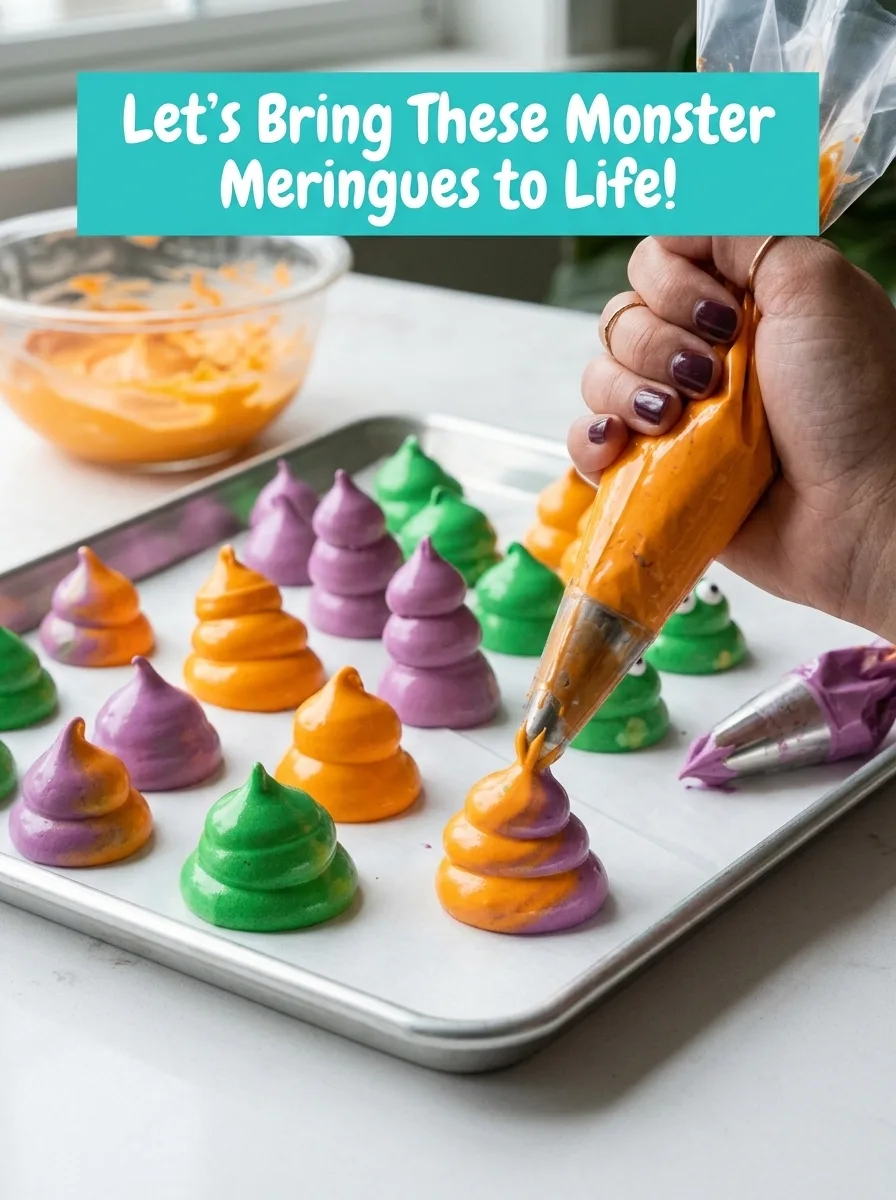
- Pipe the Monsters: Transfer each color to its piping bag. Pipe unique dollops on the prepared sheet, layering for height and personality. Imagine each monster’s character as they come alive!
- Bake and Cool: Place the tray on the middle rack. Bake for 2 hours, then turn off the oven and let them cool gradually for another hour. They should emerge dry and crunchy, with a soft, chewy center.
- Add Eyes: Once cool, affix candy eyes using a dab of melted white chocolate. Each meringue becomes its own delightful character, ready to impress.
Enjoy unleashing your creativity—each monster meringue is a testament to your culinary artistry!
Unleash Your Inner Meringue Artist
Creating Monster Meringues is about having fun and letting your creativity run wild. With these simple technique tweaks, you can enhance your baking skills and make these whimsical treats truly stand out.
- Layering Technique: Experiment with layering different colored meringue dollops to create monsters of varying heights and shapes. This gives each one a unique personality and creates an eye-catching display.
- Piping Precision: Practice your piping skills by varying the pressure and angle as you pipe the meringue onto the baking sheet. This can lead to interesting textures—it’s like sculpting with sugar!
- Cooling Patience: Allowing the meringues to cool slowly in the oven prevents them from cracking. Resist the urge to peek and trust the process for a smooth finish.
- Eye Placement Fun: Once cooled, get playful with the candy eyes. Try adding different angles and quantities (from one to three) to give each meringue a distinct expression. The more quirky, the better!
Remember, these quirky creatures are as much about the joy of creation as they are about the final product. Enjoy every moment!
Keeping Your Monster Meringues Fresh
After the fun, you’ll want to keep these colorful creatures delightful for as long as possible. Store your Monster Meringues in an airtight container at room temperature for up to two weeks. The trick? Let them cool completely before sealing them up. This prevents any trapped moisture from softening their crisp exterior.
Thinking about giving them a little refresh (though they’re often enjoyed at room temp!)? A brief pop in a pre-warmed oven can do wonders. Preheat your oven to the lowest setting, then turn it off. Place your meringues inside for about 5 minutes to gently revive their crunchy shell without losing that chewy center. Patience is key!
Whimsical Companions for Your Monster Meringues
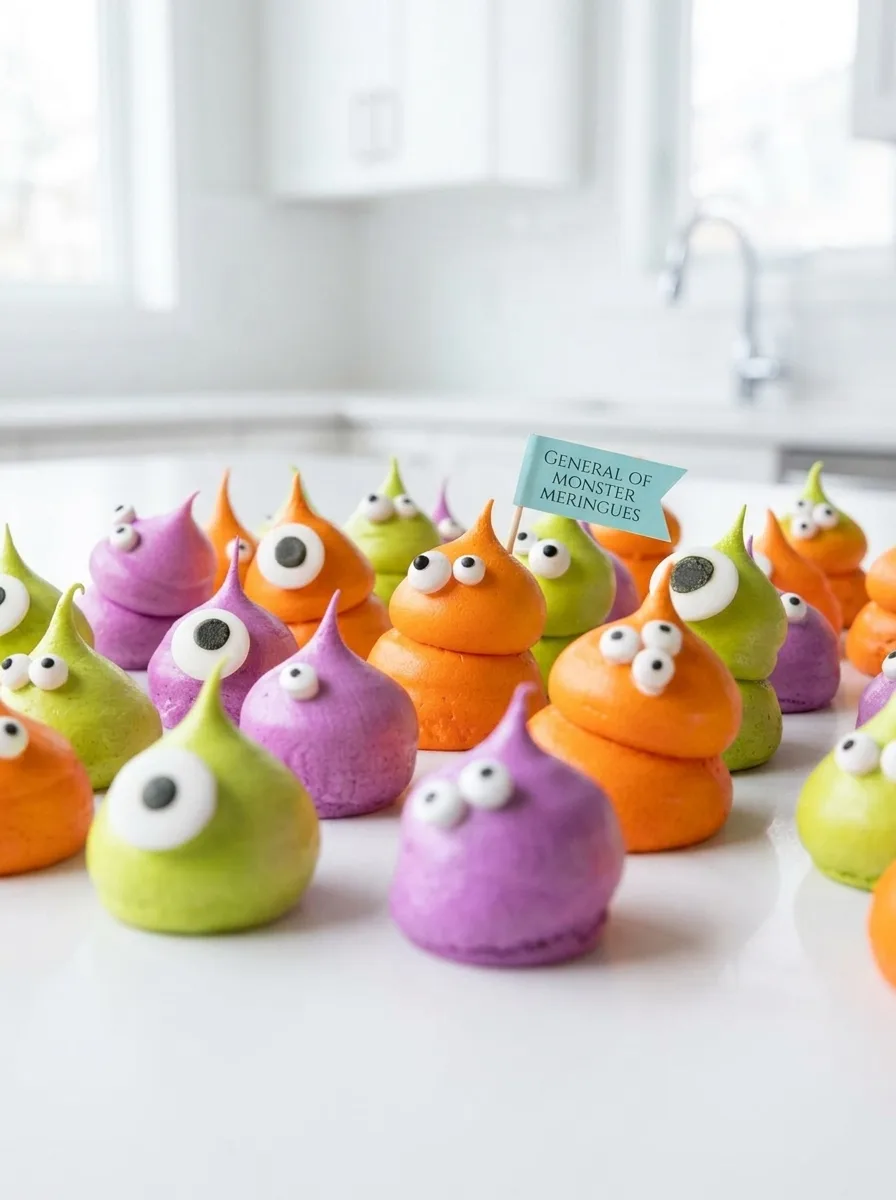
There’s a certain magic in serving these vibrant Monster Meringues on a dessert table. Their playful presence begs for equally delightful companions to amplify their charm.
- Fruity Sorbet: The refreshing chill and subtle tartness of a vibrant fruit sorbet create a contrast to the meringues’ sweet, airy texture. The cold creaminess against the crunchy exterior is pure fun.
- Dark Chocolate Dipped Fruit: The rich, bittersweet nature of dark chocolate-coated strawberries or orange slices melds beautifully with the sweetness of the meringue. The varied textures excite your taste buds with every bite.
- Berry Compote: A warm berry compote, slightly tart and gently sweetened, offers a comforting warmth to the cool, chewy center of the meringue.
Garnishes to Improve the Experience
- Edible Glitter: A sprinkle of edible glitter atop these meringue monsters adds a whimsical shimmer, making them feel like little stars on your plate.
- Mini Marshmallows: Adding a few mini marshmallows around the meringues enhances their sweet, fluffy nature and infuses more playful fun into the presentation.
- Crushed Pistachios: A dash of crushed pistachios provides a pleasing crunch that complements the meringues’ airy texture, adding color and flavor contrast.
Creating a delightful scene with your Monster Meringues elevates the entire experience, inviting smiles and perhaps a few giggles from your guests. How will you bring these whimsical creatures to life on your table?
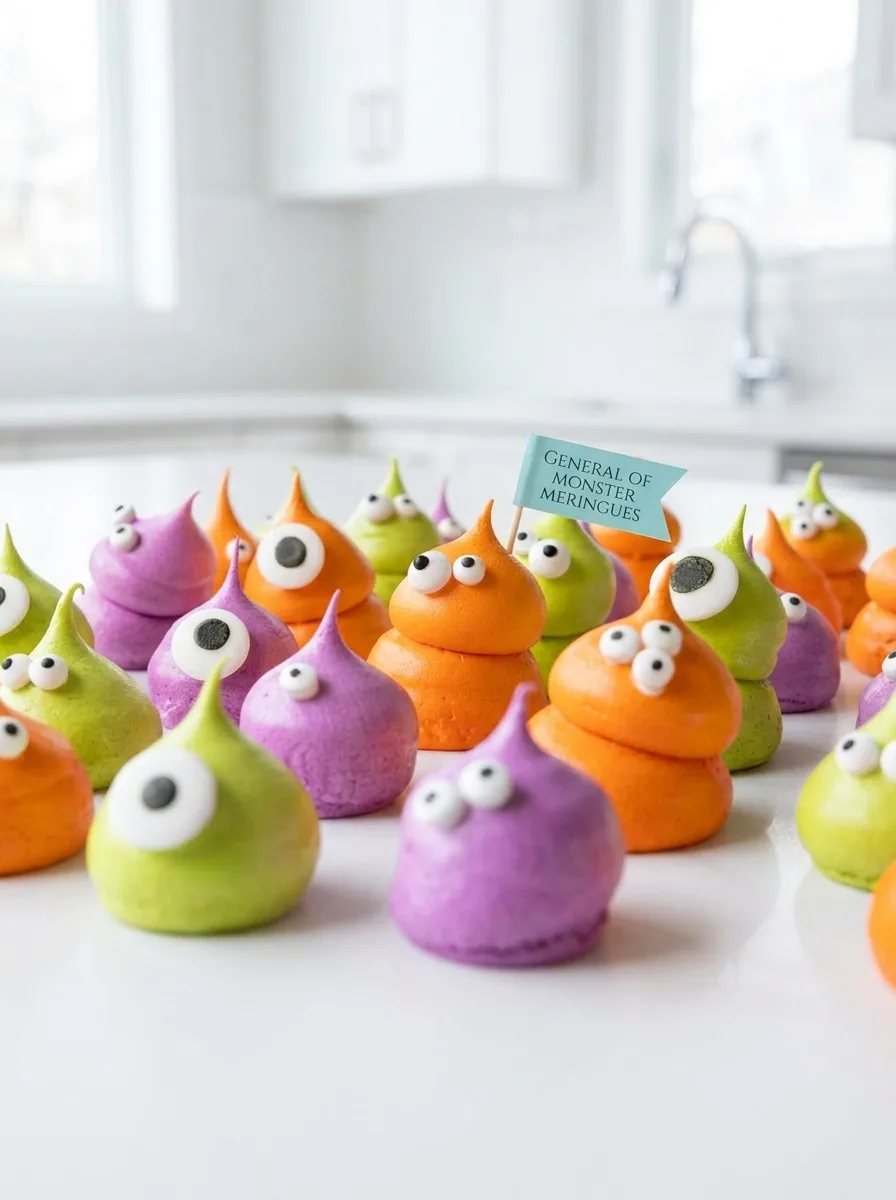
Monster Meringues
Ingredients
Method
- Preheat the oven to 200°F/93°C and line a large baking sheet with parchment paper or a silicone mat. Set aside.
- Before you whip up the meringue, make sure there are no traces of grease on the whisk attachment or in your bowl. Grease can prevent the meringue from whipping up properly. If you see or feel any grease, moisten a paper towel with vinegar and wipe the inside of the bowl and the whisk attachment to remove any grease.
- Then add 4 large, room-temperature egg whites into the bowl of a stand mixer with a whisk attachment and mix on medium speed until the surface of the egg whites is covered in small bubbles. Add 1/4 tsp cream of tartar and continue to mix until it reaches the soft peak stage and leaves visible tracks.
- Gradually mix 1 cup of granulated sugar, 1 Tbsp at a time, into the egg whites over a few minutes while mixing on a medium-low speed. Adding the sugar gradually makes a huge difference in the stability of the meringue. Increase the mixing speed to a medium-high speed (6 on a KitchenAid). When the meringue gets close to reaching stiff peaks, add 1/2 tsp of vanilla or almond extract. Keep mixing until stiff, glossy peaks form.
- Scoop about a third of the meringue into a separate bowl and color it green with a generous squirt of gel food coloring. Mix just until it's evenly colored, then scoop it into a small piping bag fitted with a large round piping tip (like a Wilton 1A). If you don't have one that size, cut an opening at the base of the bag that's 3/4 inch wide. Seal the top of the bag with a clip or rubber band and set aside.
- Repeat the prior step to make neon purple and orange meringue. Scoop each color into its own piping bag.
- Pipe dollops of meringue on the prepared pans. I layered some of the dollops to make the monsters different heights. You can get creative with this part and make each monster unique. These don't spread as they bake, so they can be piped about 1 inch apart.
- Bake the tray on the middle rack of your oven for 2 hours, then turn the oven off and let the meringue sit in the oven for another hour. Letting them gradually cool helps prevent them from cracking. At this point, the meringue should be fully cooked and look and feel dry to the touch. If they still seem wet or moist, leave them in the oven for another hour.
- Remove the tray from the oven. They should have a crunchy exterior and a soft, chewy center. Let the meringues cool fully to room temperature, then add candy eyes onto each meringue with a bit of melted white chocolate (I added 1-3 eyes per meringue). These can be stored at room temperature for up to two weeks.


0 Comments