

Healthy Reese’s Peanut Butter Pumpkins
There is a quiet magic to the kitchen at spiilled when the sun sets, casting a warm glow over the counter. In these serene moments, I crafted these Healthy Reese’s Peanut Butter Pumpkins. The rich chocolate and creamy peanut butter transform a simple treat into a cozy evening delight.
Using coconut oil in the chocolate creates a glossy finish and smooth texture, ensuring each bite of these pumpkins melts in your mouth.
Ingredients for Healthy Reese’s Peanut Butter Pumpkins
- Chocolate Chips: These morsels melt into a silky, luscious chocolate base for our pumpkins.
- Coconut Oil: A subtle hero in this recipe, helping the chocolate achieve that glossy finish.
- Powdered Peanut Butter: Opt for this lighter option, combining with water to form a creamy filling that’s delightful.
- Creamy Peanut Butter: For indulgence, this is your go-to. Rich and nutty—just the way we love it.
- Water: Simple and effective when combined with powdered peanut butter, creating that creamy consistency.
- Key Technique: Chocolate-Coconut Oil Blend: The magic lies in melting chocolate chips with coconut oil, ensuring our pumpkins set with a beautiful sheen and smooth texture.
- Garnish Idea: For a twist, sprinkle a pinch of sea salt on top for that satisfying sweet-salty contrast!
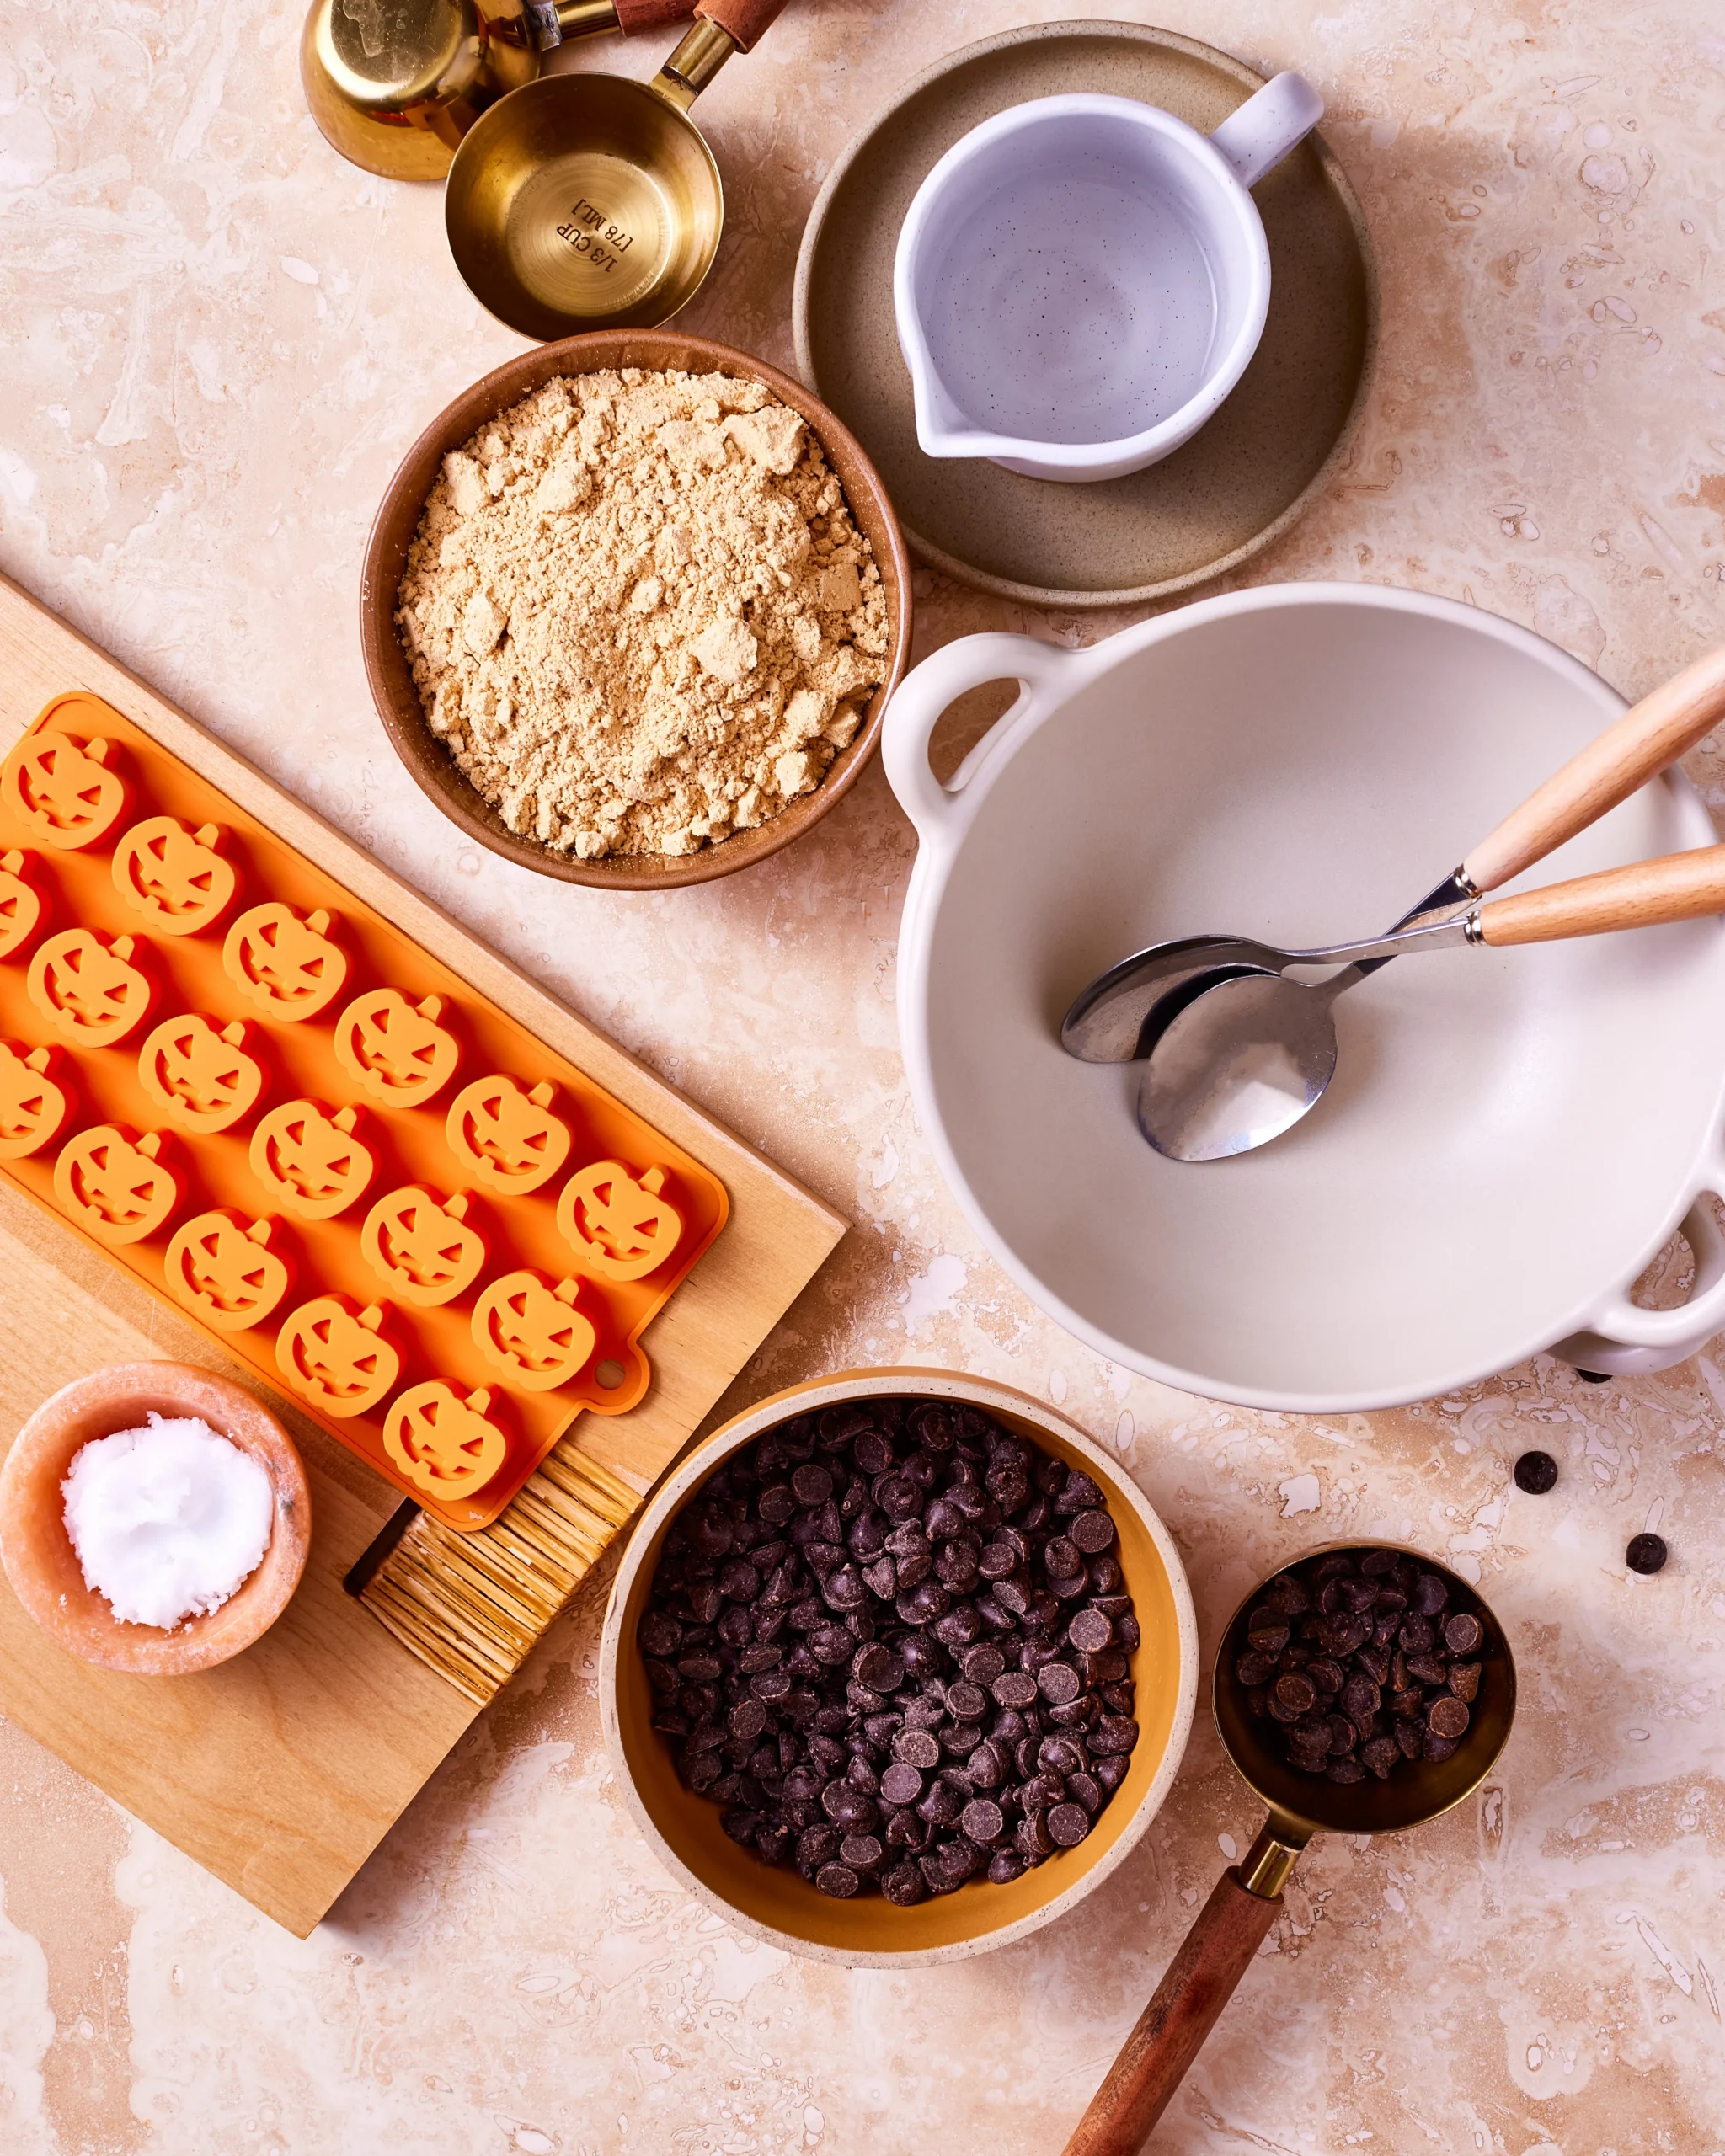
Let’s Make Some Healthy Reese’s Peanut Butter Pumpkins!
Crafting these treats takes about an hour from start to finish. Let’s dive in!
- Melt Chocolate:
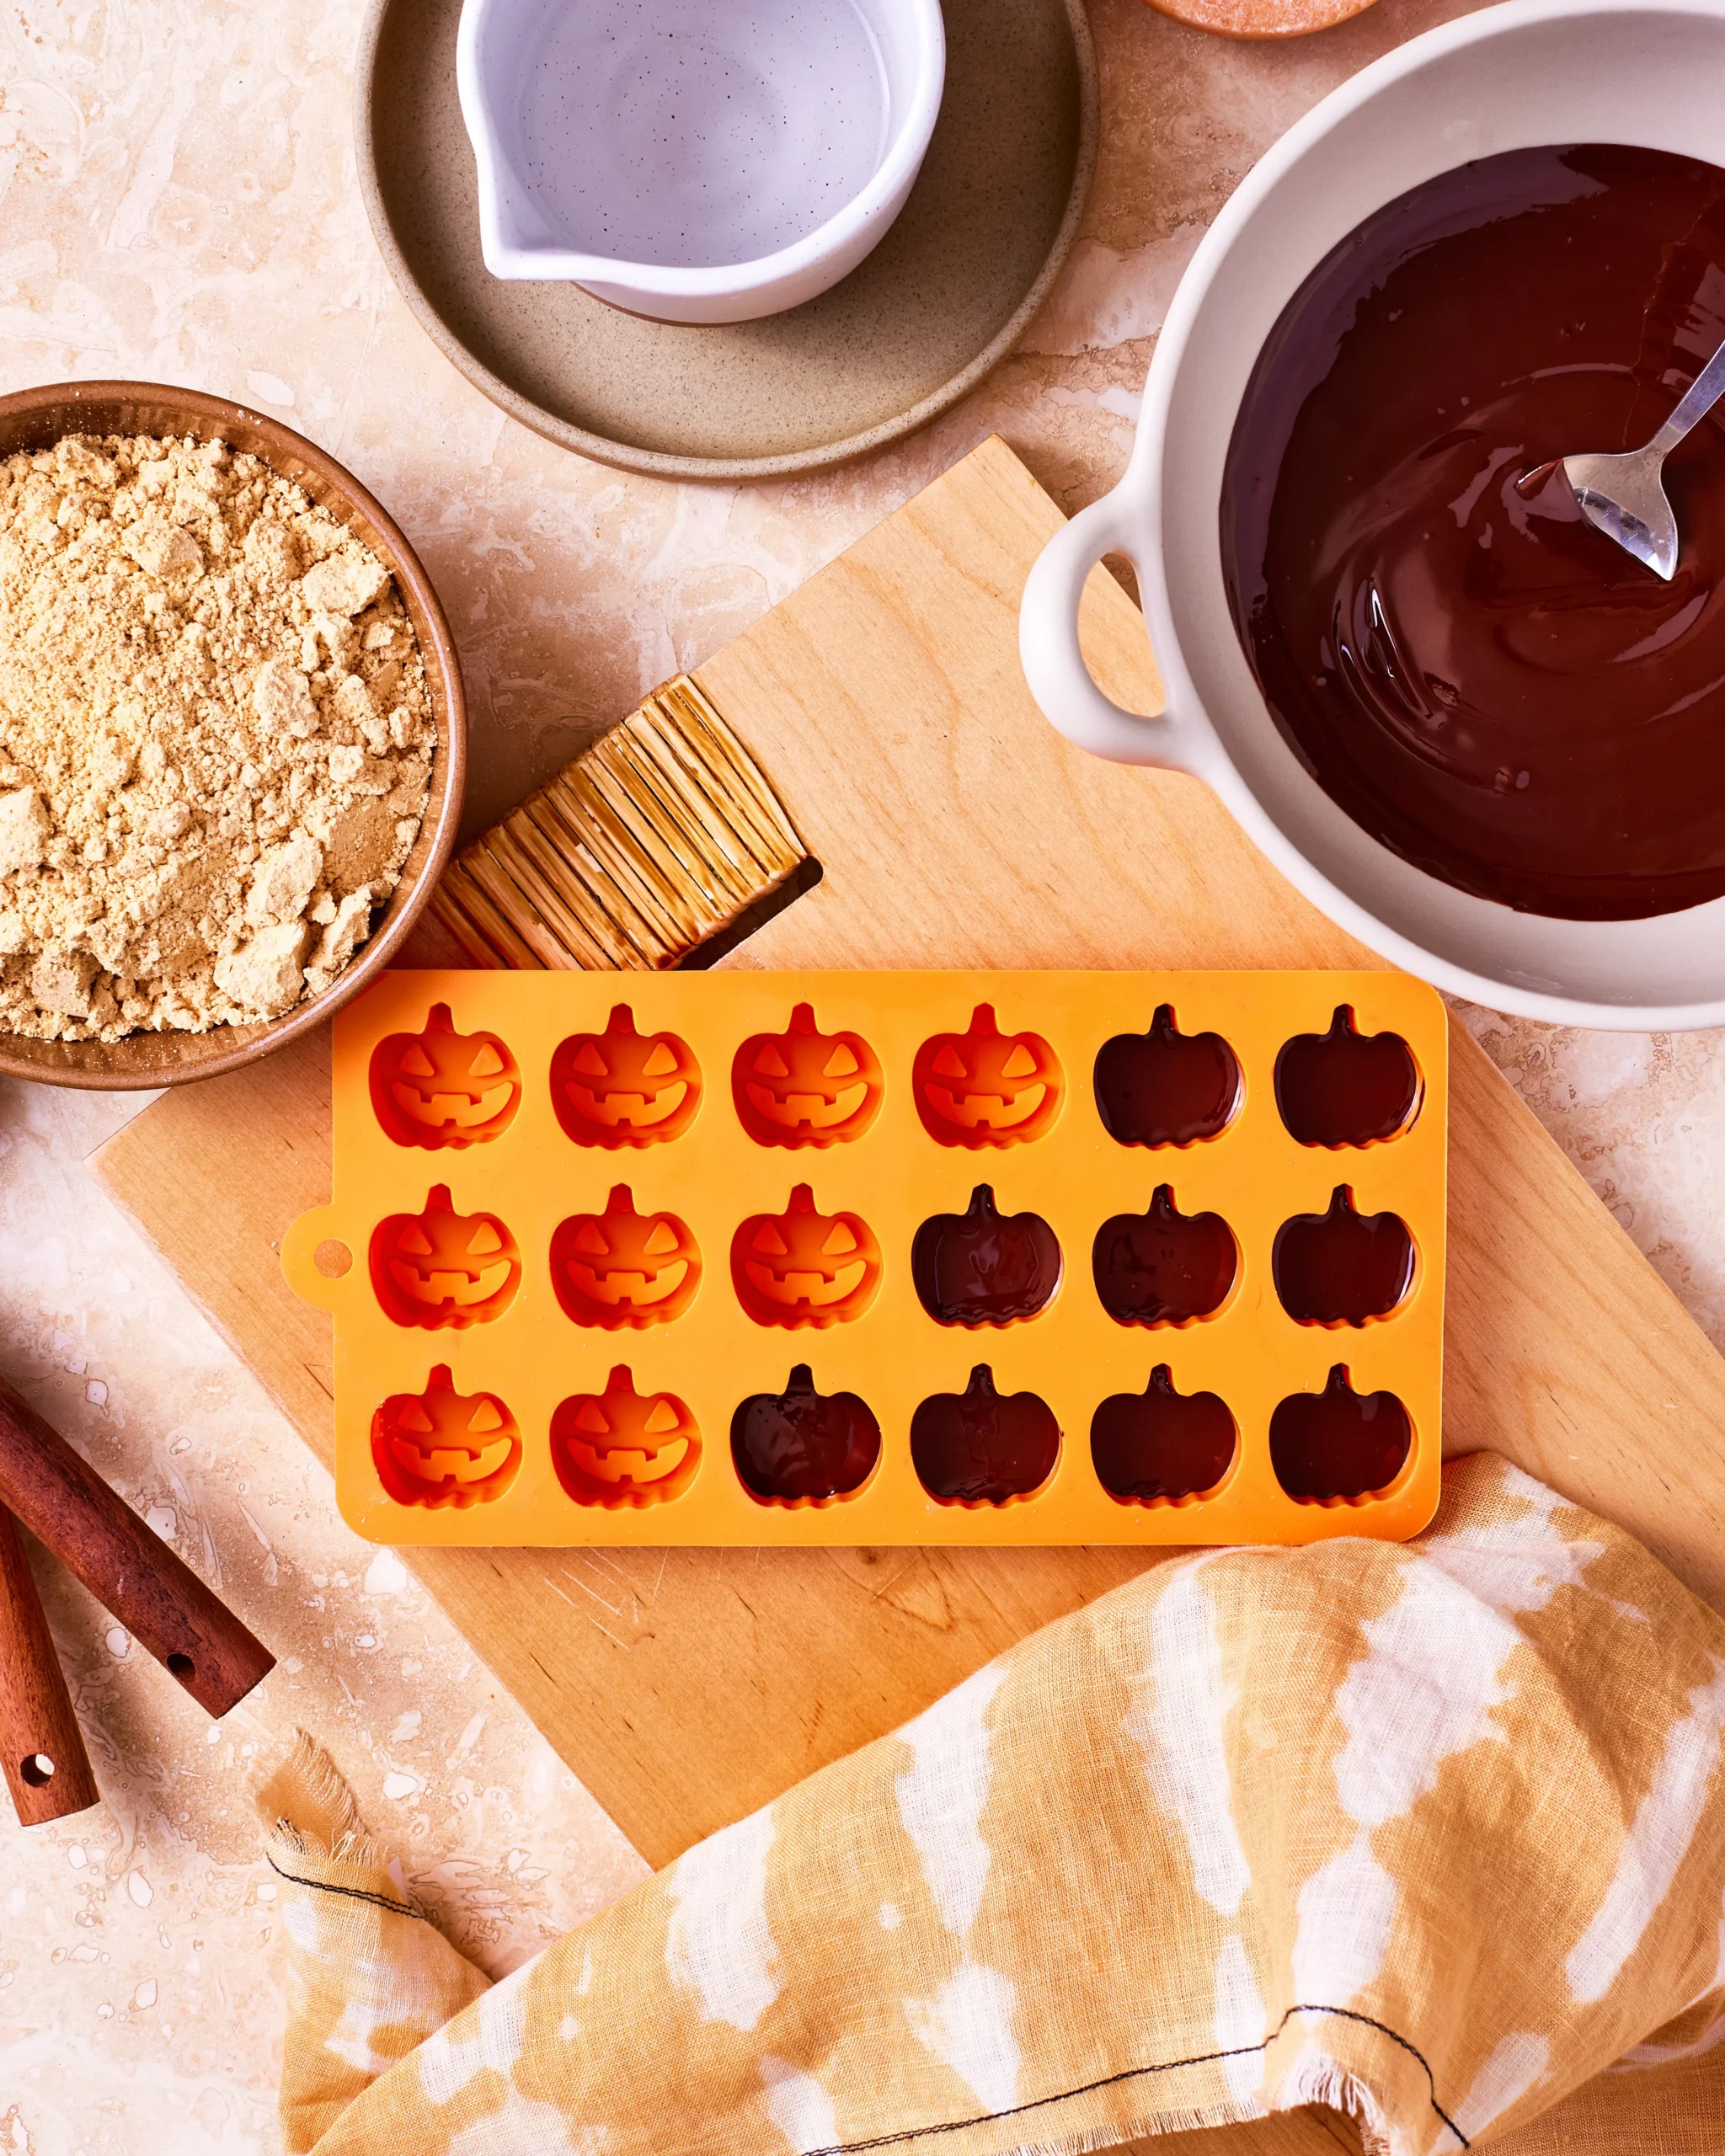
Place the chocolate chips and coconut oil in a small bowl. Microwave on high for 30-second intervals, stirring between each. Continue until smooth and glossy. Total time should be around 2-3 minutes. - Fill Molds:
Pour the melted chocolate into pumpkin molds, filling them approximately 1/4 of the way. Set aside the leftover chocolate. The smooth layer will cling lightly to the edges. - Freeze Chocolate Base:
Place the filled molds in the freezer for 10 minutes. The chocolate will harden as it embraces the cool air.
- Make Peanut Butter Filling:
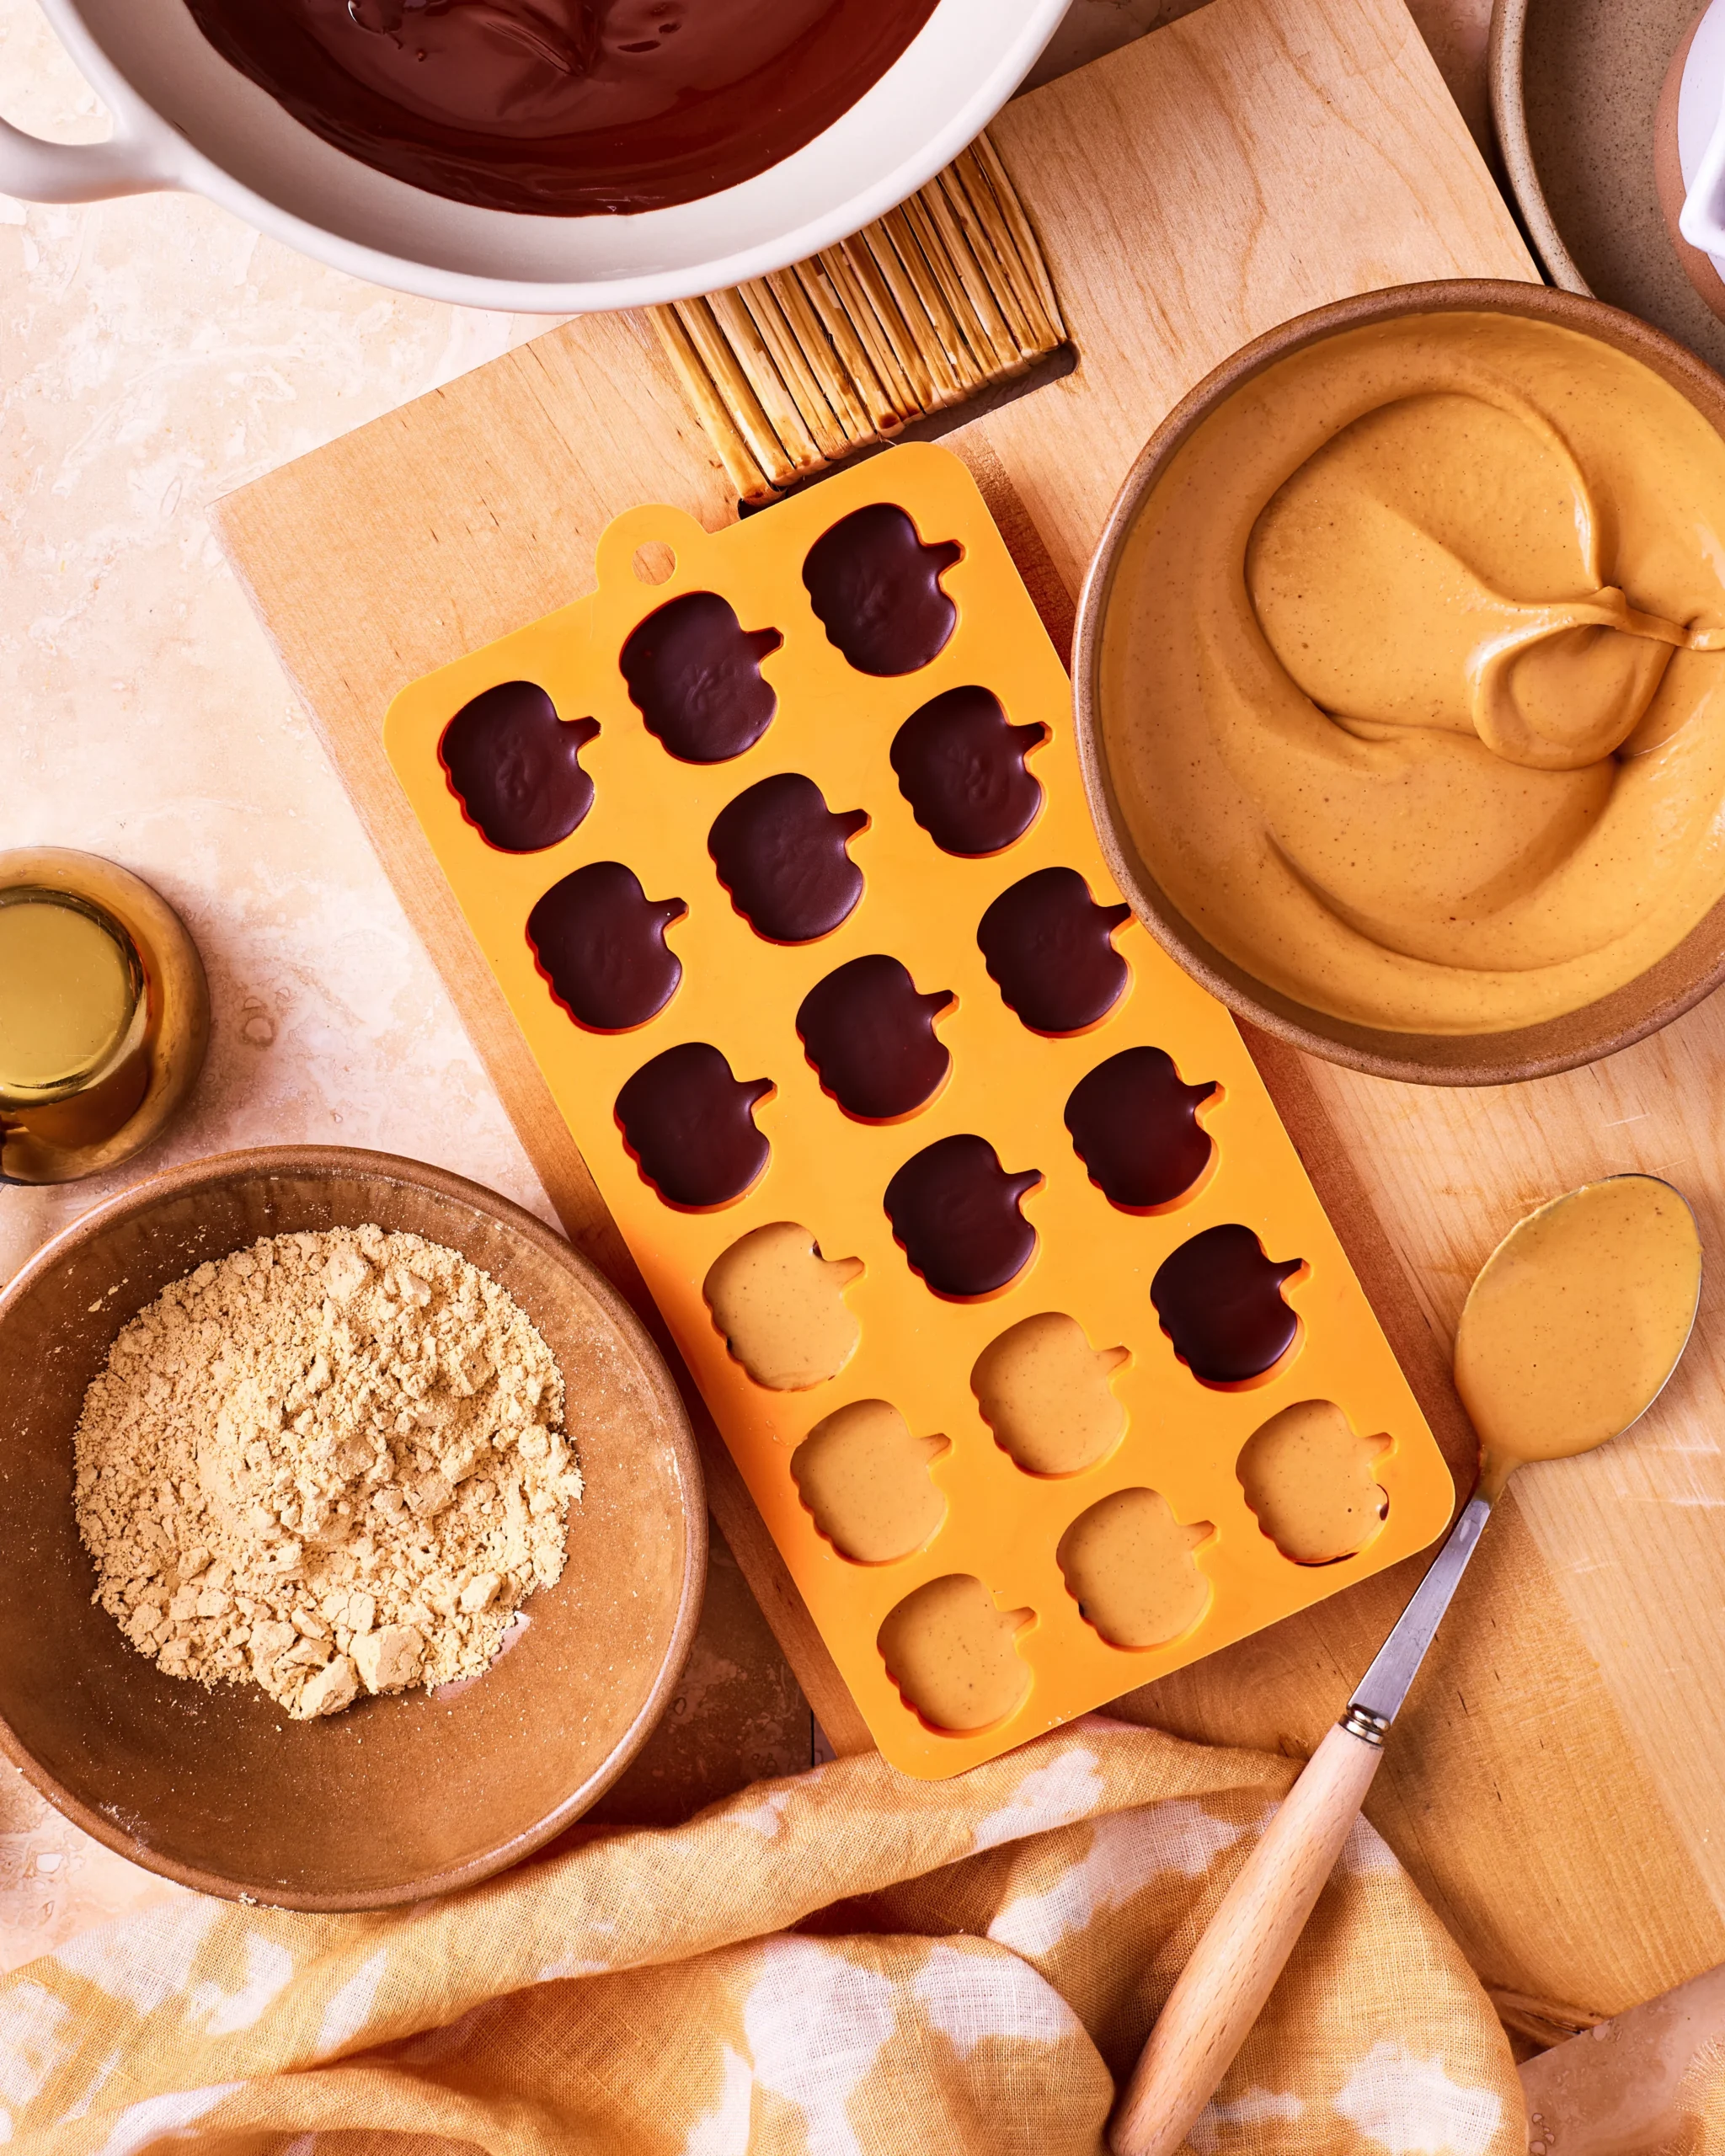
As the chocolate sets, prepare your filling. In a bowl, combine the powdered peanut butter with water, stirring until creamy. The texture should be smooth, with a rich, nutty scent. - Add Filling to Molds:
Remove the molds from the freezer, ensuring the chocolate base is solid. Fill each cavity with the creamy peanut butter until they’re about 3/4 full. Gently smooth the surface. - Top with Chocolate:
Use the reserved melted chocolate to fill each mold to the brim, covering the peanut butter layer completely. - Final Freezing:
Return the molds to the freezer for at least one hour. The chocolate will set firmly, enveloping the creamy center.
Once they’re done, gently pop the pumpkins out of the molds! Remember, any leftovers can be stored in the fridge for up to a week. Enjoy sharing these little bites of joy!
Creative Twists on Your Favorite Treat
Exploring new flavors is one of my joys! With these Healthy Reese’s Peanut Butter Pumpkins, there’s room to tweak and personalize to suit your taste buds.
- Powdered Peanut Butter Pro: Opt for powdered peanut butter for a lighter version. Just mix it with water for that creamy consistency without the extra fat.
- Classic Comfort: Stick with creamy peanut butter if you’re craving that rich, traditional taste. It melds effortlessly with the chocolate.
- Consistency King: When using powdered peanut butter, add water gradually until you achieve the right creaminess. This ensures your filling is smooth, complementing the chocolate shell.
Feel free to experiment within these cozy guidelines and discover how these tweaks can make them yours. The joy of cooking lies in these small moments of creativity!
Keeping the Sweet Moments Fresh
Once you’ve crafted these treats, keeping them fresh is key to enjoying every bite. Store your Healthy Reese’s Peanut Butter Pumpkins in an airtight container in the fridge for up to one week. Just be sure to let them cool completely before sealing the container to prevent condensation. You can also freeze them for longer storage; just allow them to thaw in the fridge.
When you’re ready to enjoy them again, no need to overthink it. Let your frozen pumpkins sit at room temperature for a few minutes until they’re softened. If you prefer them warmer, pop them into the microwave for a few seconds.
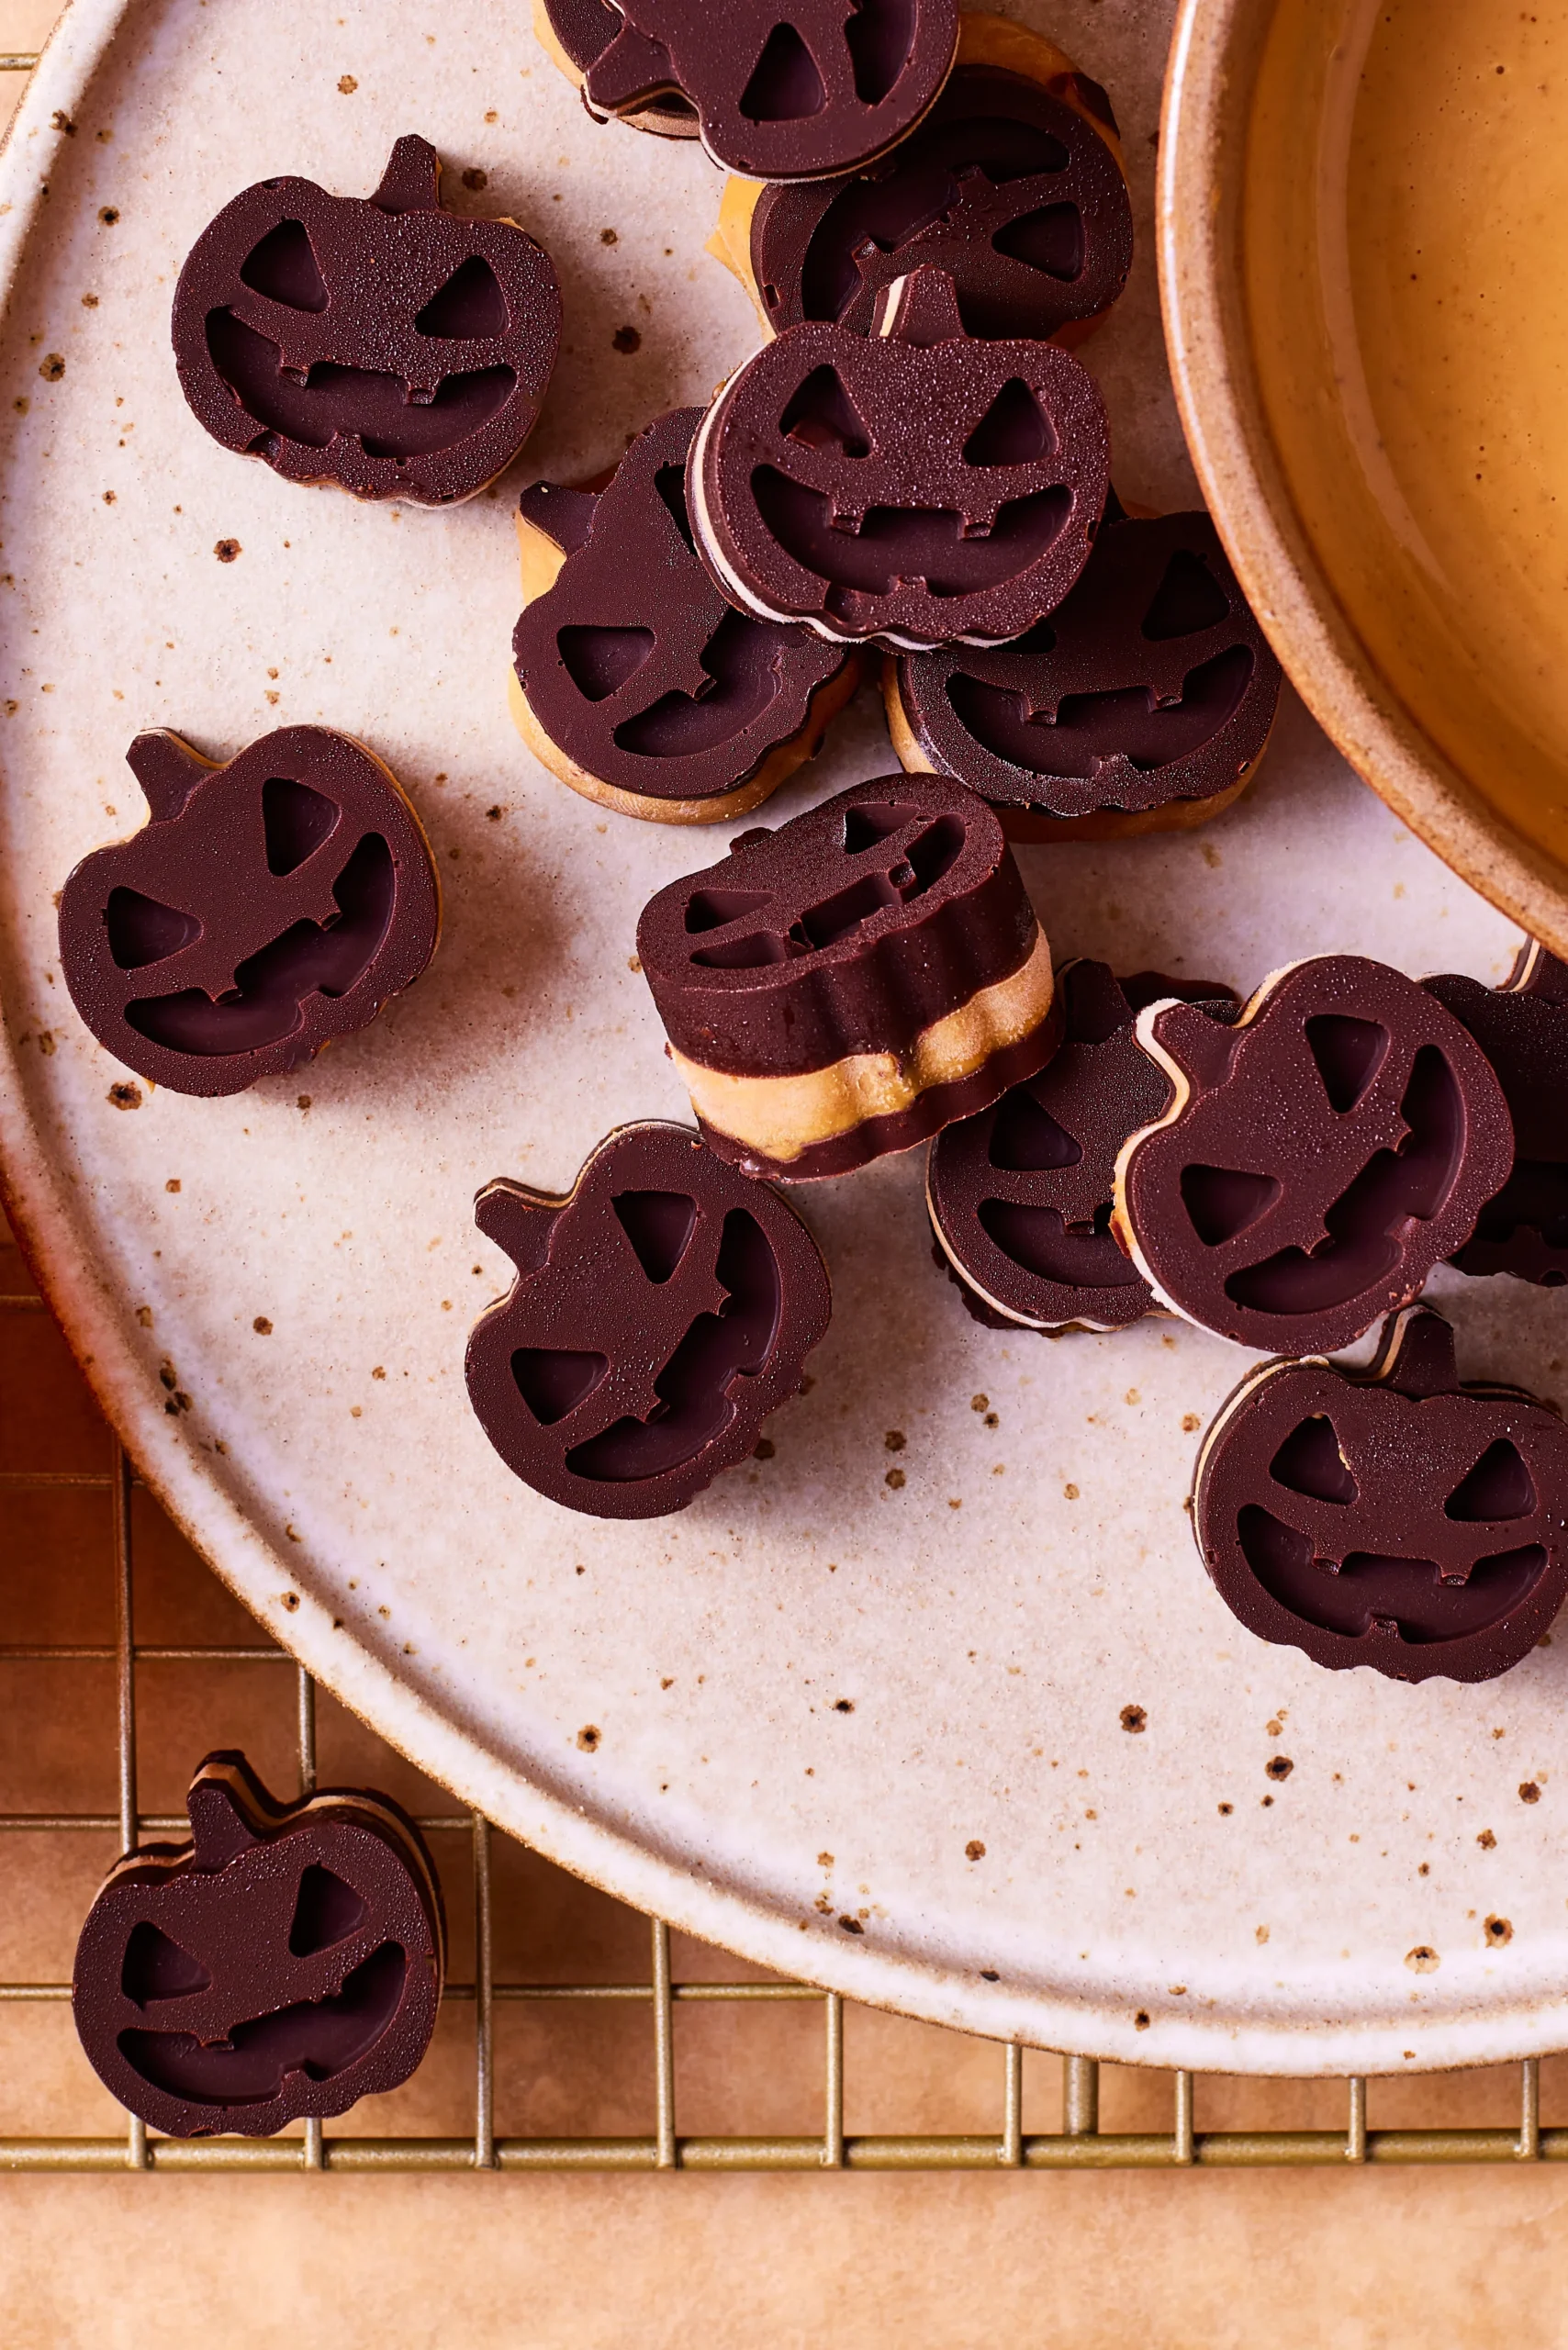
Cozy Pairings for Your Healthy Reese’s Peanut Butter Pumpkins
There’s a unique charm in savoring these treats during a cozy afternoon. Their rich chocolatey goodness and creamy peanut butter filling pair beautifully with comforting companions.
- Spiced Chai Latte: The warmth of cinnamon and cardamom complements the sweet, nutty richness of the pumpkins.
- Earl Grey Tea: The floral notes enhance the chocolate’s depth, offering a refreshing contrast.
- Frothed Almond Milk: Its creamy texture and subtle sweetness provide a gentle balance to the cocoa.
Perfect Garnishes for Extra Flavor
- Pinch of Sea Salt: A touch of sea salt creates a delightful sweet-salty juxtaposition.
- Crushed Almonds: Add a lovely crunch that breaks up the creamy texture.
- Shaved Dark Chocolate: For the ultimate chocolate lover, a sprinkle of shaved dark chocolate intensifies the cocoa experience.
These lovable little pumpkins are a treat for your taste buds and a shareable joy at any gathering. Who will you share these with? Let me know how you like to enjoy them in your next cozy moment!
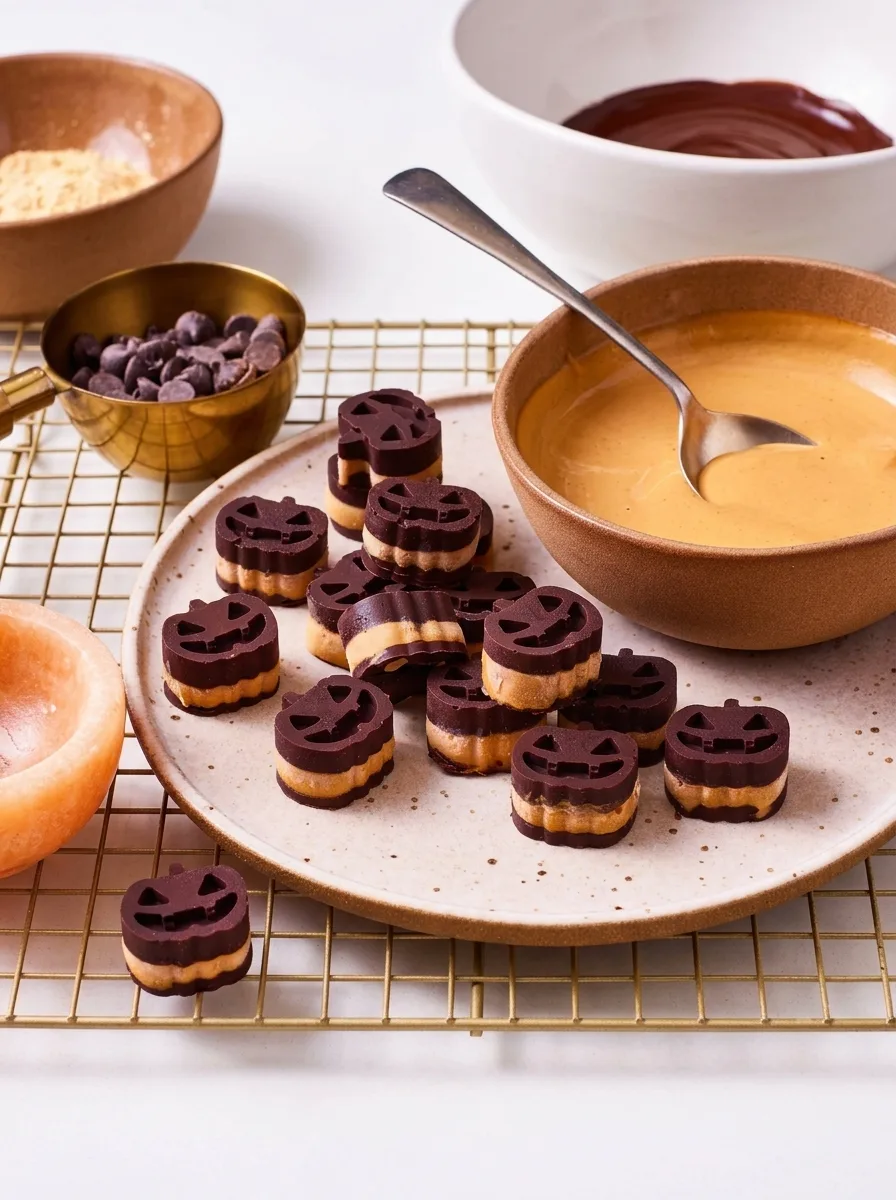
Healthy Reese's Peanut Butter Pumpkins
Ingredients
Method
- To make these bite-sized chocolates, start by adding the chocolate chips and coconut oil to a small bowl. Melt them in the microwave in 2-3, 30 second increments, until they're fully melted. Be sure to stir them together between increments so that they are fully combined.
- Next, pour the melted chocolate into the pumpkin molds, filling them only about 1/4 of the way. There will be chocolate left over, which is what you want!
- Once the cavities are filled, place the molds into the freezer for 10 minutes, to allow the chocolate to set.
- While the chocolate is setting, prepare the peanut butter filling. If using peanut butter powder, add it to a bowl alongside the water and stir until a creamy peanut butter forms.
- Next, remove the molds from the freezer and fill the cavities the remaining 3/4 of the way with the creamy peanut butter.
- Finally, pour the remaining chocolate into each of the cavities, filling them to the top.
- Once the molds are filled, place them back in the freezer for a minimum of one hour, until the chocolate sets.
- When they're done, remove them from the freezer, pop them out of the molds, and enjoy! Store any leftovers in an airtight container, in the fridge, for up to one week.


0 Comments