

Stitching a classic crochet ribbed beanie is one of the smartest winter projects any beginner can learn. Worked flat as a simple rectangle, this cozy hat mimics stretchy hand-knit ribbing while eliminating bulky crown bunching.
Even better, you do not need fussy slip-stitch rows that slow down your hook or tighten your edges. By pairing plush half double crochets with five short single crochets at the top, your hat closes completely flat. Pair it with one of our beginner crochet cardigans for crisp autumn walks.
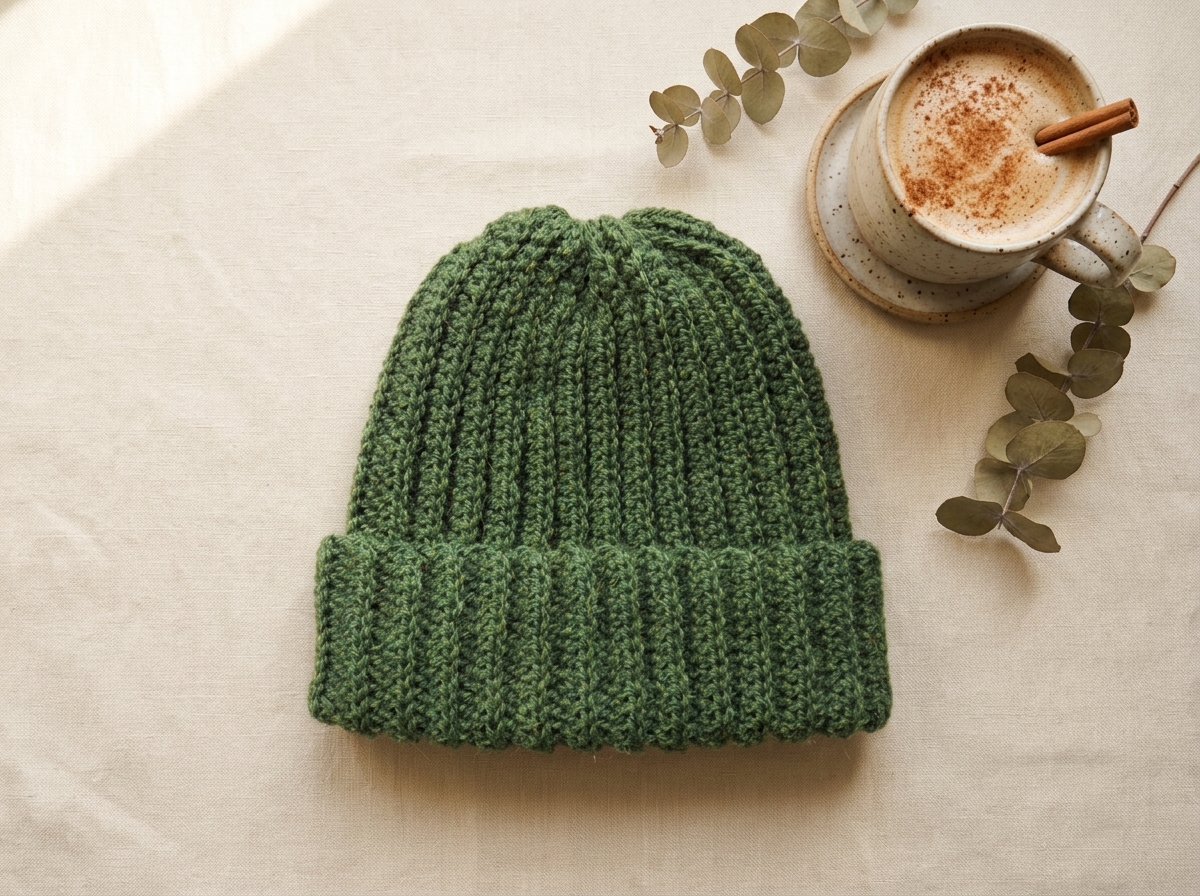
Why This Crochet Ribbed Beanie Eliminates Crown Bulk.
Traditional rectangle hats often gather full-height stitches right at the top of your head. Consequently, the crown turns thick, stiff, and slightly pointy once cinched closed. Fortunately, this crochet ribbed beanie solves that exact problem by placing five single crochets along the crown edge.
Furthermore, many no-bunch hat patterns rely on back-loop slip stitches at the top and brim. Beginners frequently find those tight slip stitches frustrating to see and enter. Swapping in single crochets keeps every row relaxed, stretchy, and effortless to count.
Dimensions, Gauge, and Custom Sizing Chart.
Before starting your foundation chain, review the flat rectangle measurements below. Because the five crown stitches sit lower than the forty-five body stitches, one side naturally tapers narrower. Specifically, the standard 54-row hat fits a 50 to 55 cm (19.7 to 21.7 in) adult head circumference comfortably.
- Brim Edge Width (HDC Side). 34.5 cm (13.6 inches) laid flat before seaming.
- Crown Edge Width (SC Side). 25.0 cm (9.8 inches) laid flat before gathering.
- Unfolded Rectangle Height. 25.0 cm (9.8 inches) from crown tip to cuff edge.
- Flat Gauge (10 x 10 cm / 4 x 4 in). 20 half double crochets wide by 14 rows tall.
Moreover, customizing this hat for kids or larger adults requires only two quick tweaks. Adjust your starting chain to change vertical height, and add or subtract even-numbered rows to match head circumference. Divide any custom stitch count by 10 (rounded) to know how many crown single crochets to work!
| Hat Size. | Head Circumference. | Foundation Chain. | Row Stitch Split (HDC + SC). | Approx. Even Row Count. |
|---|---|---|---|---|
| Baby (6 to 12 mos). | 43 to 46 cm (17 to 18 in). | Ch 38 + 1. | 34 hdc + 4 sc (38 sts). | 42 to 44 rows. |
| Child (3 to 10 yrs). | 48 to 51 cm (19 to 20 in). | Ch 44 + 1. | 40 hdc + 4 sc (44 sts). | 48 to 50 rows. |
| Teen / Adult S-M (Pattern). | 50 to 55 cm (19.7 to 21.7 in). | Ch 50 + 1. | 45 hdc + 5 sc (50 sts). | 54 rows. |
| Adult Large / XL. | 56 to 60 cm (22 to 23.6 in). | Ch 54 + 1. | 49 hdc + 5 sc (54 sts). | 58 to 62 rows. |
Materials and Choosing the Best Yarn.
Selecting a warm, elastic fiber blend gives your finished crochet ribbed beanie authentic knit bounce and cozy insulation. Blending alpaca, wool, and acrylic creates soft halo warmth for freezing days. Meanwhile, a breathable cotton-acrylic blend works wonderfully in milder climates.
Check your yarn band and match the recommended hook for Category 4 worsted weight yarn. If you notice small gaps peeking between your ribs, simply drop down half a millimeter in hook size.
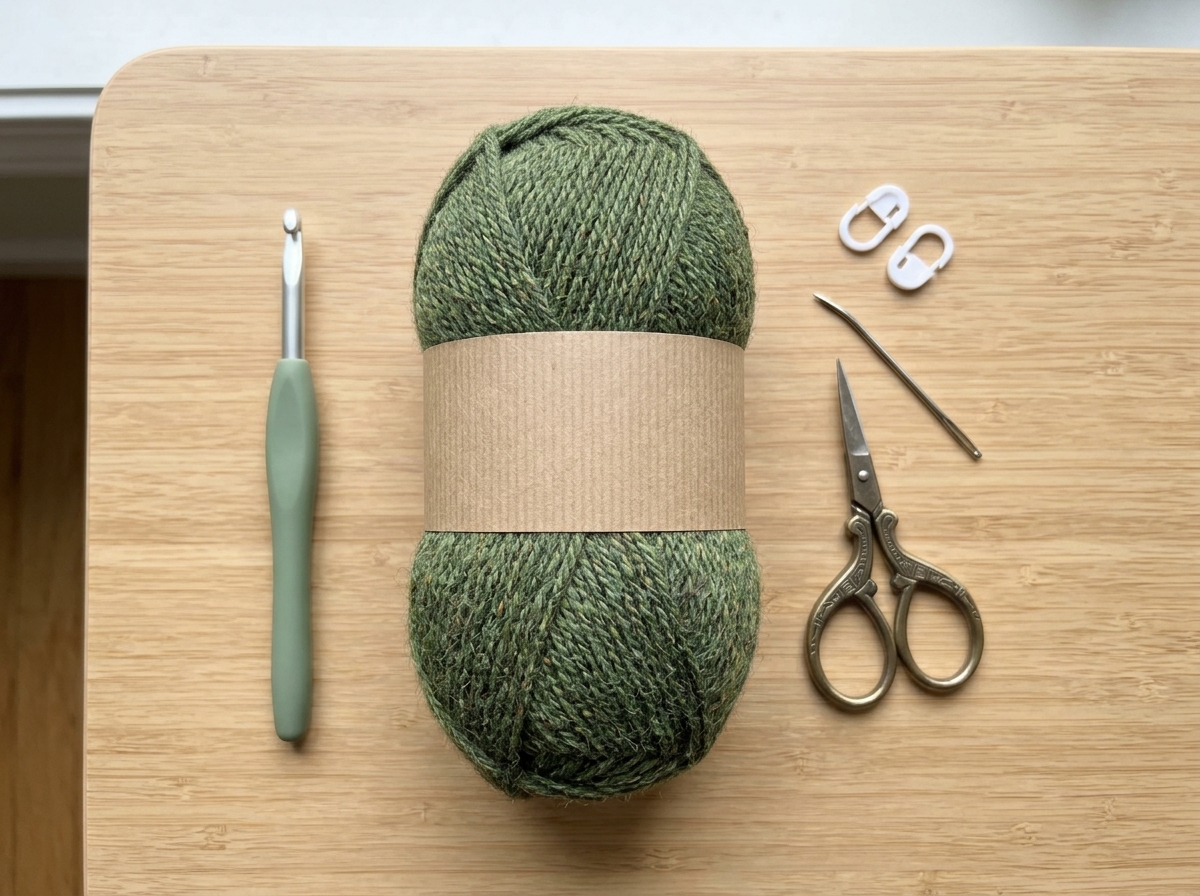
- Yarn. 90 grams (approx. 195 to 210 yards) of Category 4 worsted yarn, such as WeCrochet Wool of the Andes Worsted or an alpaca-wool blend in forest green.
- Crochet Hook. 5.5 mm (US I-9) ergonomic crochet hook (or 5.0 mm if you crochet loosely).
- Yarn Needle. Bent-tip steel or blunt tapestry needle for cinching the crown and weaving tails.
- Scissors. Sharp embroidery shears for clean yarn trims.
- Stitch Marker (Optional). One locking marker, bobby pin, or safety pin to separate the 45 hdc stitches from the 5 sc crown stitches.
- Optional Extras. A yarn bowl and finger tension ring help keep worsted skeins feeding smoothly.
Abbreviations and Essential Pattern Notes.
All instructions below follow standard US crochet terminology. Read through these quick notes before casting on so your edges stay perfectly straight. If you enjoy quick cold-weather layers, bookmark our crochet shrug bolero pattern next.
- ch. Chain stitch.
- blo. Back loop only (insert hook under the back top loop away from you).
- flo. Front loop only (used when slip-stitch seaming the tube).
- hdc. Half double crochet.
- sc. Single crochet.
- sl st. Slip stitch.
- st. Stitch.
- rep. Repeat.
- Turning Chain Rule. Beginning ch 1 at the start of each row does NOT count as a stitch.
- Marker Tip. Move your stitch marker up every row into the 1st sc or 45th hdc so you never miscount the crown taper.
Step-by-Step Crochet Ribbed Beanie Pattern.
Step 1: Crocheting the 54-Row Tapered Rectangle.
To verify custom height before stitching, hold your foundation chain from your head crown down to your eyebrows. Then, add an extra 5 to 7 cm for the folded cuff! Standard adult sizing begins with 50 stitches plus 1 turning chain.
- Foundation Chain. Tie a slip knot on your 5.5 mm hook and ch 50 + 1 (51 chains total).
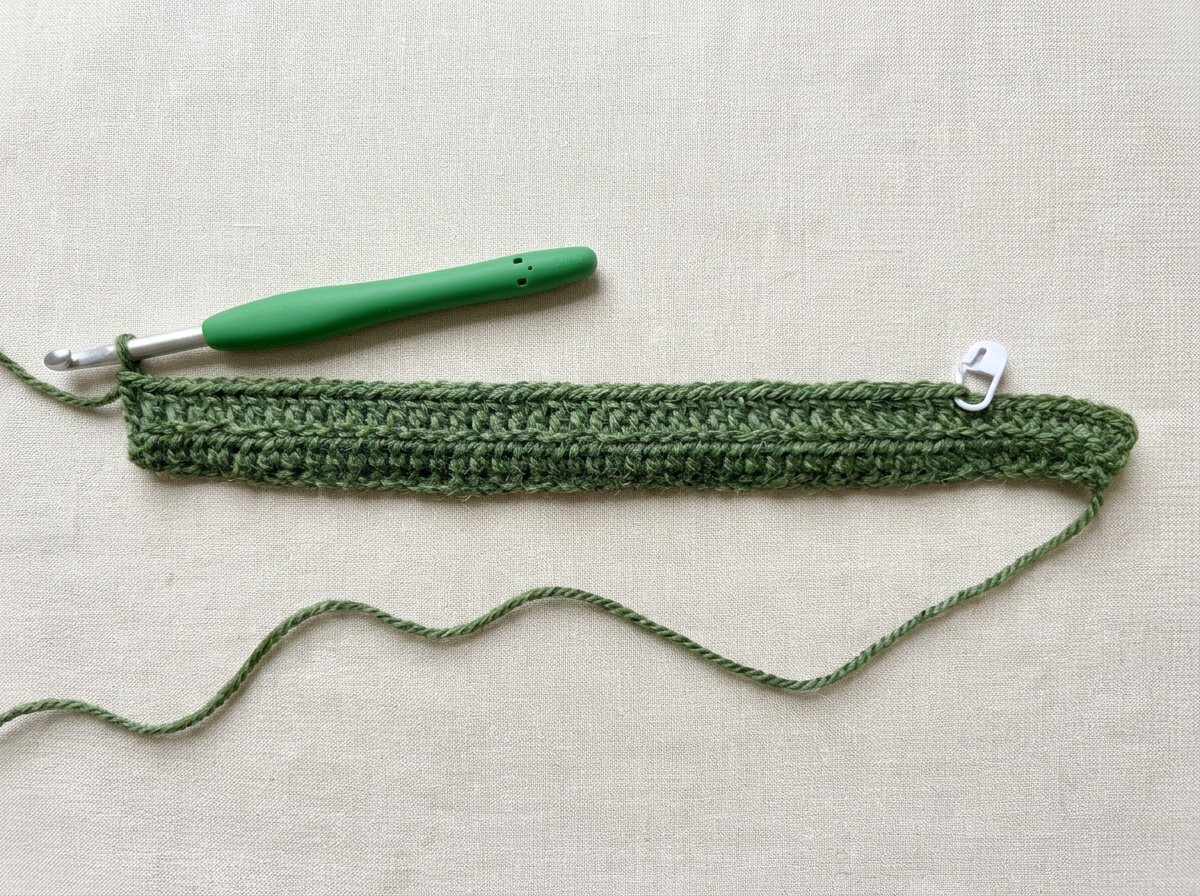
- Row 1 (Setup Row). Work 1 hdc into the 2nd ch from your hook and in each of the next 44 chains (45 hdc total). Clip your stitch marker into that 45th hdc if desired. Next, work 1 sc into each of the last 5 chains to reach the crown tip (50 sts total).
- Row 2 (Crown-to-Brim Pass). Ch 1 and turn your work. Work 1 sc blo into each of the first 5 stitches up to your marker. Move the marker up, then work 1 hdc blo into each of the remaining 45 stitches to the brim edge (50 sts total).
- Row 3 (Brim-to-Crown Pass). Ch 1 and turn your work. Work 1 hdc blo into each of the first 45 stitches up to your marker. Next, work 1 sc blo into each of the last 5 stitches to the crown edge (50 sts total).
- Rows 4 to 54. Repeat [Row 2, Row 3] continuously until you complete 54 rows total. Thus, every even row repeats Row 2 and every odd row repeats Row 3. Fold up the wider hdc cuff and wrap the panel around your head to test stretch; always stop after an even row so your yarn finishes on the hdc brim edge!
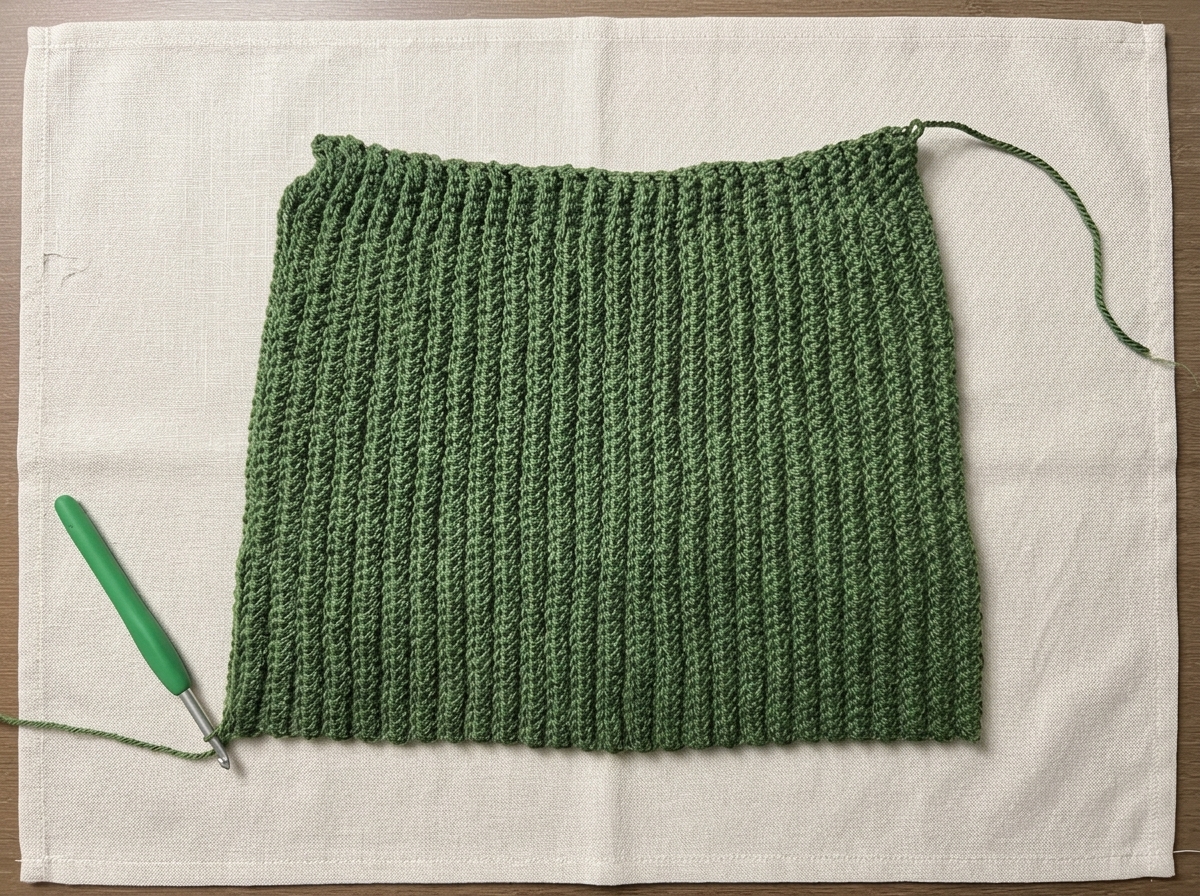
Step 2: Stitching the Ends Together Into a Tube.
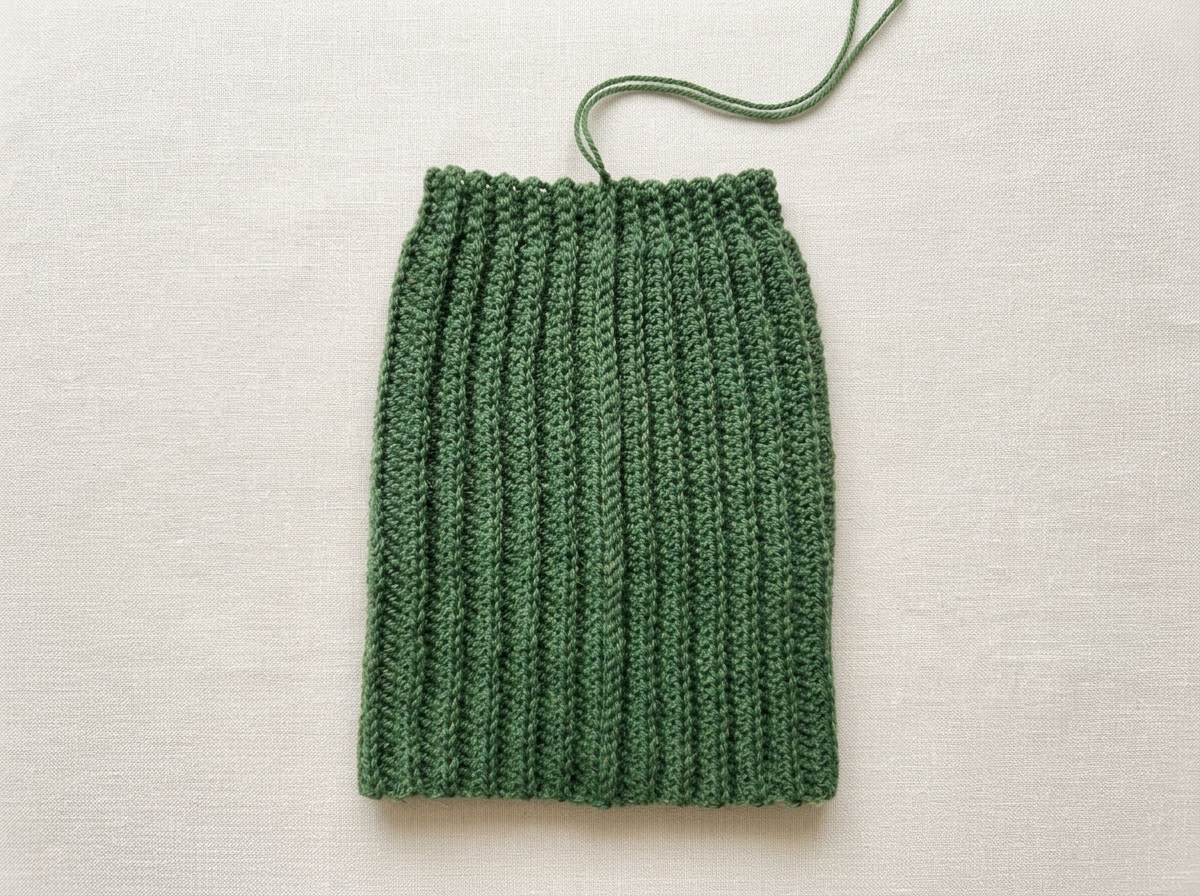
Fold your finished rectangle in half widthwise so Row 54 aligns stitch-for-stitch over Row 1. Because you stopped on an even row at the brim, seaming across all 50 stitches lands your yarn tail right at the top crown! Choose whichever seaming method you prefer below.
- Option A: Crochet Slip-Stitch Seam (Fastest). Ch 1 and turn. Insert your hook through the front loop only (flo) of Row 54 and the matching foundation edge loop of Row 1. Work 1 sl st loosely across all 50 stitches up to the crown edge. Fasten off leaving a 25 cm (10 in) tail for gathering the top.
- Option B: Hand-Sewn Whipstitch Seam. Fasten off immediately after Row 54, leaving a generous 75 cm (30 in) yarn tail. Thread your yarn needle, sew Row 54 to Row 1 stitch-for-stitch up to the crown, and tie a snug double knot at the top.
Step 3: Gathering and Closing the No-Bunch Crown.
Now you will cinch the narrower 25 cm single-crochet opening shut into a smooth, comfortable dome. Because those top five stitches are compact, the fabric draws together cleanly without bulky ridges.
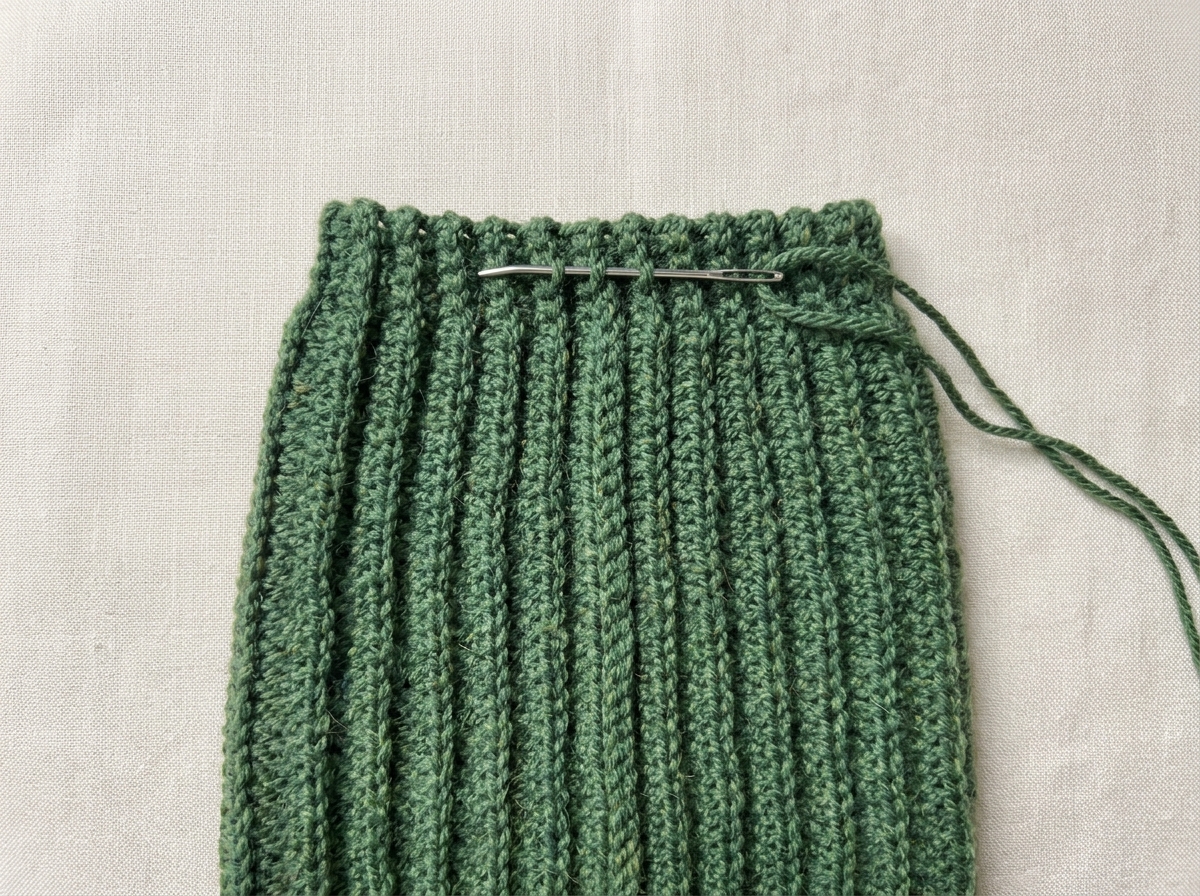
- Weave Around the Crown Edge. Thread the 25 cm yarn tail at the top of your tube onto your bent-tip yarn needle. Pass the needle horizontally under one outer loop at the sc tip of every other row all the way around the circle.
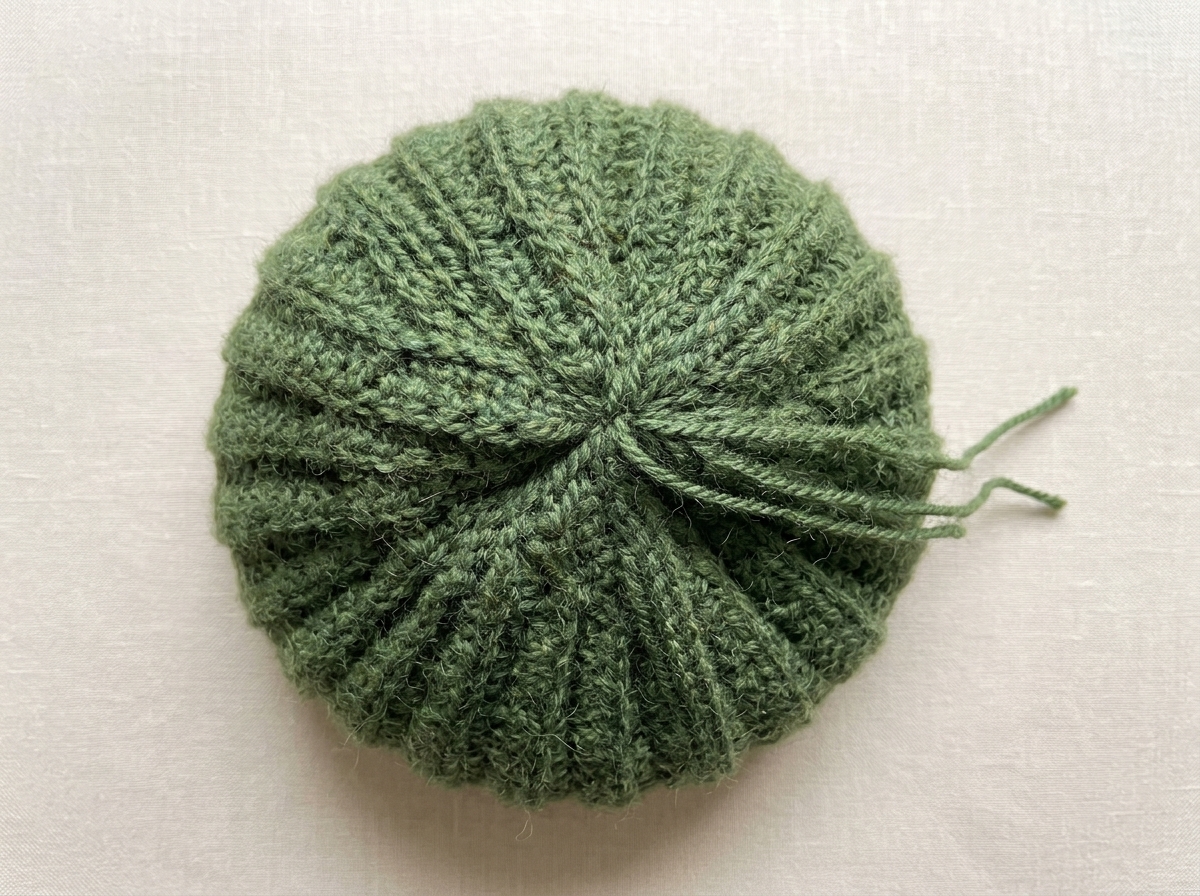
- Cinch and Double Knot. Pull the working tail firmly until the top opening gathers tightly closed like a drawstring. Tie a secure double knot using your gathering tail and the short starting tail (or an adjacent inside loop).
- Close Any Remaining Pinhole. Inspect the center point from the outside. If a tiny gap remains, stitch across the center hole two or three times in star-shaped X directions, pull tight, and knot once more.
- Finish and Fold Cuff. Turn the hat right side out so the seam hides neatly on the inside. Weave all remaining yarn ends securely inside the vertical ribs, trim flush, and fold up the plush ribbed brim!
Styling, Pom-Pom Options, and Washing Care.
Your finished crochet ribbed beanie looks effortlessly minimal worn with a classic 6 cm folded cuff. Alternatively, unfold the brim slightly for a relaxed slouchy silhouette, or snap a removable faux-fur pom-pom onto the center crown for snowy winter markets.
To keep wool and alpaca blends soft without felting, hand-wash your hat in cool water with mild wool wash. Gently squeeze excess water into a clean towel without twisting, reshape the ribbed cuff, and dry flat away from direct heat.

Frequently Asked Questions.
Why did my crochet ribbed beanie turn out trapezium-shaped or crooked?
Accidentally skipping the very last back-loop stitch before turning is the most common culprit. Always count 50 total stitches per row (45 hdc plus 5 sc) and keep a stitch marker at the 5-stitch transition.
Why must I stop on an even-numbered row before seaming?
Even rows finish at the bottom hdc brim edge. Consequently, when you seam 50 stitches upward across the rectangle, your yarn tail ends right at the top sc crown, ready to cinch the hat closed with one continuous strand!
Can I make this ribbed beanie with bulky (#5) or DK (#3) yarn?
Yes, easily! Simply chain to your exact crown-to-eyebrow-plus-cuff measurement, allocate 10 percent of your stitches to single crochet at the top, and work even rows until the stretched panel fits snugly around your head.
Should I seam tightly or loosely when slip-stitching the tube?
Keep your slip-stitch seam relaxed so it stretches vertically just like the surrounding back-loop ribs. If your slip stitches pull the seam shorter than the hat, switch up one hook size just for the seaming pass.


0 Comments