

Peanut Butter Butterfinger Cookies
There is something about the smell of Peanut Butter Butterfinger Cookies wafting through the kitchen at spiilled that instantly transforms any ordinary day into a celebration. With each bite, these cookies become more than just a treat—they’re a nostalgic reminder of simpler times spent baking with loved ones. They capture the essence of home and comfort, proving that even the simplest ingredients can create extraordinary moments.
Chilling the dough before baking solidifies the fats, leading to a textured cookie that balances crunch and softness beautifully.
The Magic Behind Peanut Butter Butterfinger Cookies
- Butter: The foundation of any good cookie. Softened butter adds richness and fluffiness.
- Granulated Sugar: Provides structure and sweetness, helping balance moisture.
- Brown Sugar: Brings molasses depth and a tender chew.
- Peanut Butter: Creates a creamy, nutty base. I stick with the classic creamy kind—not the natural one.
- Egg: Essential for binding, adding richness and structure.
- Vanilla: Enhances all other flavors, tying together the peanut and chocolate elements.
- All-Purpose Flour: Provides the backbone, giving cookies the right chew. Spoon and level for accuracy.
- Baking Soda & Baking Powder: Help cookies puff to the right degree.
- Kosher Salt: Highlights and contrasts the sweetness, enhancing each bite.
- Butterfinger: The star crunch factor. Chopped to perfection, these candies add amazing crispy texture.
- Key Technique: Chilling the Dough: By chilling, you solidify those glorious fats, keeping cookies from over-spreading and giving them a tender texture.
- Garnish/Toppings: Extra Butterfinger crumbles on top? Yes, please! Adds final crunch and visual appeal.
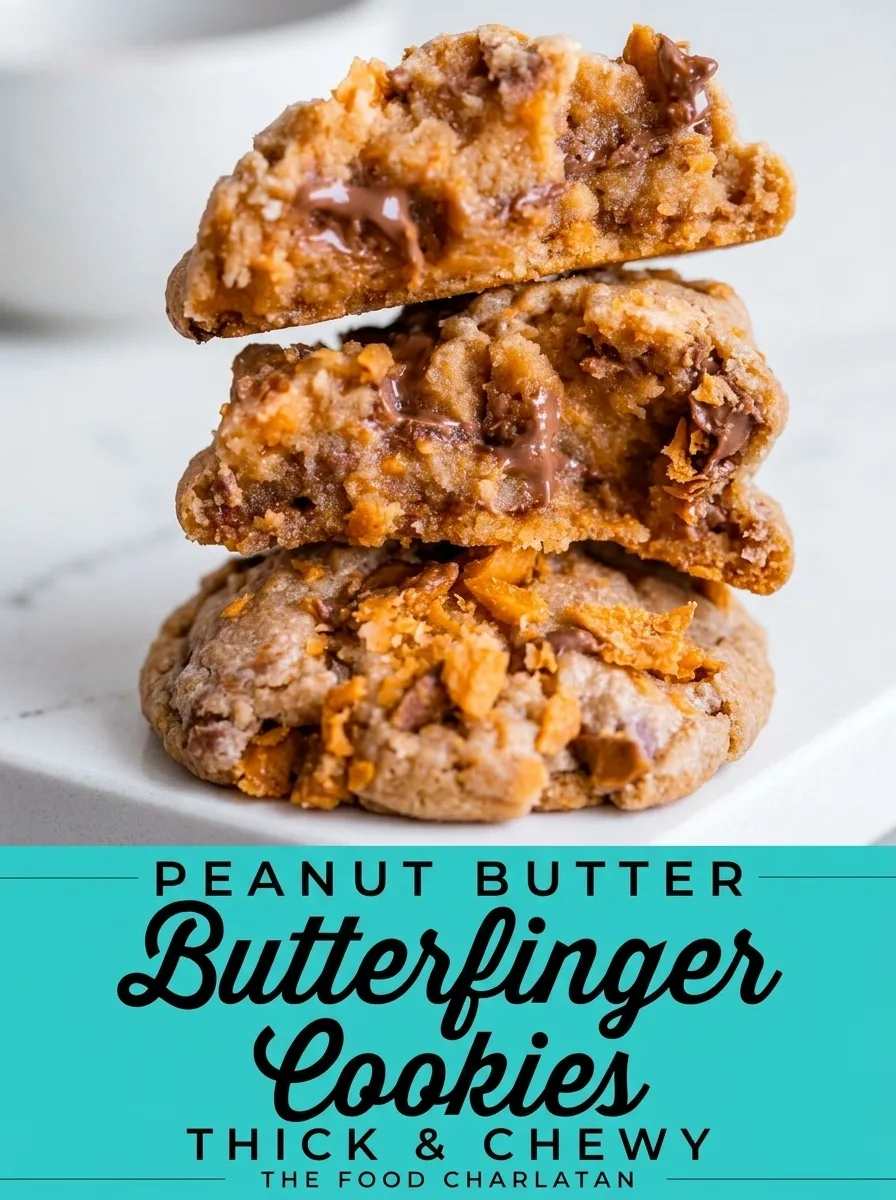
Let’s Make Peanut Butter Butterfinger Cookies!
With about 40 minutes from start to finish, these cookies are a comforting reminder of cozy days in the kitchen. Let’s dive in and create these rich, crunchy delights that are bound to impress!
- Cream the Butter:
Begin by beating 3/4 cup of softened butter in a large bowl or stand mixer. Mix on medium speed until the butter becomes smooth and creamy. Hear that soft, slapping sound? That’s your cue to move to the next step! - Whip the Sugars:
Gradually add 1/2 cup of granulated sugar and 1/2 cup of packed brown sugar. Beat the mixture for about 2 minutes until fluffy and light, ensuring there are no butter chunks left clinging to the sides. - Incorporate Peanut Butter:
Add 1 cup of creamy peanut butter, followed by 1 large egg and 1 1/2 teaspoons of vanilla extract. Beat until everything is perfectly smooth and well combined, scraping the bowl’s sides once. The luscious aroma of peanut butter will fill your kitchen! - Mix Dry Ingredients:
Spoon and level 1 1/2 cups of all-purpose flour, and add it to your butter mixture. Sprinkle in 1/2 teaspoon each of baking soda and baking powder, plus 1/4 teaspoon of kosher salt. Stir these dry ingredients with a teaspoon to break up clumps. - Combine Dough:
Turn the mixer on low to gently combine your dough until it just starts to come together. Over-mixing makes cookies tough, so stop when some flour is still visible. Scrape the bowl’s sides and bottom to bring it all together. - Add Butterfingers:
Stir in 16 ounces of chopped Butterfinger pieces, mixing until just barely incorporated. These bits add a lovely crunch and burst of flavor. - Chill the Dough:
Cover your bowl and chill the dough for 15 minutes to an hour. This step ensures the cookies bake with the right texture, so resist eating all the dough! - Preheat and Shape:
Preheat your oven to 350°F. Line two baking sheets with parchment or silicone mats. Roll the chilled dough into 2-inch balls and place them an inch apart on the sheets. - Bake to Perfection:
Place your cookies in the oven and bake for around 10 minutes. Look for set edges and a slightly puffy appearance. Once they’re out, you can gently press them with a spatula if needed. - Cool and Enjoy:
Let the cookies cool on the baking sheets for at least 5 minutes before transferring them to a wire rack. Enjoy the satisfying crunch with a glass of milk or cup of coffee, and savor those handcrafted moments.

Bake with joy, and let these cookies bring comfort and nostalgia into your home!
Tweaks and Tricks for Perfect Cookies
Baking is like a little dance in the kitchen, and even with a recipe like this one, there are always a few steps you can tweak to make it your own masterpiece. Let’s explore some technique-based tips to improve your Peanut Butter Butterfinger Cookies.
- Chill Time Tip: For a chewier cookie, chill the dough for at least an hour, or even overnight. This helps the flavors meld and the dough maintain its shape when baking.
- Mixing Precision: When adding dry ingredients, mix just until the flour disappears. Overmixing can lead to tougher cookies, and we want them tender with the ideal crumb.
- Butterfinger Consistency: When chopping Butterfingers, aim for a mix of both tiny bits and larger chunks. This ensures every bite is a combination of chocolate crunch and peanut butter smoothness.
- Cooling Patience: Let the cookies cool completely on the pan before transferring them. This helps them set up nicely and keeps them from breaking apart, ensuring you savor each bit of that homemade goodness.
With these techniques, you’re set to create the peanut butter cookies of your dreams, right in your kitchen.
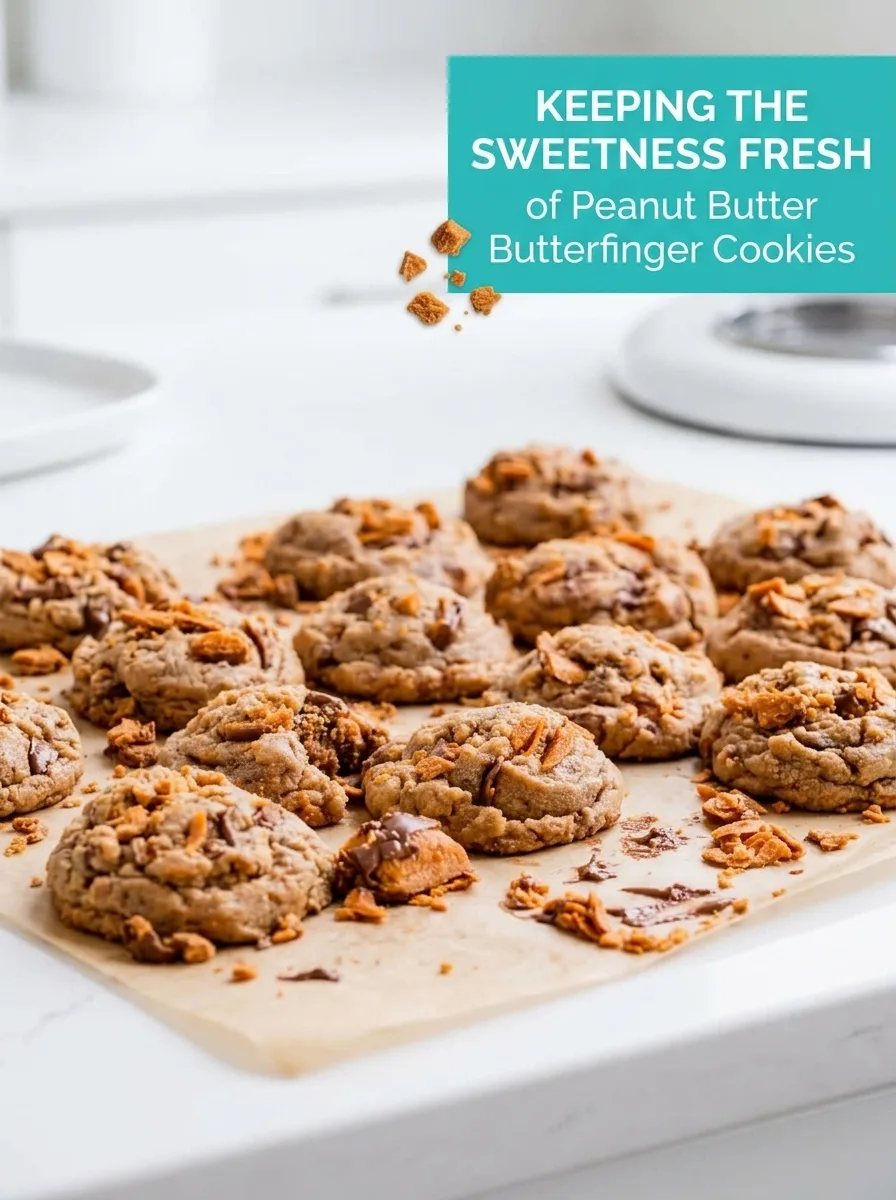
Keeping the Sweetness Fresh
After enjoying these delightful Peanut Butter Butterfinger Cookies, you might find yourself with a few extras. Store them in a tightly sealed container at room temperature for up to 3 days. If you prefer to plan ahead, the dough freezes beautifully for up to 3 months, and baked cookies can be frozen for up to 4 weeks. Just ensure they’ve cooled completely before sealing them away—nobody likes soggy cookies!
When the craving strikes, no need to wait for room temperature magic. Simply take your cookie from the freezer and warm it in the oven at 300°F for about 5 minutes. This will revive that soft center while keeping the edges crunchy.
Perfect Pairings for Your Peanut Butter Butterfinger Cookies
These cookies are full of rich, nostalgic flavors. improve the experience with some delightful pairings.
Sides to Savor
- Cold Milk: The classic partner to any cookie. A cold glass of milk enhances the creamy peanut butter and tempers the sweetness.
- Warm Coffee: The subtle bitterness of a good cup of coffee cuts through the rich, sweet notes, creating a contrast that’s great for cozy mornings or afternoons.
- Vanilla Ice Cream: Pairing these cookies with smooth, creamy vanilla ice cream creates a textural contrast, making for a lovely dessert treat.
Toppings to Try
- Sea Salt Flakes: Sprinkling a touch of sea salt over the cookies enhances their flavor profile, drawing out the peanut butter’s richness while balancing the sweetness.
- Crushed Butterfinger Pieces: Add an extra layer of crunch with more Butterfinger crumbles, a nod to the cookie’s core ingredient.
- Drizzle of Chocolate: A light drizzle of chocolate sauce adds a silky finish that complements the crunchy and chewy textures.
These cookies invite us into a world of warmth and nostalgia. What will you pair with your batch to make your experience even more special? I’d love to hear about your personal twists and experiences!
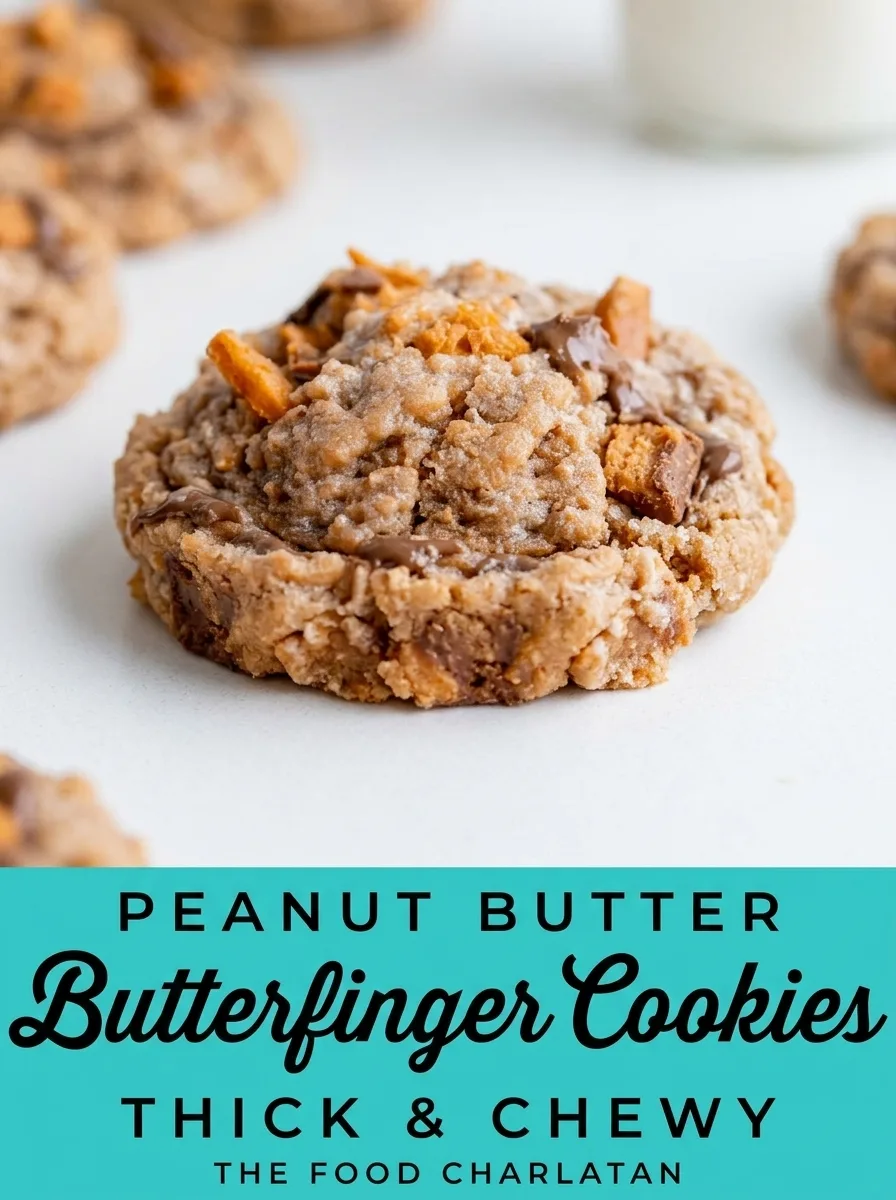
Peanut Butter Butterfinger Cookies
Ingredients
Method
- In a large bowl or stand mixer, beat 3/4 cup softened butter (this is 1 and 1/2 sticks) until it is smooth and creamy, scraping the sides of the bowl.
- Add 1/2 cup sugar and 1/2 cup packed brown sugar. Beat well for about 2 minutes until it is fluffy, scraping the sides. There should be no chunks of butter.
- Add 1 cup peanut butter. I like Jif best. And I love my adjustable measuring cup for this job, it's so much easier!
- Add 1 egg and 1 and 1/2 teaspoons vanilla. Beat until combined, scraping the sides of the bowl occasionally.
- Add 1 and 1/2 cups all-purpose flour, making sure you spoon the flour into the measuring cup and level off. Add the flour to the bowl, but don't stir it in yet. Add 1/2 teaspoon baking soda, 1/2 teaspoon baking powder, and 1/4 teaspoon kosher salt on top of the flour. Stir it in with your teaspoon to combine the dry ingredients together a bit, making sure to break up any clumps.
- Turn the mixer on to combine the dry ingredients into the dough. Don't overdo it! Once the dough barely starts to come together (with some flour still visible), stop and scrape the sides and bottom of the bowl. (Over mixing cookie dough results in tough cookies.)
- Add 16 ounces of chopped butterfingers and mix in until just barely incorporated. You can use 2 (8-ounce) bags of "Butterfinger Bits" (found in the baking aisle), but this is kind of a rare find. See notes* for how many butterfingers to use if you can't find the Bits. See photos for the level of coarseness we're going for, if you're chopping.
- Cover the bowl and chill the dough for 15 minutes to an hour.** (Or up to 24 hours!) Try not to eat it all. I think this is some of my favorite cookie dough EVER, no lie. It is peanut buttery crispity perfection.
- Preheat the oven to 350 degrees F. Line two baking sheets with parchment paper or a silicone baking mat.
- Shape the dough into 2 inch balls. I used this cookie scoop and seriously overpacked it.
- Place on a baking sheet at least an inch or two apart from each other. I added 12 cookies to a 12×18 inch half baking sheet.
- Bake the cookies at 350 for about 10 minutes.
- The cookies are done baking when the edges are set. They should not be shiny in the middle. They will be very puffy, but should have spread a bit from their ball-shape. If they have not spread much, use your spatula to gently press on the top of each cookie to flatten them a bit. Do this after you take them out of the oven, or even 2 minutes before they are done. Top each cookie with more butterfinger crumbles, if you have any left.
- Let the cookies set up on the pan for at least 5 minutes before transferring to a wire rack to cool completely.
- Strange note: I do not love eating these cookies warm. (Besides Sugar cookies, I think this is a first for me!) The butterfinger melts in the oven and I don't love the chewy texture. I prefer to wait until they are approaching room temperature before eating.
- This recipe makes about 25 cookies. Store leftovers in a tightly sealed container for up to 3 days.
- The dough freezes very well. Place cookie dough balls in a ziplock bag and freeze for up to 3 months. Bake on a pan straight from frozen (as directed plus another minute or two), and be prepared to press down on them with your spatula after baking to help them spread. You can also freeze the baked cookies in a sealed container up to 4 weeks. Let thaw at room temp, sealed.


0 Comments