

Witch Finger Cookies
There’s a quiet magic in the kitchen at spiilled as Halloween approaches, transforming the space into a whimsical workshop. The aroma of freshly baked Witch Finger Cookies fills the air, each cookie a delightful blend of buttery sweetness and playful spookiness. As I shape the dough into eerie fingers, I’m reminded of how culinary creativity can turn simple ingredients into a festive treat that sparks joy and laughter among friends and family.
Chilling the dough before baking is key, preventing spreading and ensuring precise spooky shapes.
Ingredients in Witch Finger Cookies
- Butter: Our foundation for a rich, melt-in-your-mouth texture. It lends a creamy flavor that makes these cookies amazing.
- Powdered Sugar: Also known as confectioners’ sugar, it provides the sweetness needed, dissolving beautifully for a smooth dough.
- Egg: The binder, adding structure and a touch of richness to the dough.
- Vanilla Extract: Adds a warm, inviting aroma that complements the buttery sweetness.
- All-Purpose Flour: The backbone, giving them their delightful shape and tender crumb.
- Salt: Just a pinch to balance the sweetness and enhance the flavors.
- Baking Powder: Helps the cookies achieve just the right puff, adding a slight lift.
- Sliced Almonds: Serve as the spooky nails. Their crunchy texture contrasts with the soft cookie.
- Strawberry Jam: Lovely and sticky, perfect for creating a gruesome, yet enticing, severed look.
- Key Technique: Chilling: Chilling the dough is essential. It prevents spreading, so our cookies keep their gory shape—just what we want for Halloween!
- Garnish: Channel your inner artist by painting the strawberry jam around the “nail beds” for a creepy finishing touch.
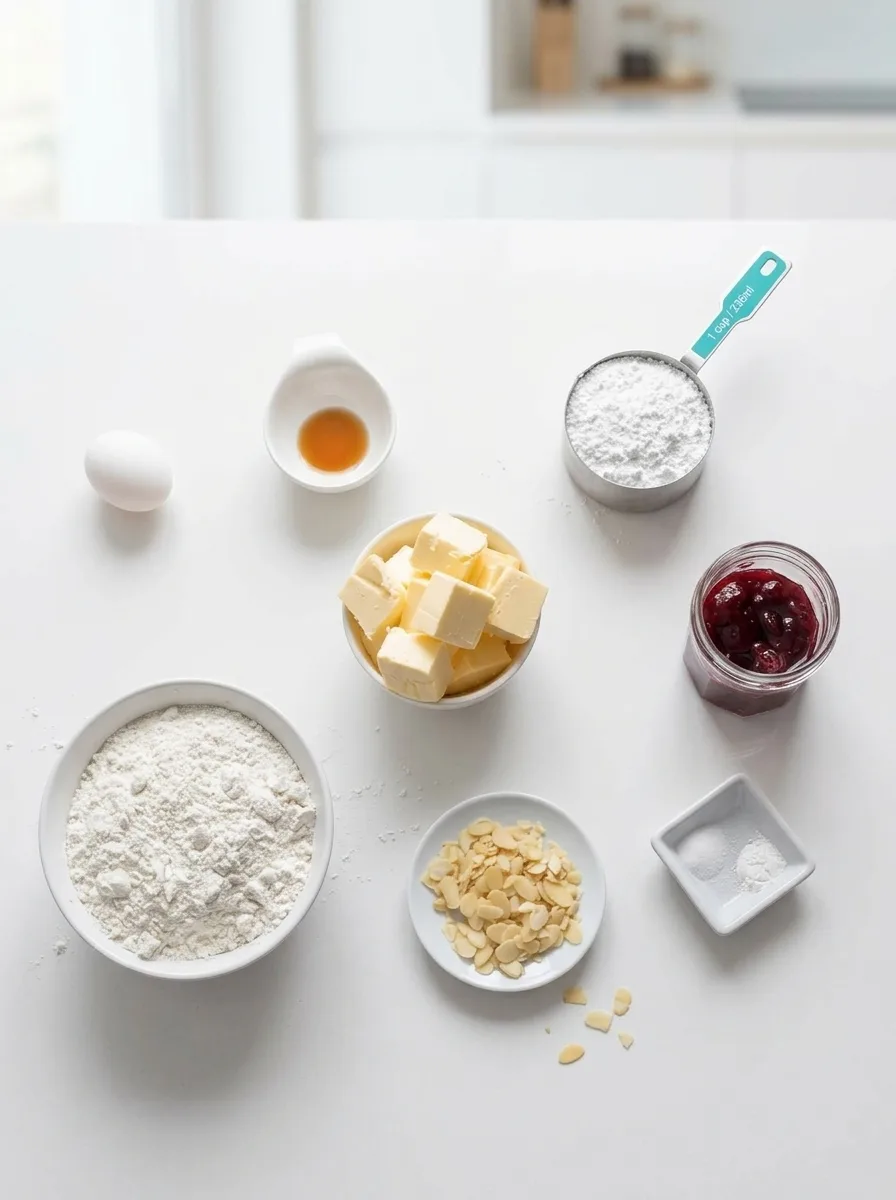
Grab your ingredients, and let’s conjure up some Halloween magic in the kitchen. 🎃
Let’s Craft Creepy Witch Finger Cookies
In just about 42 minutes, you can transform your kitchen into a whimsical Halloween workshop. These Witch Finger Cookies promise to dazzle and delight, adding a spooky touch to your festive table.
- Preheat and Prep: Heat your oven to 350°F. Line a cookie sheet with parchment paper, feeling the sturdy texture beneath your fingers—your canvas for these eerie treats.
- Cream Butter and Sugar: In a large bowl, cream together 1 cup of butter and 1 cup of powdered sugar using an electric mixer on medium speed. Mix until light and fluffy, filling the room with a sweet, buttery aroma.
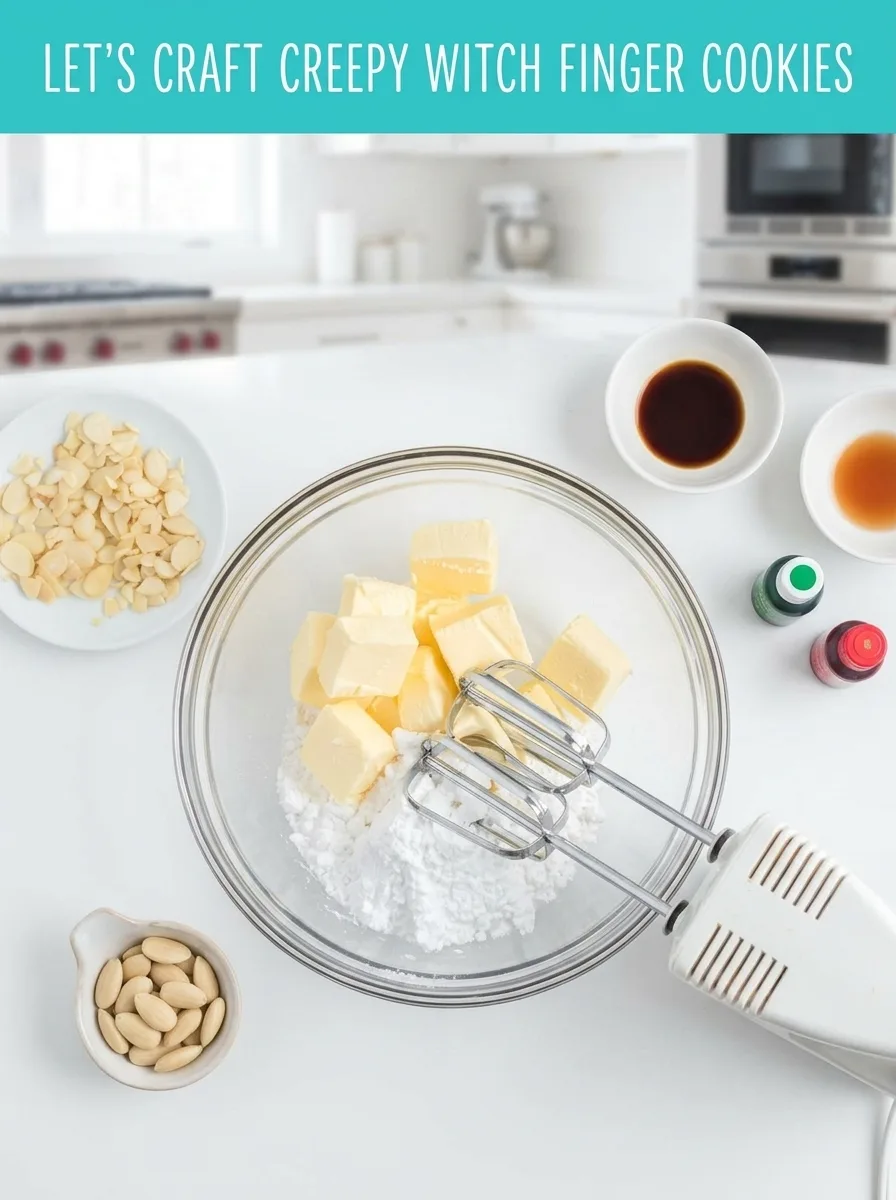
- Add Egg and Vanilla: Add 1 large egg and 1 teaspoon of vanilla extract, blending on medium speed until smooth and well-incorporated. The mixture should appear glossy and slightly airy.
- Mix Dry Ingredients: In a separate bowl, whisk together 2 ¾ cups of flour, ½ teaspoon of salt, and ½ teaspoon of baking powder. Gradually mix this into the wet ingredients in three additions, marveling as the dough thickens and forms a satisfying, pliable texture.
- Shape the Fingers: Scoop tablespoons of dough and roll them into 3-inch cylinders. Working with your hands, pinch gently to form knuckles and use your finger to press an indentation for the almond “nail.”
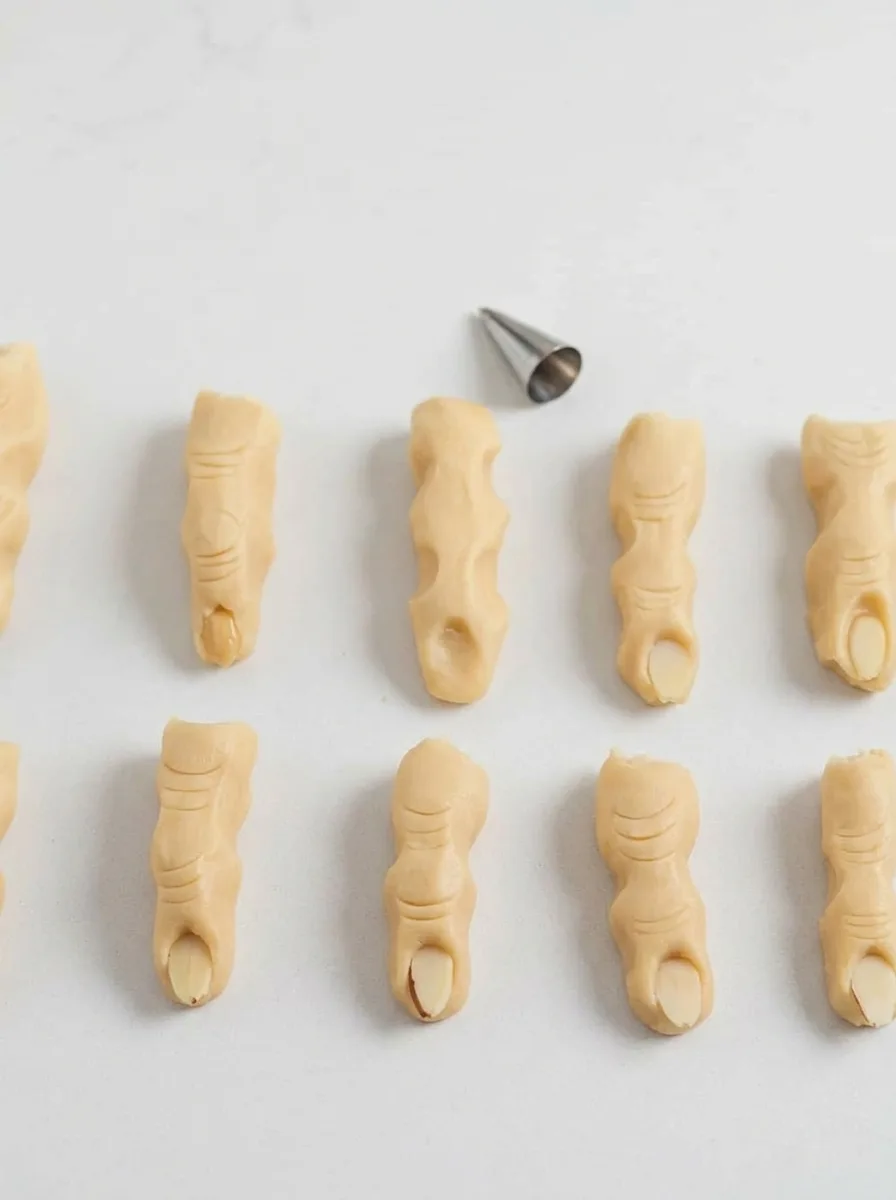
- Add Finishing Touches: Press a sliced almond firmly into the indent for the nail. Create realistic lines by pressing lightly with the bottom of a piping tip under the nail and at the knuckle.

- Chill the Dough: Arrange fingers on the prepared cookie sheet, one inch apart. Chill for 15-20 minutes to maintain their hauntingly precise shape.
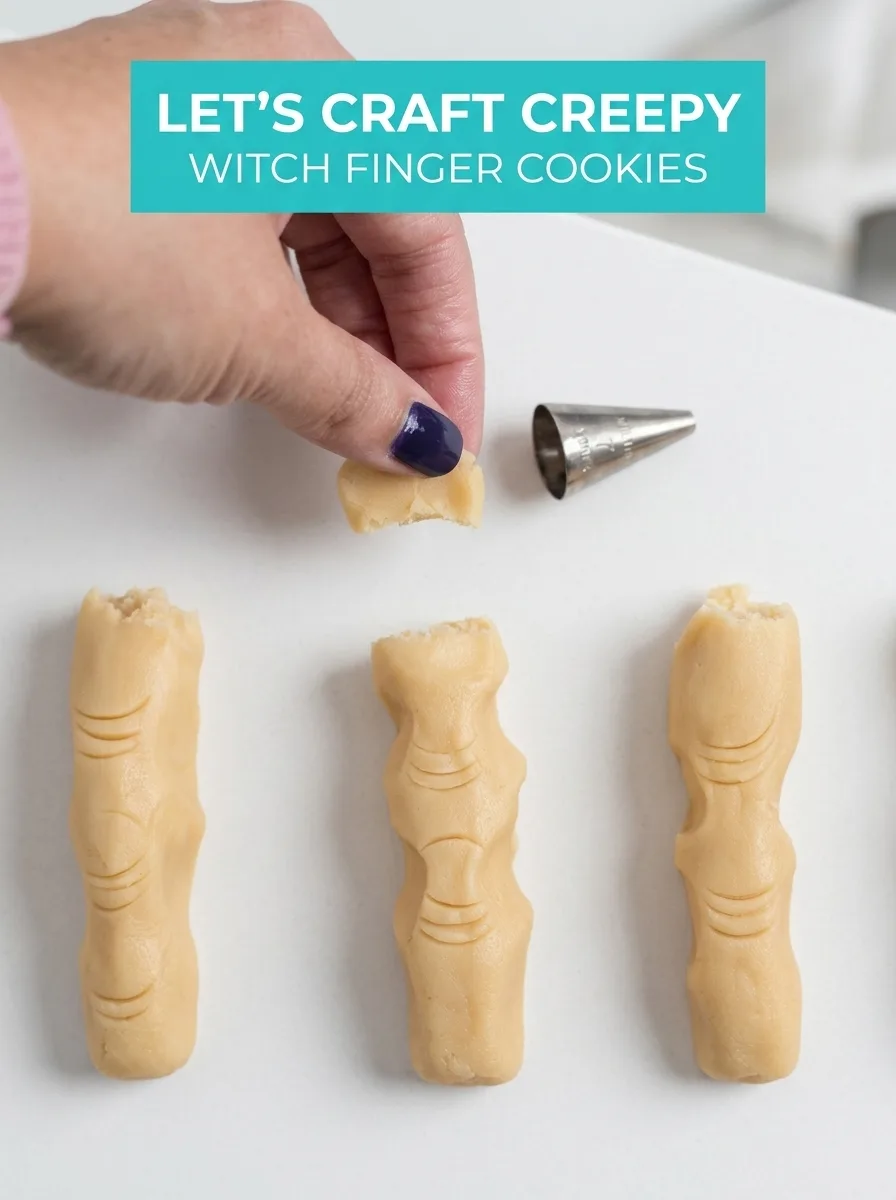
- Bake and Cool: Bake in your preheated oven for 12-14 minutes until they turn a pale, golden color. Let the cookies cool on the sheet for five minutes, then transfer to a cooling rack.
- Decorate with Jam: Warm ¼ cup of strawberry jam for 20 seconds in the microwave. Use a brush to apply it around the nail bed and dip the severed end for authenticity.

Now, step back and admire your handiwork, ready to bring a macabre flair to your Halloween celebrations!
Wickedly incredible Variations
Creating Witch Finger Cookies is like casting a culinary spell in your kitchen, and there’s just enough room to add your own magical twist! Here are a few ideas to make these treats even more enchanting:
- Red Gel Magic: For an extra touch of realism, swap the strawberry jam with red decorating gel. It’s perfect for adding that striking, bloody look around the nail beds and severed ends.
- Jam Swap: If strawberries aren’t your thing, cherry or raspberry jam makes a wonderfully gory substitute. Both offer a deep red hue and a slightly tart contrast.
- Ghoulish Green Glow: Consider adding a touch of green food coloring to the dough. It gives the fingers a creepy, witchy hue that will stand out at your Halloween spread.
- Hint of Darkness: Add a pinch of cocoa powder to the dough for a deeper color and subtle, chocolatey taste.
Have fun experimenting, and remember, these cookies are meant to be both frightful and delightful! Whether you stick to the classic version or venture into these variations, your witchy fingers are sure to be a hit.
Keeping the Magic Alive
Once you’ve created these creepy Witch Finger Cookies, it’s important to store them properly to keep their charm intact. Let them cool completely before sealing them in an airtight container—this prevents condensation, which could make them soggy. They’ll stay fresh at room temperature for up to a week, but if you’d like to freeze them for later, they freeze beautifully! Just pop them into a freezer-safe bag and they’ll keep their ghoulish goodness for up to three months.
When it’s time to bring your Witch Fingers back to life, skip the microwave, which can make them too soft. Instead, let them thaw at room temperature for a few hours, or if you’re in a hurry, warm them gently in an oven set to 300°F for about 5 minutes. This will revive their crispness without losing that buttery, tender texture we all love. Enjoy them as frightfully fresh as the day you baked them!
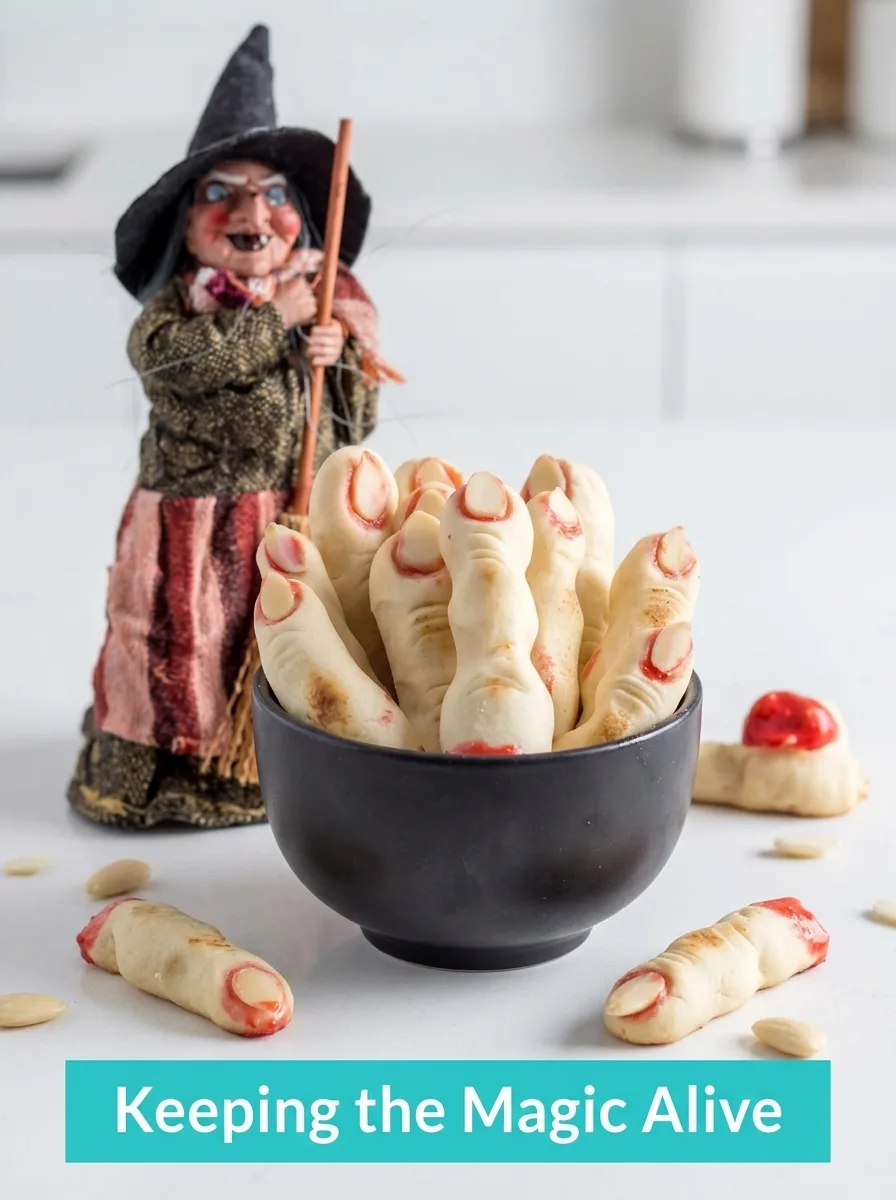
Enchanted Pairings for Witch Finger Cookies
As the cauldron bubbles and the eerie tunes play, Witch Finger Cookies are ready to cast their spell. Their buttery sweetness mingles with festive eeriness, making them the life—or perhaps the death—of your Halloween celebration.
- Chilled Apple Cider: The crisp, refreshing taste of apple cider complements the rich, buttery flavor of the cookies, bringing a balance to your taste buds.
- Spooky Punch: A dark, fruity punch with floating lychee “eyeballs” adds an interactive element. The light sweetness contrasts with the cookie’s tender texture.
- Pumpkin Spice Lattes: The warmth of cinnamon and nutmeg in a latte enhances the haunted autumn theme, providing a comforting counterpoint.
Decorative Touches to Bewitch
- Edible Gold Dust: A light dusting adds a touch of magic and intrigue, enhancing your cookies visually while keeping them delightful.
- Dark Chocolate Drizzle: A gentle drizzle adds a rich depth, pairing with the strawberry jam’s fruity notes for a sinister experience.
- Edible Glitter: Sparkling like a witch’s spell, it enhances the eerie elegance and draws the eye to every unsettling detail.

Let your Halloween table become a realm of haunted delights and culinary mischief. What spooky accompaniments will you conjure up to make your celebration truly magical?
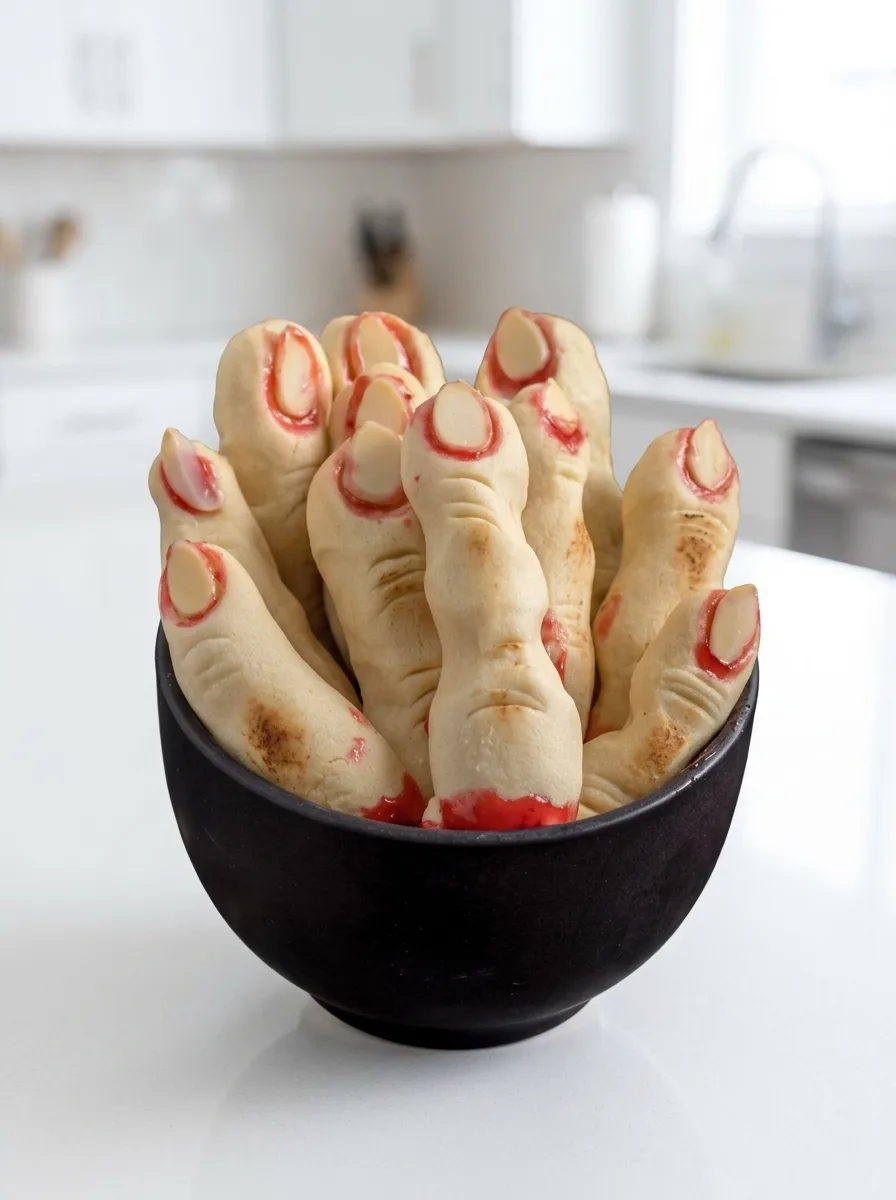
Witch Finger Cookies
Ingredients
Method
- Preheat oven to 350 F. Prepare a cookie sheet lined with parchment paper and set aside.
- In a large bowl cream together the butter and powdered sugar until evenly mixed with an electric mixer on medium speed.
- Add the egg and vanilla and mix to combine on medium speed.
- Whisk together the flour, salt, and baking powder in a medium bowl and mix into the batter in 3 additions.
- When the cookie dough is combined use a small cookie scoop to scoop 1 tablespoon of cookie dough into a ball.
- Next, shape the ball into a 3-inch cylinder.
- Make a small pinch right beneath where the nail would be on the cookie. Then make another small pinch where the knuckle would be.
- Using your index finger make an indent for the nail bed. Place a sliced almond as a nail in the cookie.
- Next, using the bottom of a piping tip create indents under the nail bed and on the knuckle of the cookie.
- Finally, break off a small portion of the bottom of the finger so that it appears severed. Repeat steps 6-11 with the remaining cookie dough and place fingers on the prepared cookie sheet 1 inch apart.
- Chill cookies for 15-20 minutes to prevent spreading in the oven.
- Bake the cookies in the preheated oven for 12 minutes. If they are not yet slightly golden bake for 2 minutes more until the desired color is reached.
- Allow cookies to cool on the baking sheet for 5 minutes before transferring to a wire rack to cool completely.
- If desired, use a kitchen torch to create slight burn marks on the fingers around the knuckles.
- In a small microwave safe bowl warm the strawberry jam for 20 seconds. Use a fine tip paint brush to paint strawberry jam around the nail bed. dip the severed end of the finger in the strawberry jam and transfer to a serving plate. Continue with remaining cookies.


0 Comments