

This crochet envelope clutch is worked flat as a single rectangle and then folded into shape, which makes it one of the fastest bag projects going – most crocheters finish it in an evening. The lacy shell stitch gives it a vintage look while staying dense enough to hold its form. Yarn, hook and measurements below.
There’s something truly magical about bringing a piece of vintage-inspired elegance into our modern lives. If you’ve been on the hunt for a delicate, feminine accessory that effortlessly captures the charm of a bygone era, you’ve just found your next weekend project! This lacy crochet clutch bag is an absolute dream to make and even better to wear.
Perfect for those bright spring mornings and warm summer evenings, this envelope-style clutch purse boasts an intricate fantail stitch that mimics the delicate nature of lace. Despite its sophisticated appearance, this project is surprisingly simple and works up very quickly. It’s the perfect size for your essentials—phone, lip gloss, and a few cards—making it an ideal companion for a night out or a casual weekend brunch.
Grab your favorite cotton yarn and a hook, and let’s create a chic accessory that will have everyone asking, “Where did you buy that?”
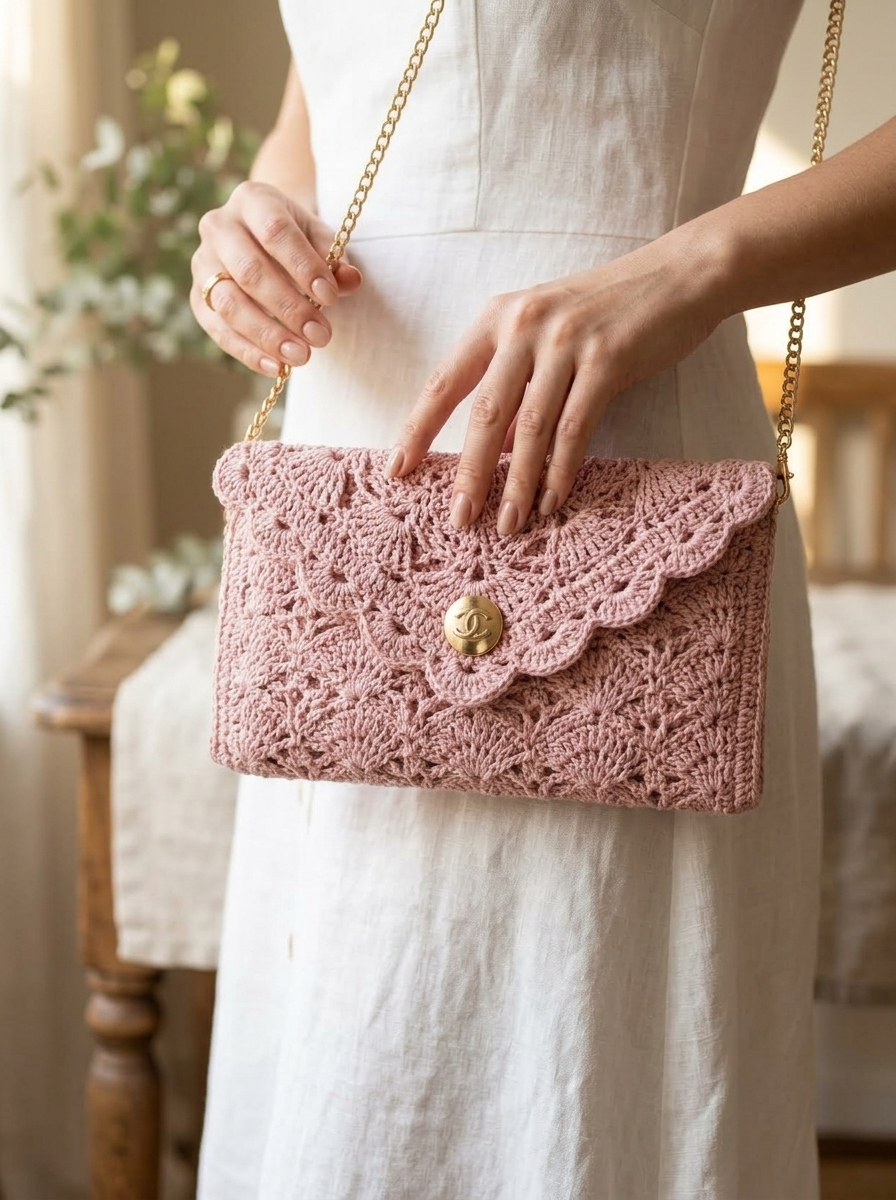
Finished Size
When completed and sewn together, the clutch bag measures approximately 5.5 inches (14 cm) in height and 7.5 inches (19 cm) in width.
Gauge
To ensure your clutch comes out the right size, please check your gauge:
4” (10 cm) = 7 rows
4” (10 cm) = 2.5 fantail repeats
Construction Overview
This pattern is beautifully straightforward! You will crochet one continuous, long rectangular strip. Once the strip is finished, it is simply folded upward from the bottom to create the main pouch of the clutch. The sides are then sewn together. The remaining unsewn portion at the top naturally folds over to form the envelope flap. A single button is added at the end for a chic and secure closure.
Supplies
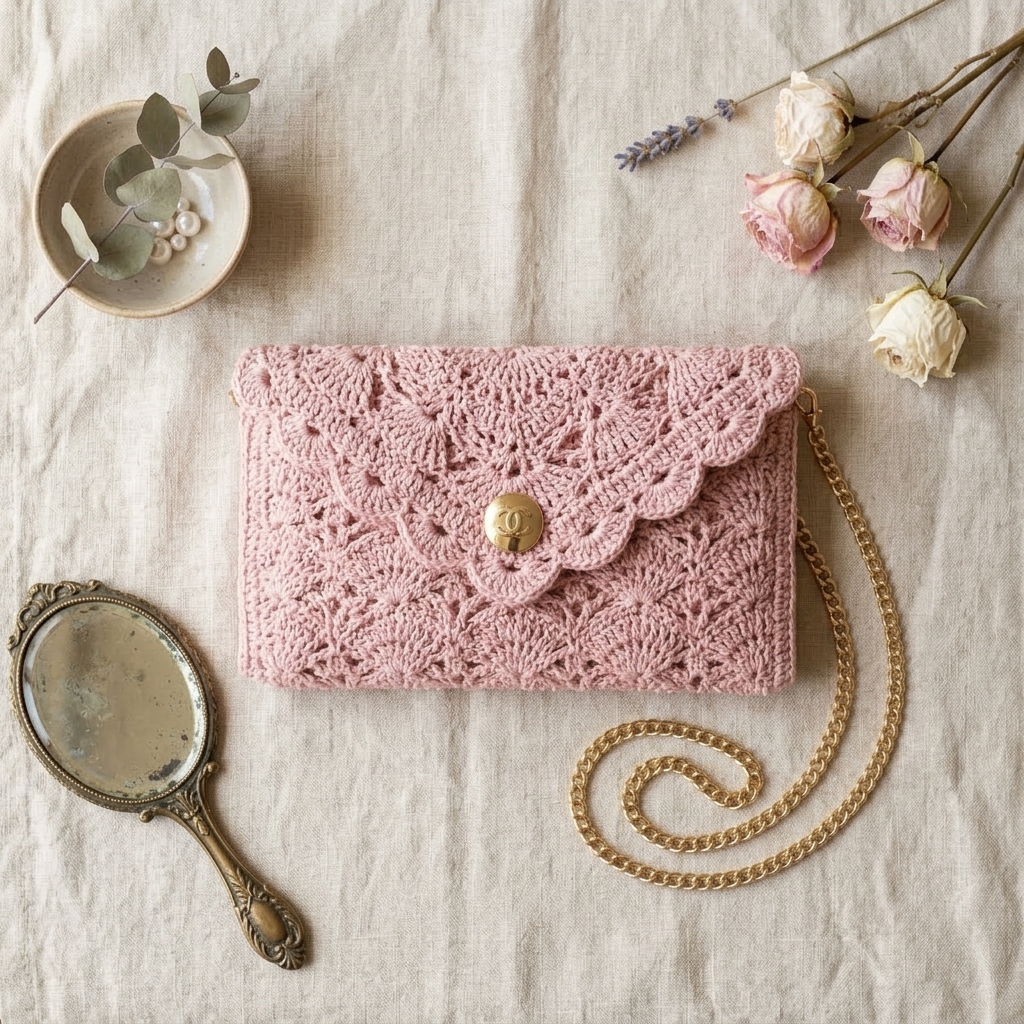
- Yarn: 1 skein of Drops Muskat in shade Powder Pink 05 (or any comparable 100% cotton DK / Light 3 weight yarn)
- Hook: 4.0 mm crochet hook
- Notions: A tapestry needle for weaving in ends and a pair of scissors
- Hardware: One 22 mm button (a metallic, Chanel-style button looks incredibly chic)
- Extra: Darning thread and needle for securely attaching your button
Stitches & Abbreviations (US Terms)
- Ch: Chain
- Sk: Skip
- Sp: Space
- Sl st: Slip stitch
- St: Stitch
- SC: Single Crochet
- DC: Double Crochet
- HDC: Half Double Crochet
- EOR: End of row
Special Stitches
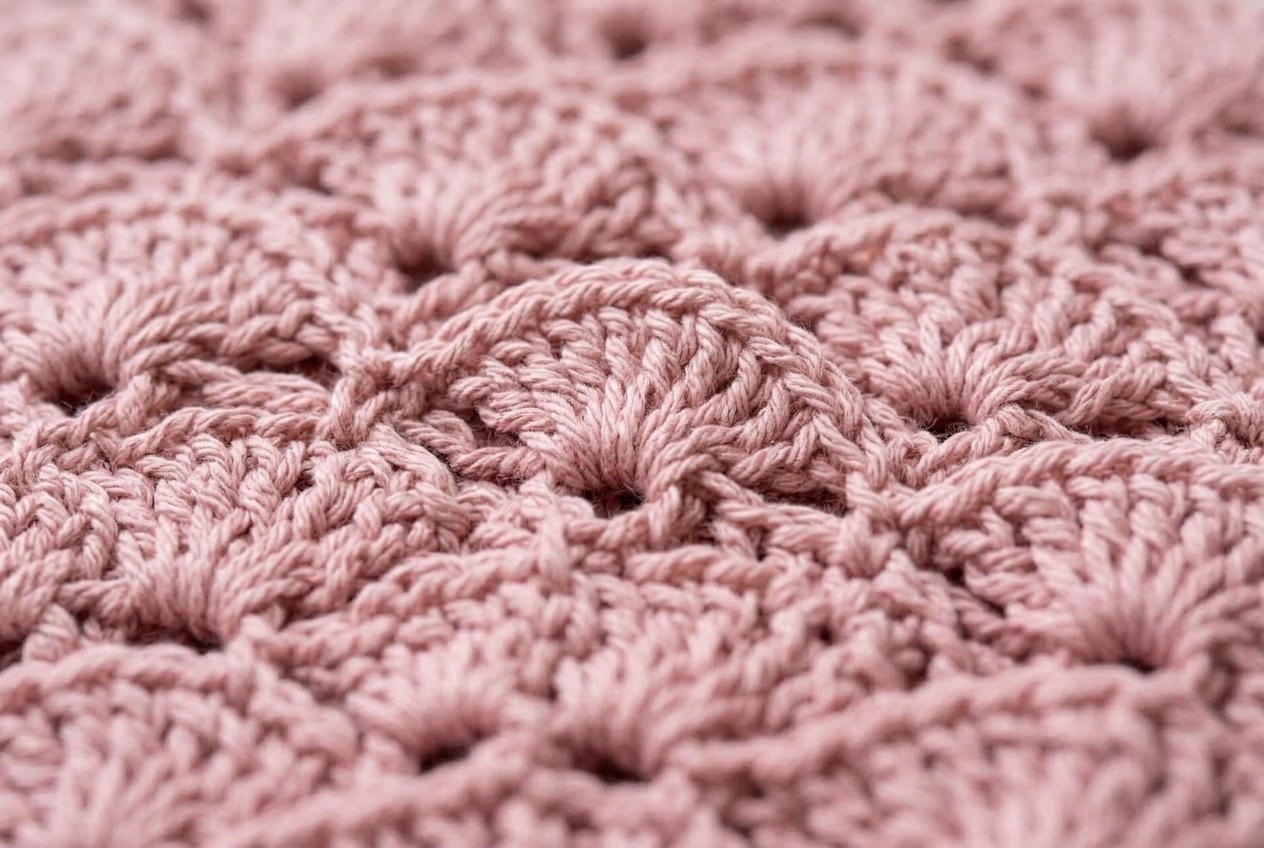
To create the beautiful lacy texture, we use a combination of V-stitches and Fans:
- V-Stitch: Work (1 HDC, ch 1, 1 HDC) all into the designated stitch or space.
- Fan: Work (3 DC, ch 1, 3 DC) all into the designated stitch or space.
Pattern Instructions
Note: This stitch pattern requires a multiple of 10 + 2 stitches.
Foundation: Chain 42.
Row 1: SC into the 2nd ch from the hook, SC into the next ch. *Sk 3 ch, work a Fan (3 DC, ch 1, 3 DC) into the next ch, sk 3 ch, SC into the next ch, ch 1, sk 1 ch, SC into the next ch*. Repeat from * to * until you complete your last repeat. SC into the very last ch. Turn your work.
Row 2: Ch 2 (counts as first HDC), HDC into the same first stitch. *Ch 3, SC into the ch-1 space at the center of the Fan from the previous row, ch 3, work a V-Stitch (HDC, ch 1, HDC) into the next ch-1 space from the previous row*. Repeat from * to * until you finish your last repeat. Place 2 HDC into the last stitch. Turn your work.
Row 3: Ch 3, 3 DC into the same first stitch. *SC into the next ch-3 arch from the previous row, ch 1, SC into the next ch-3 arch from the previous row, work a Fan (3 DC, ch 1, 3 DC) into the ch-1 space at the center of the next V-Stitch from the previous row*. Repeat from * to * until the end. Place 4 DC into the last stitch. Turn your work.
Row 4: Ch 1, SC into the same first st. *Ch 3, work a V-Stitch (HDC, ch 1, HDC) into the next ch-1 space from the previous row, ch 3, SC into the ch-1 space at the center of the next Fan from the previous row*. Repeat from * to * until you end your last repeat into the top of the turning chain. Turn your work.
Row 5: Ch 1, SC into the same first stitch. *SC into the next ch-3 arch from the previous row, work a Fan (3 DC, ch 1, 3 DC) into the space at the center of the next V-Stitch from the previous row, SC into the next ch-3 arch from the previous row, ch 1*. Repeat from * to * until you reach the end. SC into the last SC from the previous row. Turn your work.
Row 6 onwards: Repeat Rows 2, 3, 4, and 5 continuously until your project measures 15 inches long.
Fasten off, making sure to leave a nice long tail for sewing the sides.
Assembly & Finishing
Step 1: Identify the right side (the “rounder” and more textured side) versus the wrong side of your fabric.
Step 2: Place your rectangular project lengthwise on a flat surface with the right side facing down.
Step 3: Fold the bottom edge up to form the pocket of the clutch bag. The portion you have folded upward should measure exactly 4.5 inches.
Step 4: Thread your long yarn tail onto your tapestry needle. Using the mattress stitch, sew up the side of the clutch. Once you reach the top of the folded section, fasten off securely and weave in the loose end.
Step 5: Attach a new piece of yarn to the bottom corner of the opposite side and repeat the sewing process. Fasten off and weave in ends.
Hardware & Closures
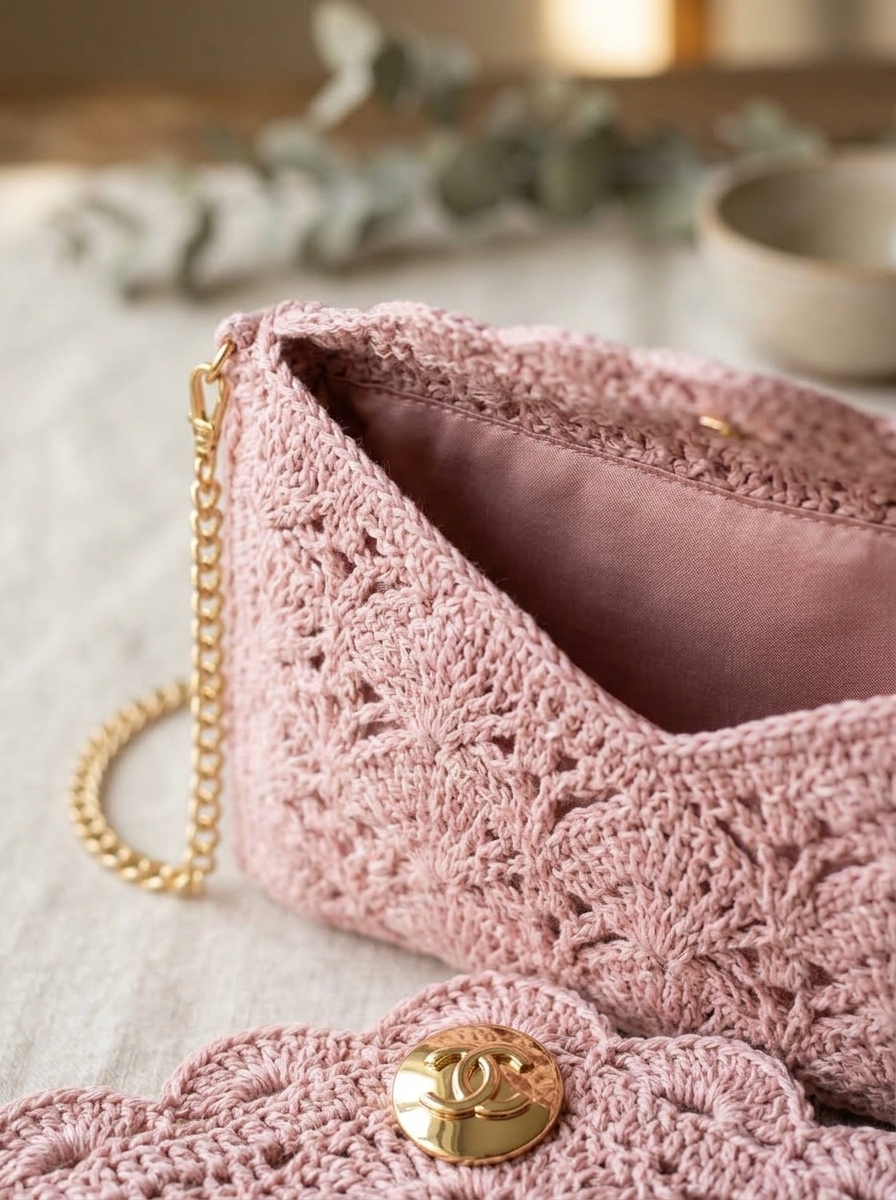
Once your sides are sewn, the remaining unsewn length of the rectangle will naturally fold over as your envelope flap.
Step 1: Fold the flap down over the front of your bag.
Step 2: Measure 2.5 inches up from the very bottom edge of the bag. Find the exact horizontal center.
Step 3: Test your button! Before sewing, make sure the button can easily slip through one of the natural lacy holes in the flap to keep the clutch securely shut. Adjust placement slightly if needed.
Step 4: Using your darning needle and thread, sew the button securely onto the main body of the bag. Fasten off and tidy up any loose threads.
Styling Tips
This clutch is the definition of springtime elegance! Because of its intricate lace design, it pairs beautifully with flowy summer dresses, soft linens, or even a simple jeans-and-blouse combo when you want to add a touch of romance to your outfit. Try adding a detachable gold chain strap to the inside corners if you want to turn it into a dainty shoulder bag!
Quick Reference Notes
- Stitch Multiple: 10 + 2
- Total Length before folding: 15 inches
- Fold Measurement: 4.5 inches
Enjoy your stunning new vintage-inspired clutch! Happy crocheting!


0 Comments