

Halloween Hot Chocolate Bombs
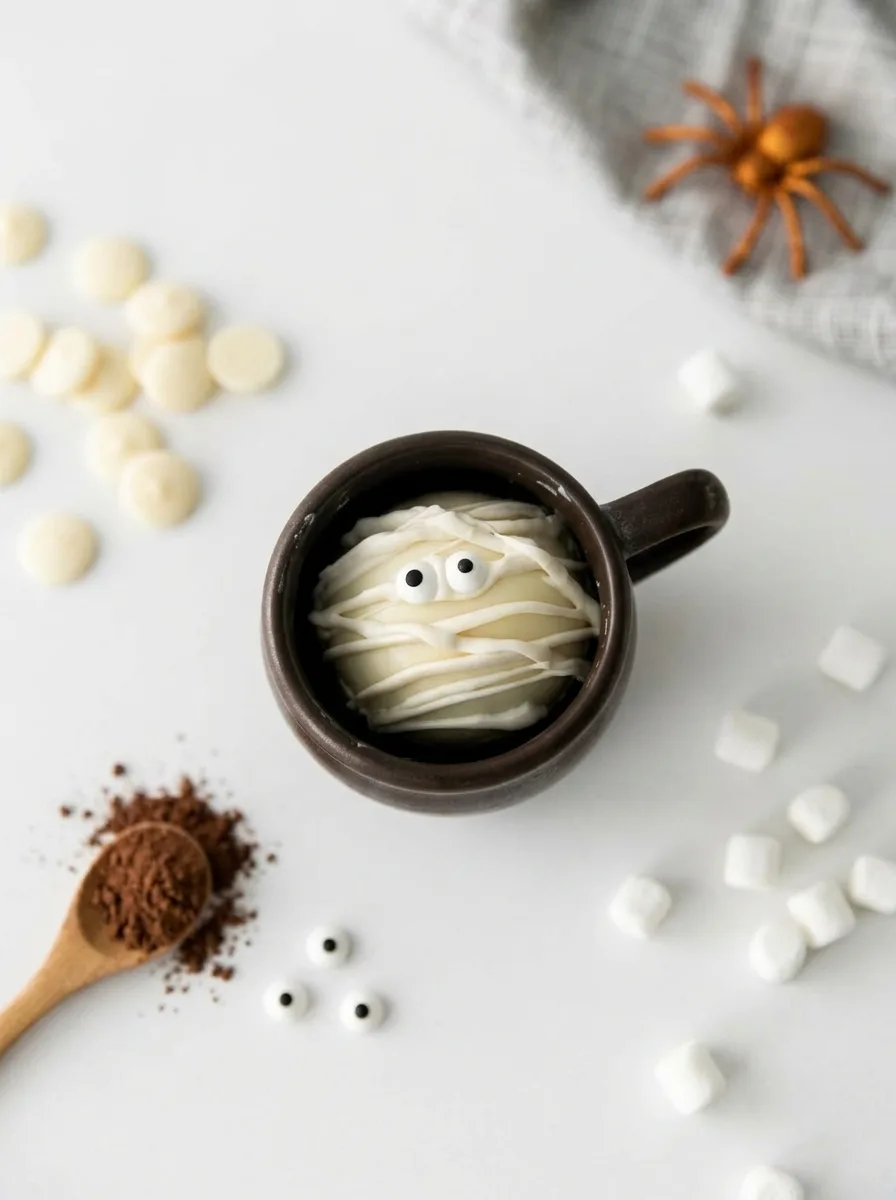
As the leaves begin to turn and Halloween approaches, the kitchen at spiilled transforms into a whimsical haven of creativity. There’s something truly enchanting about crafting Halloween Hot Chocolate Bombs. Melting white chocolate and filling it with surprises becomes a joyful ritual.
Tempered white chocolate gives these bombs a beautiful sheen, preventing cracks and creating a delightful texture contrast inside with fluffy marshmallows and rich cocoa.
Ingredients in Halloween Hot Chocolate Bombs
- Powdered Sugar: Adds a touch of sweetness, perfect for balancing the richness of cocoa.
- Unsweetened Cocoa Powder: I adore Dutch-process for its smooth, intense chocolate flavor. It’s the heart of our mix, making each sip cozy.
- Finely Chopped White Chocolate: These creamy bits melt seamlessly, enriching the drink’s flavor and adding luscious texture.
- Mini Marshmallows: The adorable surprise tucked inside, bringing nostalgic joy when they bob to the top of your mug.
- White Chocolate Bark: Forms the shell of our bombs. Opt for bark or temper your own for a glossy, amazing finish.
- Hot Chocolate Powder Mix: Craft your own heavenly blend or use your favorite store-bought mix for convenience.
- Candy Eyes & More White Chocolate Bark: Candy eyes add a playful, spooky touch, while the extra drizzle ties everything together.
- Very Hot Milk: Pour this over the bomb and watch the magic unfold—revealing the treasures inside.
- Key Technique: Tempered White Chocolate: Ensures your bombs look professional and hold together beautifully.
Each ingredient transforms your typical hot cocoa into a festive adventure, delighting both kids and adults. Whether you’re crafting for a gathering or keeping them all to yourself (no judgment here), these hot chocolate bombs will become a Halloween staple in your kitchen rituals.
Let’s Create Halloween Hot Chocolate Bombs!
Ready to turn your kitchen into a festive workshop? This project takes about 20 minutes and promises as much fun as it does flavor. Feel the thrill as you witness the enchanting transformation.
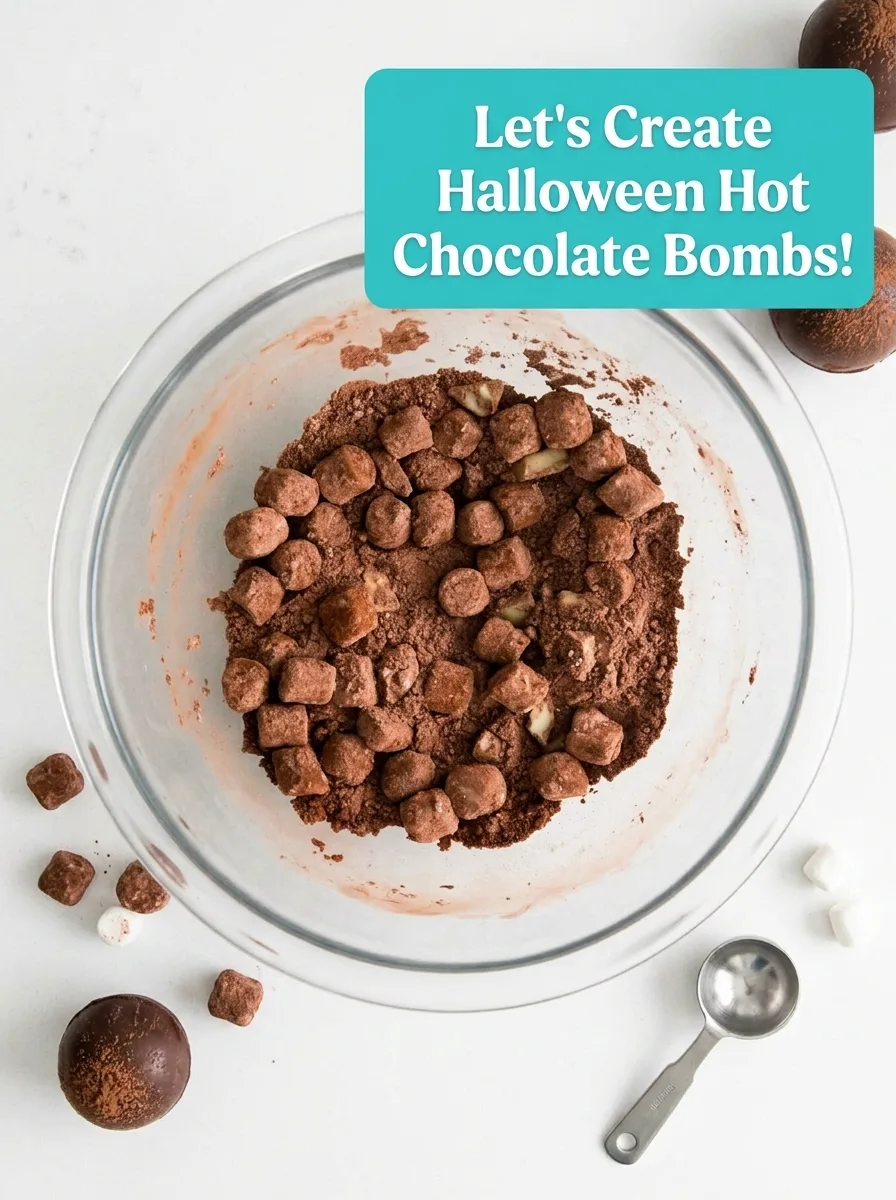
- Mix Cocoa Powder: Stir together the powdered sugar, cocoa powder, and finely chopped chocolate until evenly combined. A gentle shake in a jar works wonders.
- Melt White Chocolate: Follow package instructions to melt white chocolate bark until smooth and glossy. Stir to avoid burning.
- Coat Molds: Scoop about 2 tablespoons of melted chocolate into each silicone mold. Ensure a thick coat by swirling. If thin, add a second layer after chilling for 10 minutes.
- Chill Shells: Refrigerate molds for about 10 minutes. The chocolate should be firm and glossy. Touch carefully—cool to the touch, not sticky!
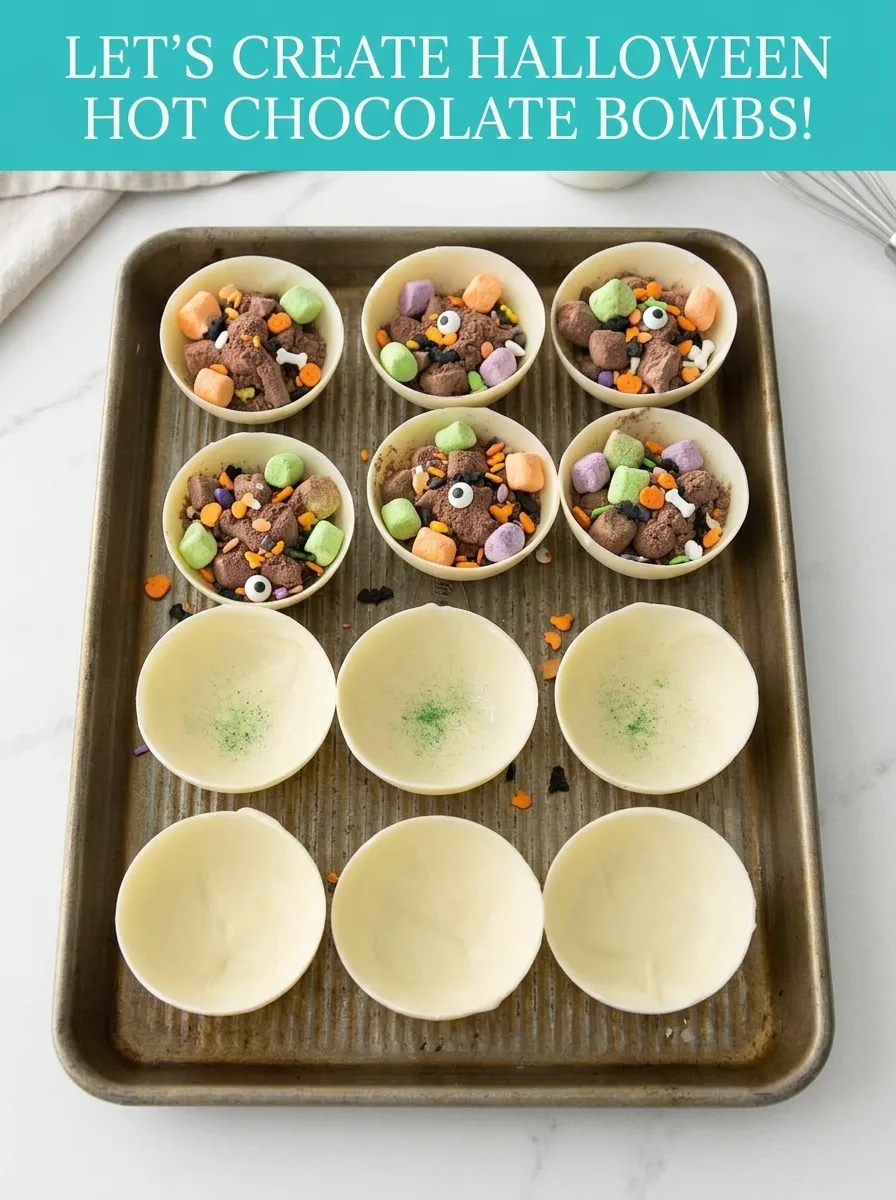
- Fill and Seal Bombs: Remove shells from molds using gloves if needed. If edges are uneven, melt gently in a warm pan. Fill each with 2 tablespoons of hot chocolate powder and marshmallows. Reheat the pan, melt rims of empty halves gently, then press filled halves onto them.
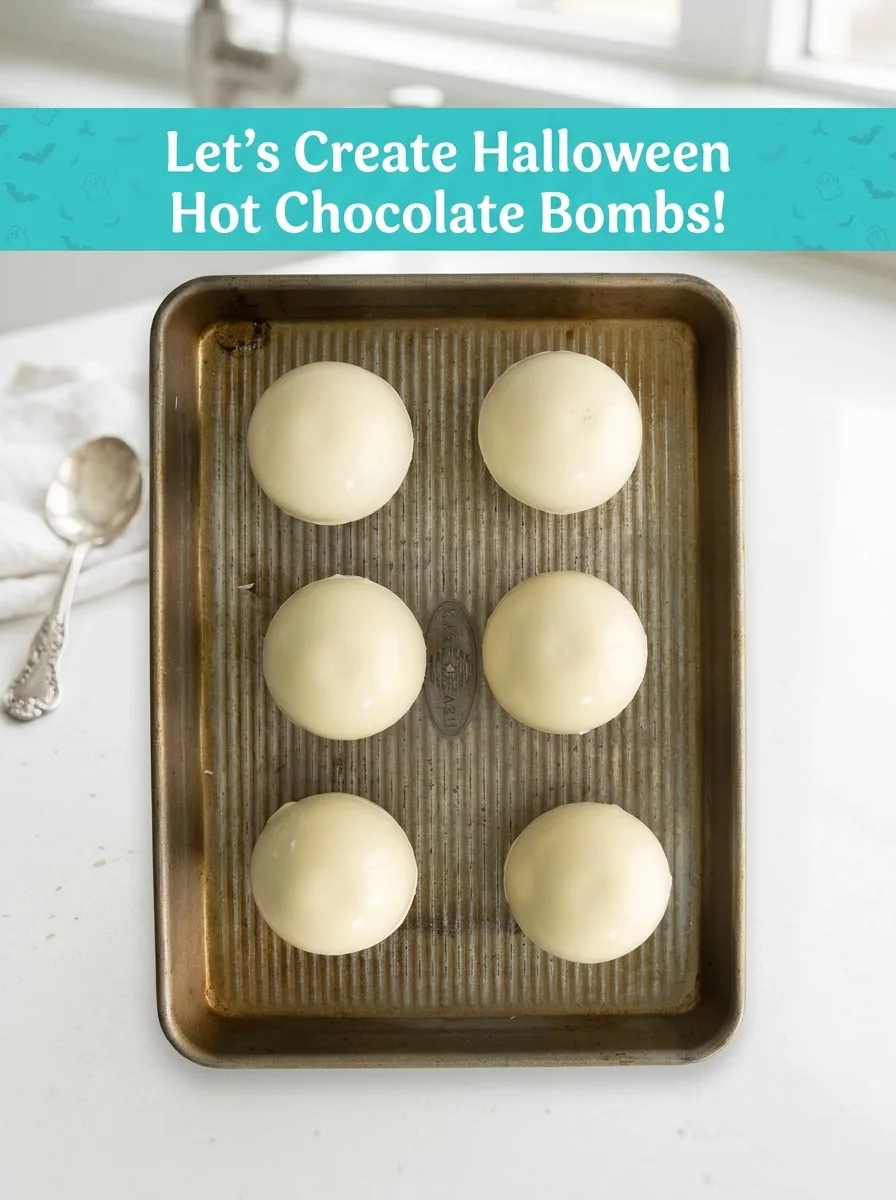
- Decorate Bombs: Remelt leftover chocolate and drizzle over sealed bombs. Add candy eyes for spooky flair before the decoration hardens.
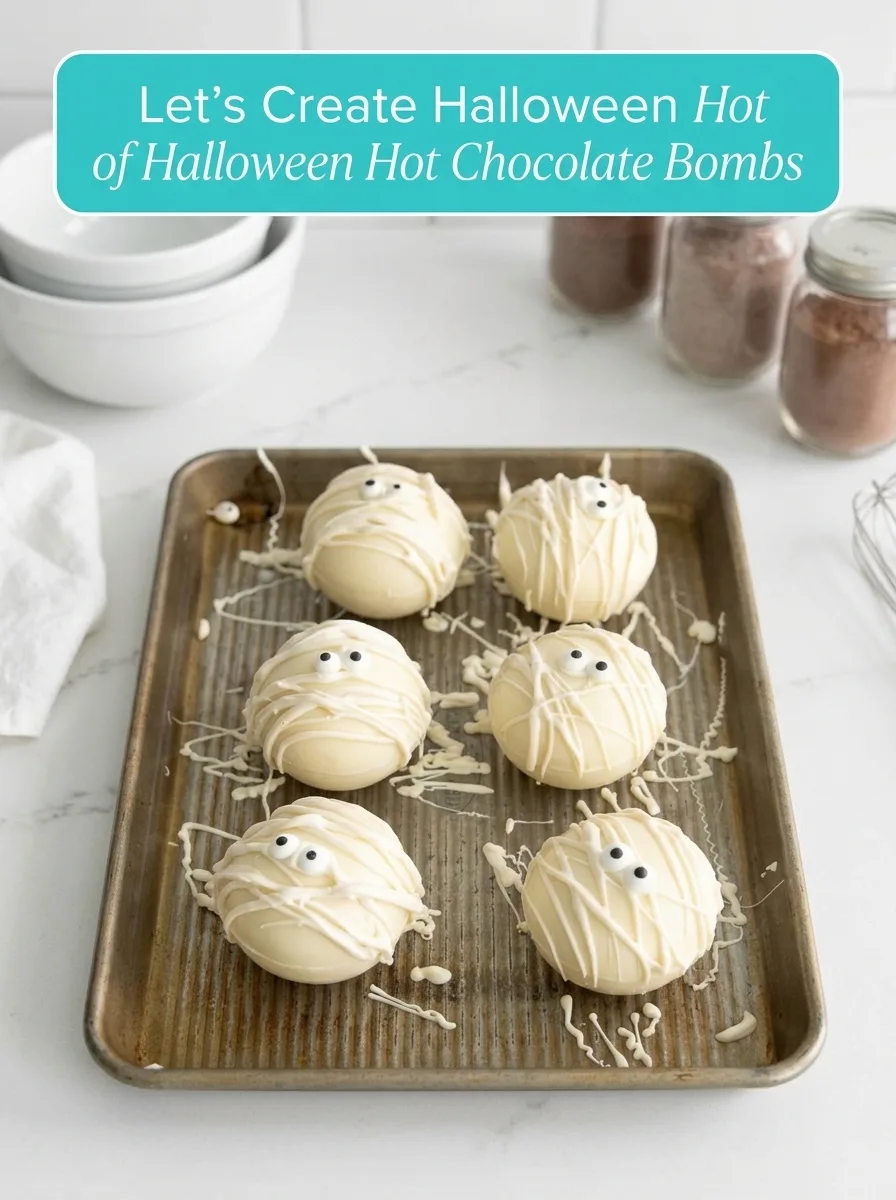
- Set and Store:
Refrigerate completed bombs for 5-10 minutes, then store in an airtight container for freshness up to a week.
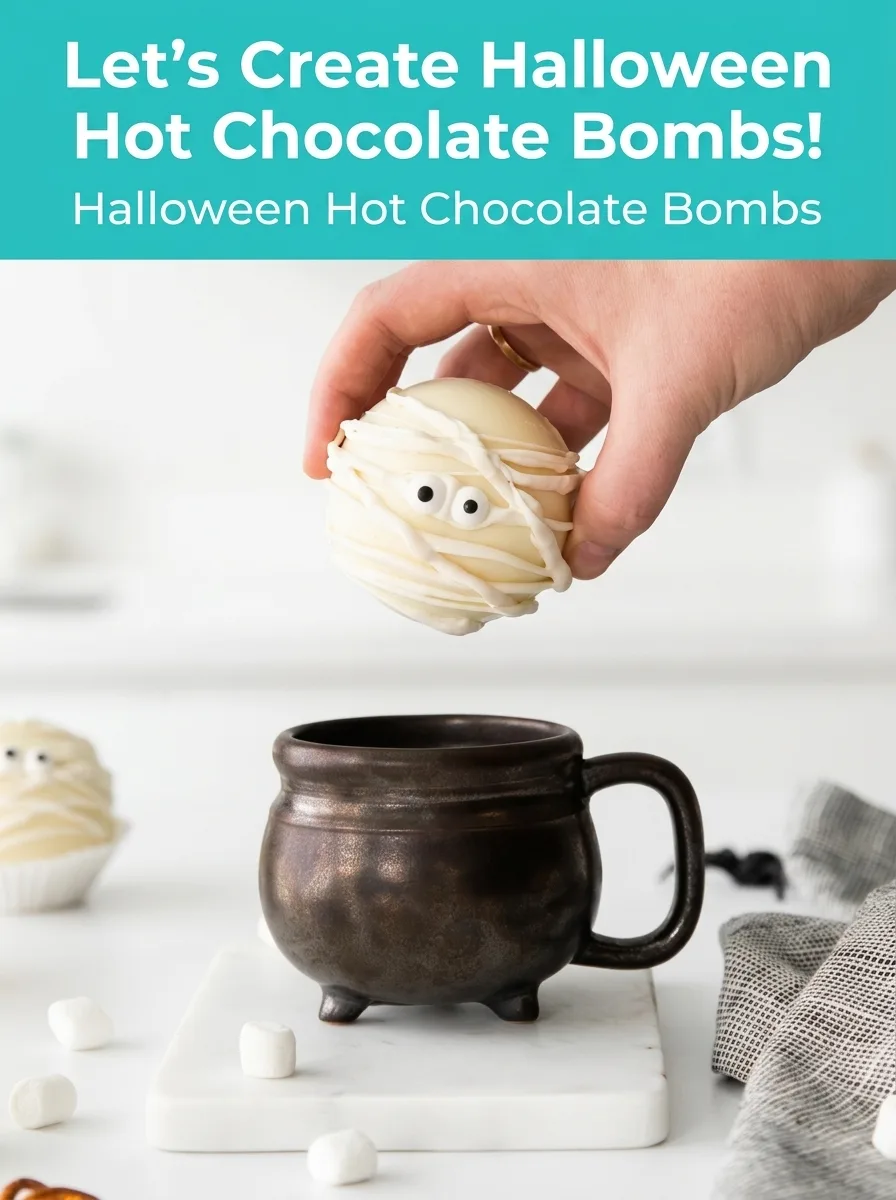
Now you’re ready for a cozy, magical Halloween treat. Enjoy every sip!
Spook-tacular Twists: Crafting Your Perfect Halloween Delight
Embrace Halloween’s playful spirit with variations to customize your bombs:
- Effortless Shine: If tempering chocolate feels tricky, use white chocolate bark. It’ll harden beautifully.
- Powder Perfection: Create your own hot chocolate powder mix, allowing control over sweetness and personal touch.
- Ghoulish Glance: Out of candy eyes? Use chocolate chips. They’re adorable stand-ins.
- Pristine Creations: Use disposable gloves to avoid fingerprints and get a professional look.
- Perfectly Molded: Silicone molds ensure easy removal and a smooth finish.
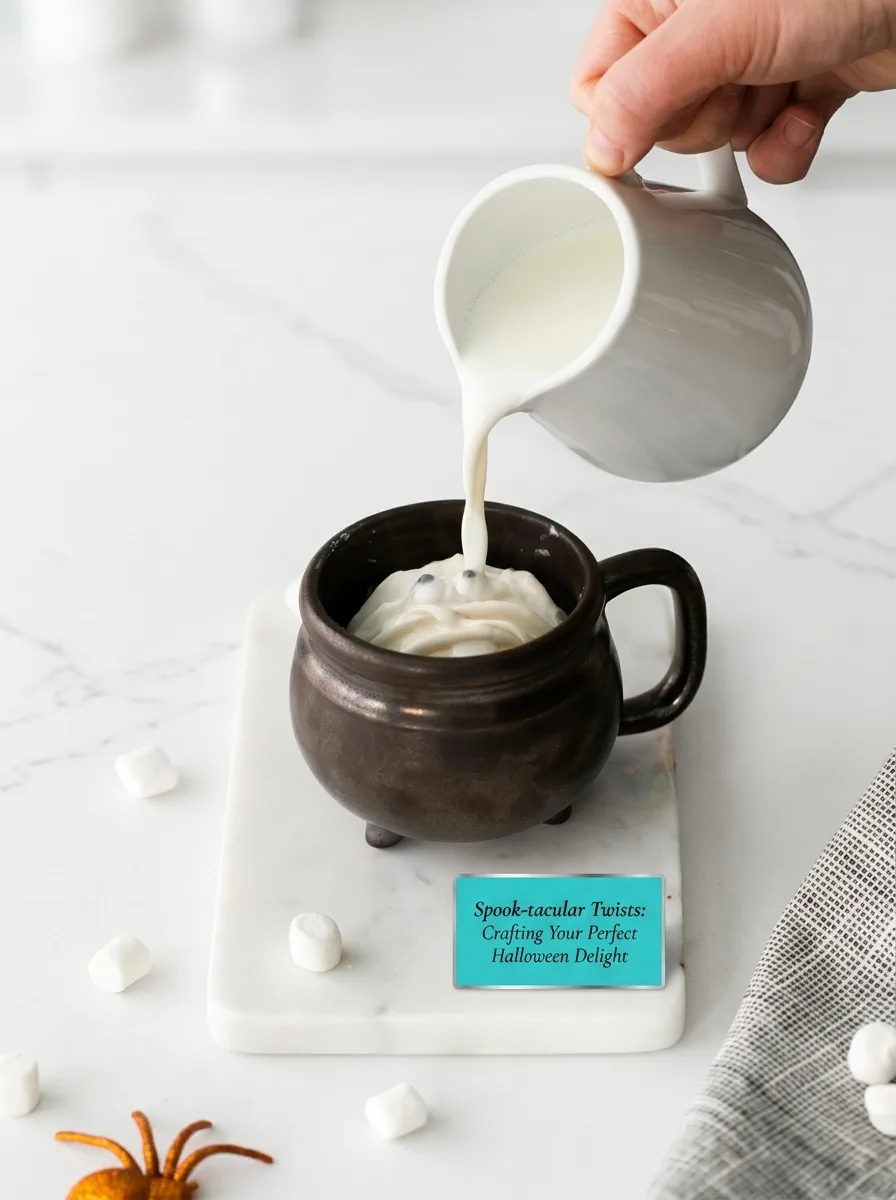
These tweaks help you make the magic yours while keeping hot chocolate bombs festive and fun. Embrace the joy of creation and let Halloween cheer flow.
Keeping the Magic Alive
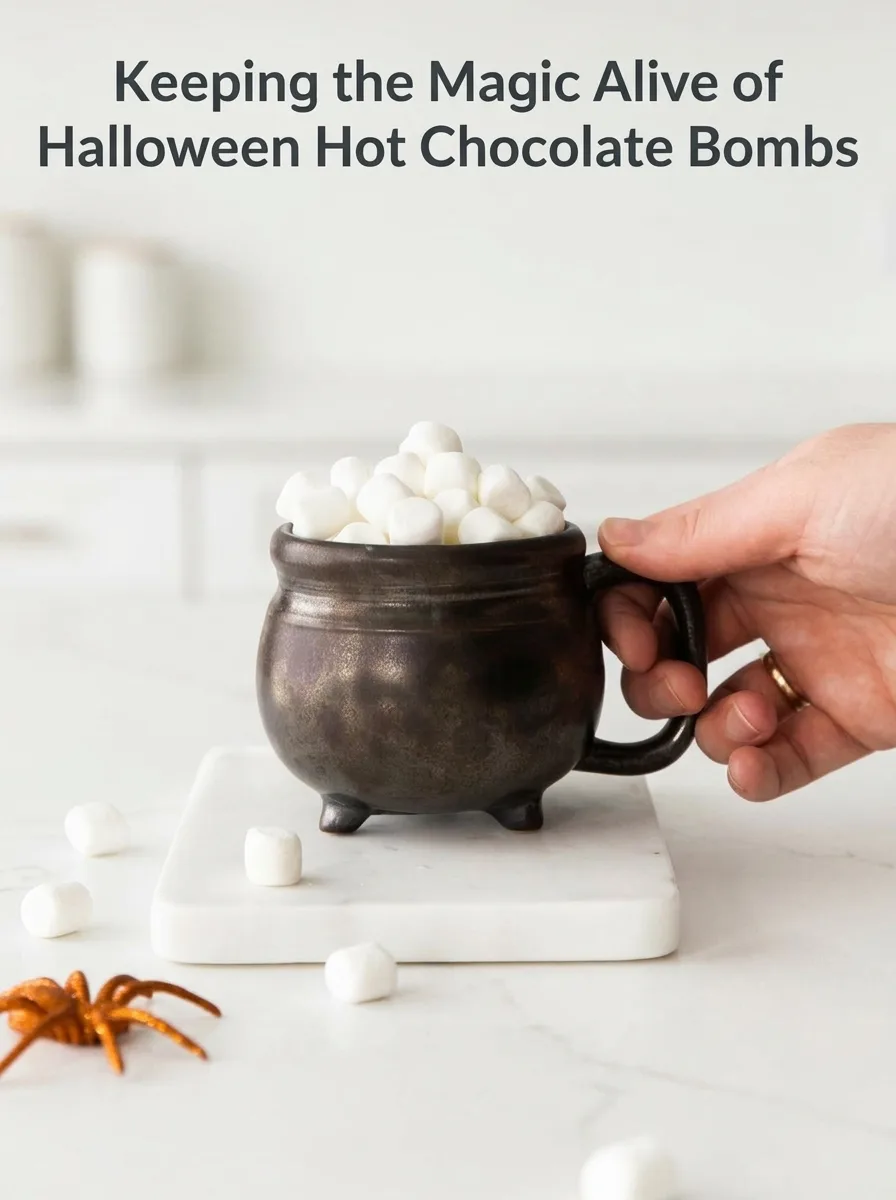
Store your completed bombs in an airtight container in the fridge for up to a week. Ensure they’re completely cooled before sealing to avoid condensation. Freezing isn’t recommended.
When ready to enjoy, place a bomb in your favorite mug and pour very hot milk over it. For a gentler melt, use a stovetop on low heat. Stir gently, and voilà—you’ll have a festive mug of comfort in no time!
Enchanting Pairings for Halloween Hot Chocolate Bombs
Enhance each sip with perfect pairings:
Sides to Savor
- Buttery Popcorn: The light, salty crunch balances the drink’s creamy sweetness.
- Spice Cookies: A warm ginger or cinnamon cookie adds a hint of spice.
- Candied Nuts: Almonds or pecans add crunch and complement the drink’s smoothness.
Garnishes to Delight
- Whipped Cream: A dollop on top offers an airy contrast.
- Grated Nutmeg: A sprinkle of nutmeg infuses warmth.
- Cinnamon Stick: Stirring with a cinnamon stick adds aromatic warmth.
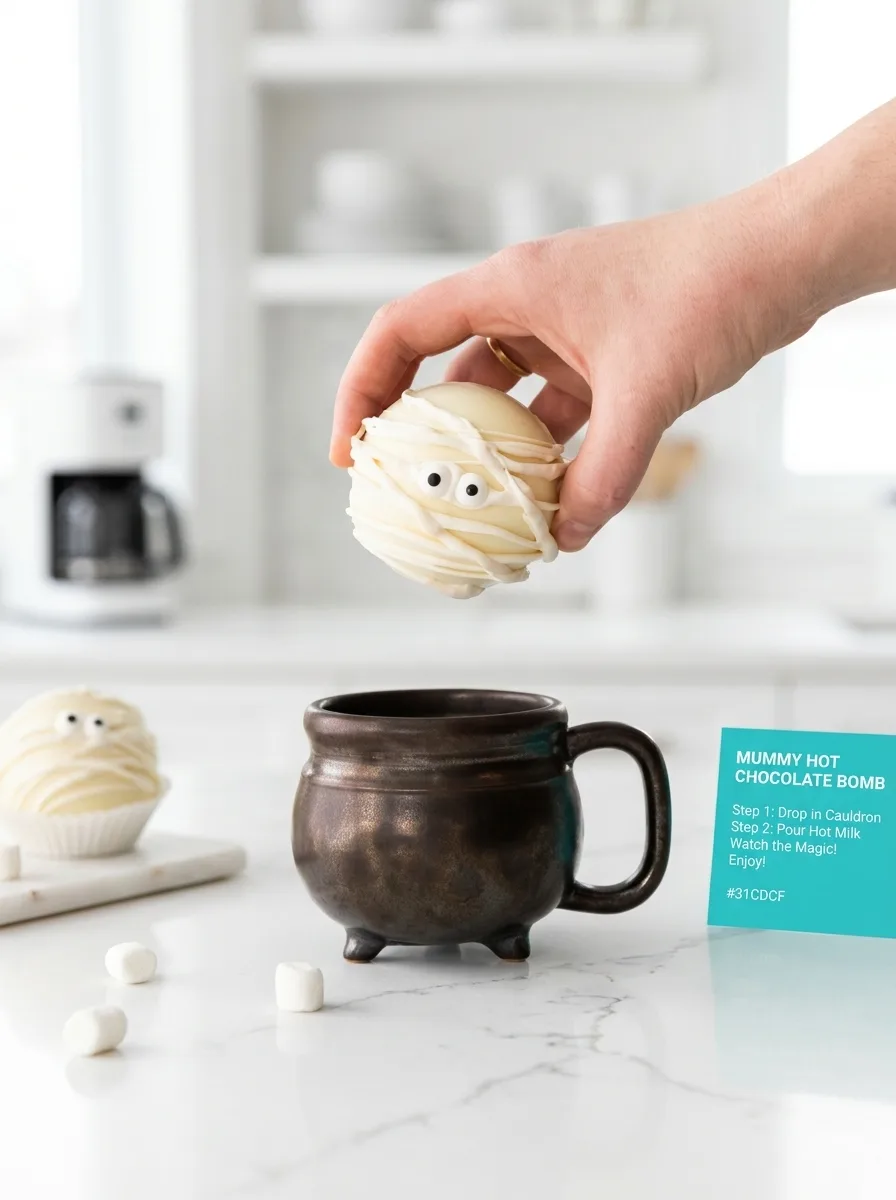
Wrapping your hands around a cozy mug filled with a Halloween Hot Chocolate Bomb is more than comforting—it’s an experience. What transforms a simple treat into an unforgettable moment for you? 🌟
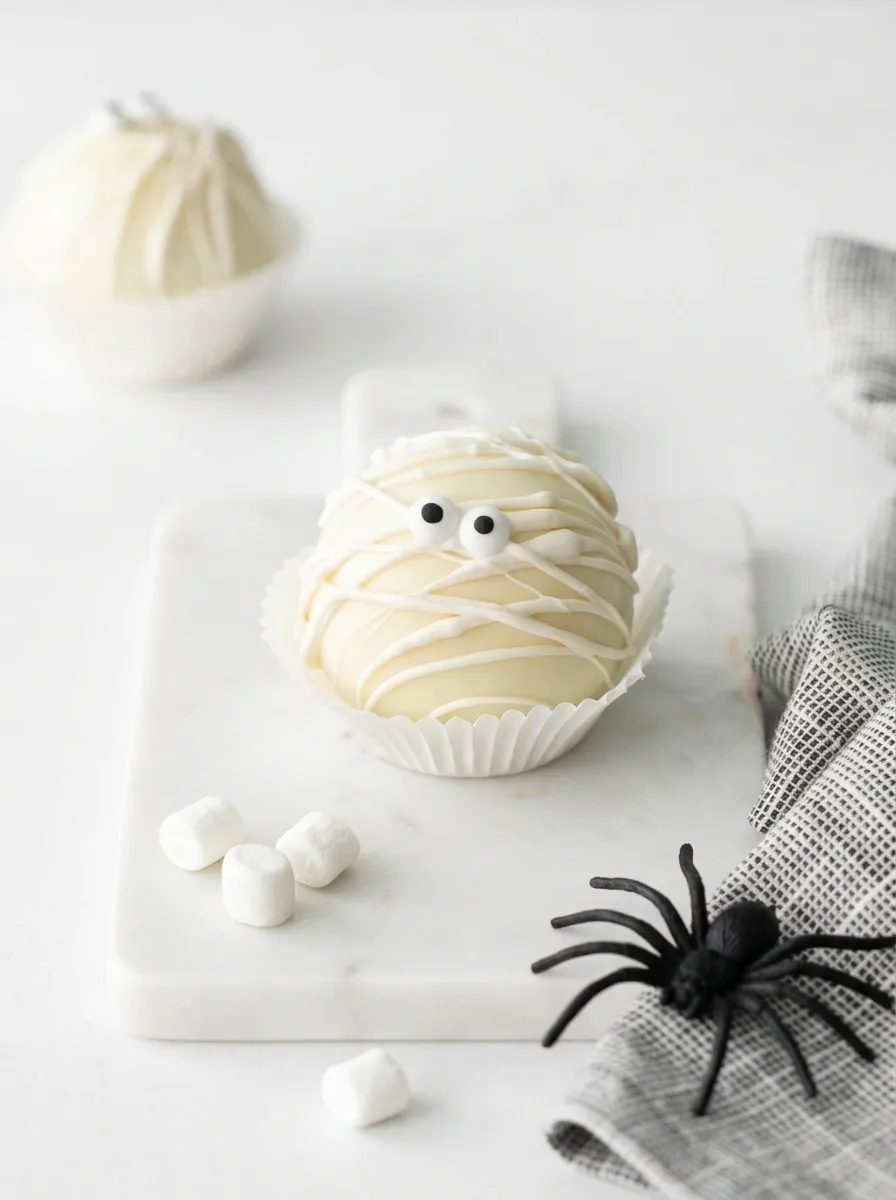
Halloween Hot Chocolate Bombs
Ingredients
Method
- Stir all the hot chocolate powder ingredients together or put them in a jar and shake until totally combined.
- Melt the white chocolate bark (use the package instructions).
- Scoop about 2 tablespoons of the tempered chocolate into each of the silicone molds. You may need more if you used a mold with really large half-spheres.
- Make sure that the entire half-sphere is well covered with a thick layer of chocolate. If your chocolate goes on thick you can just do one coat. If you feel it is too thin, and you think it may break apart easily, you can do two coats, placing the mold in the fridge for about 10 minutes after the first coat.
- Transfer the mold to the refrigerator for about 10 minutes.
- Once the bark has hardened completely, remove the chocolate from the mold. I recommend using food-safe disposable gloves if you don't want to leave behind any fingerprints. If your rims are a little uneven, heat a small non-stick pan over low heat. Melt the rims just so slightly in order to even out the rims. You'll just need a second or two.
- Fill one cup with 2 tablespoons of the hot chocolate powder.
- If you haven't already - over medium-low heat, heat a small non-stick pan. Place the rim of one unfilled chocolate dome on the pan for just 2-3 seconds, or until you can see it start to melt a bit.
- Place the two halves together and press gently to seal them together. Drizzle with chocolate and decorate with sprinkles, if desired.
- Repeat with the remaining half spheres.
- Remelt the remaining white chocolate bark. Transfer to a plastic bag, and nip a small piece off the corner.
- Drizzle the melted white chocolate bark over the filled hot chocolate bombs.
- While the drizzle is still wet, add two candy eyes.
- Refrigerate the complete bombs for 5-10 minutes to set. Refrigerate in an airtight container for up to 1 week.
- Place the hot chocolate bomb in a mug. Pour 1 cup (for a very rich hot chocolate) of very hot milk over the hot chocolate bomb. Stir to melt the bomb. Add more milk, if desired, to thin it down.


0 Comments