

Halloween Brownies Recipe
As the sun dipped below the horizon on a crisp October evening, the kitchen at spiilled transformed into a festive haven. With the scent of melting butter and cocoa wafting through the air, I was reminded of the joy that comes from creating something special to celebrate Halloween. These Halloween brownies, adorned with playful white chocolate ghost candies, capture the spirit of the season while offering a rich, fudgy treat that brings loved ones together in sweet delight.
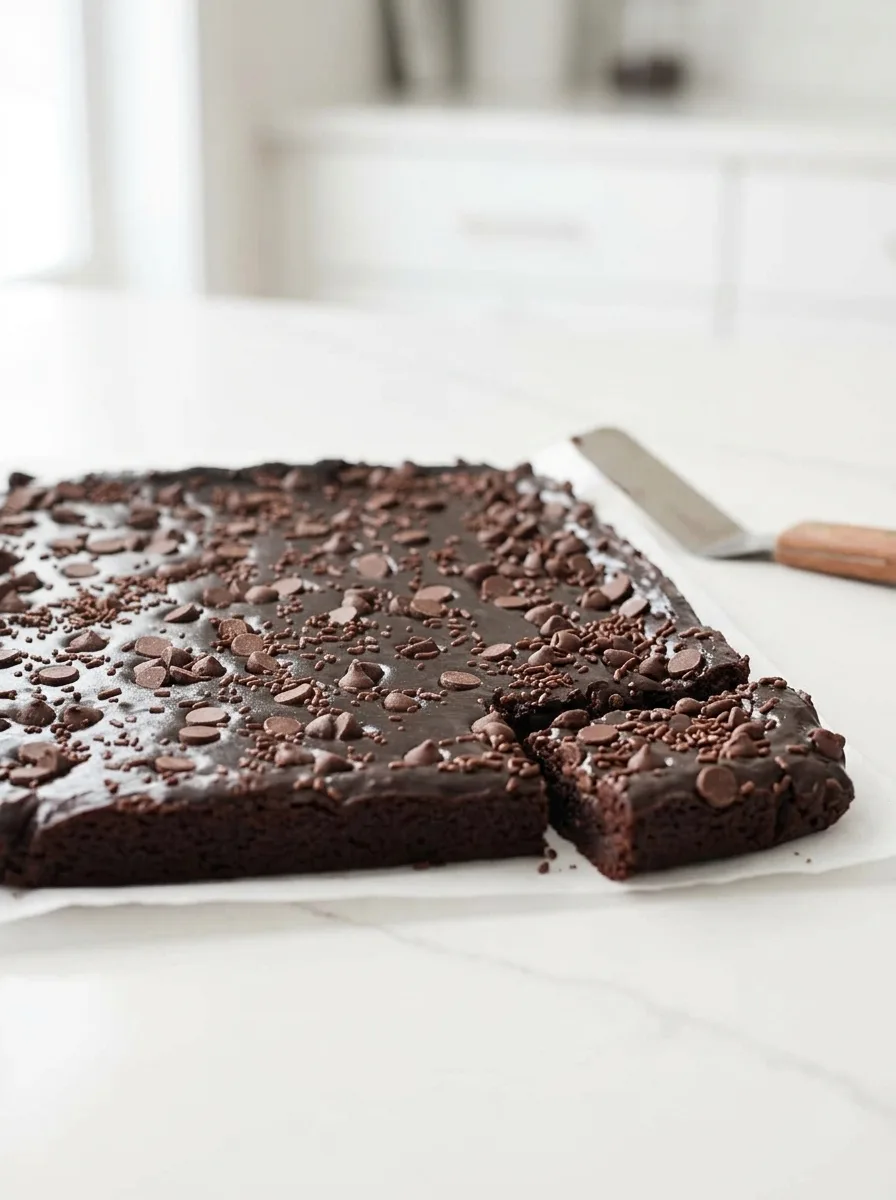
The secret to their success lies in the delicate texture contrast, created by sprinkling chocolate jimmies on top before baking.
Ingredients in Halloween Brownies Recipe
- Unsalted Butter: Forms the foundation of our moist brownies, enhancing the chocolatey goodness.
- Cocoa Powder: Deepens the chocolate flavor, while providing the rich, dark color that makes these brownies so enticing.
- Sugar: Balances the bitterness of the cocoa powder for a harmonious bite.
- Eggs: Essential for binding the ingredients, contributing to the brownies’ tender and fudgy texture.
- Vanilla Extract: Enhances all the flavors, providing a warm and slightly floral note that complements the chocolate.
- All Purpose Flour: Provides structure while keeping the texture dense and chewy, just the way we love our brownies.
- Salt: A crucial flavor enhancer, bringing out the sweetness and balancing the overall flavor profile.
- Baking Soda: Ensures the brownies have a slight rise without losing that fudgy core.
- Chocolate Chips: Studding the batter with these gems ensures melty pockets of chocolate that make every bite delightful.
- Key Technique: Chocolate Jimmies: Sprinkled on top, they create a slight crunch while adding a playful, festive touch that’s perfect for Halloween.
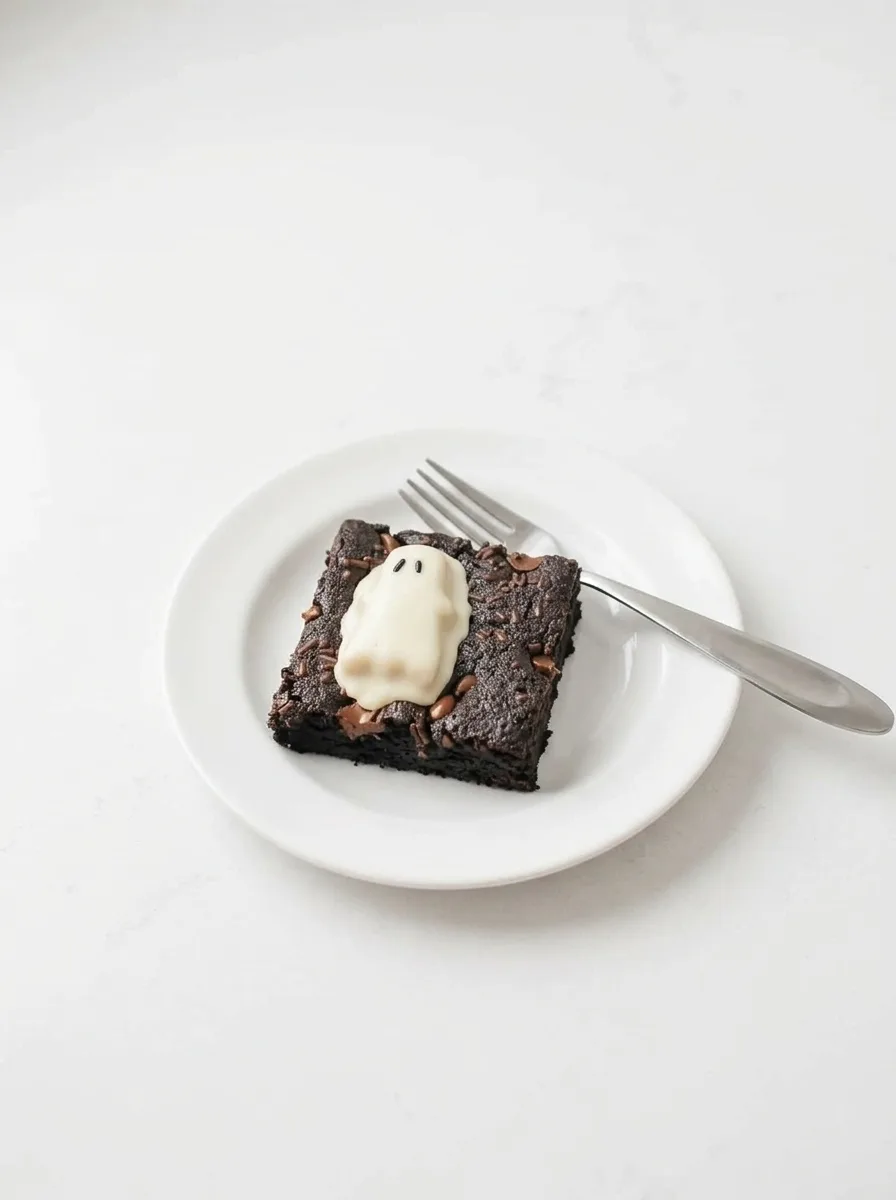
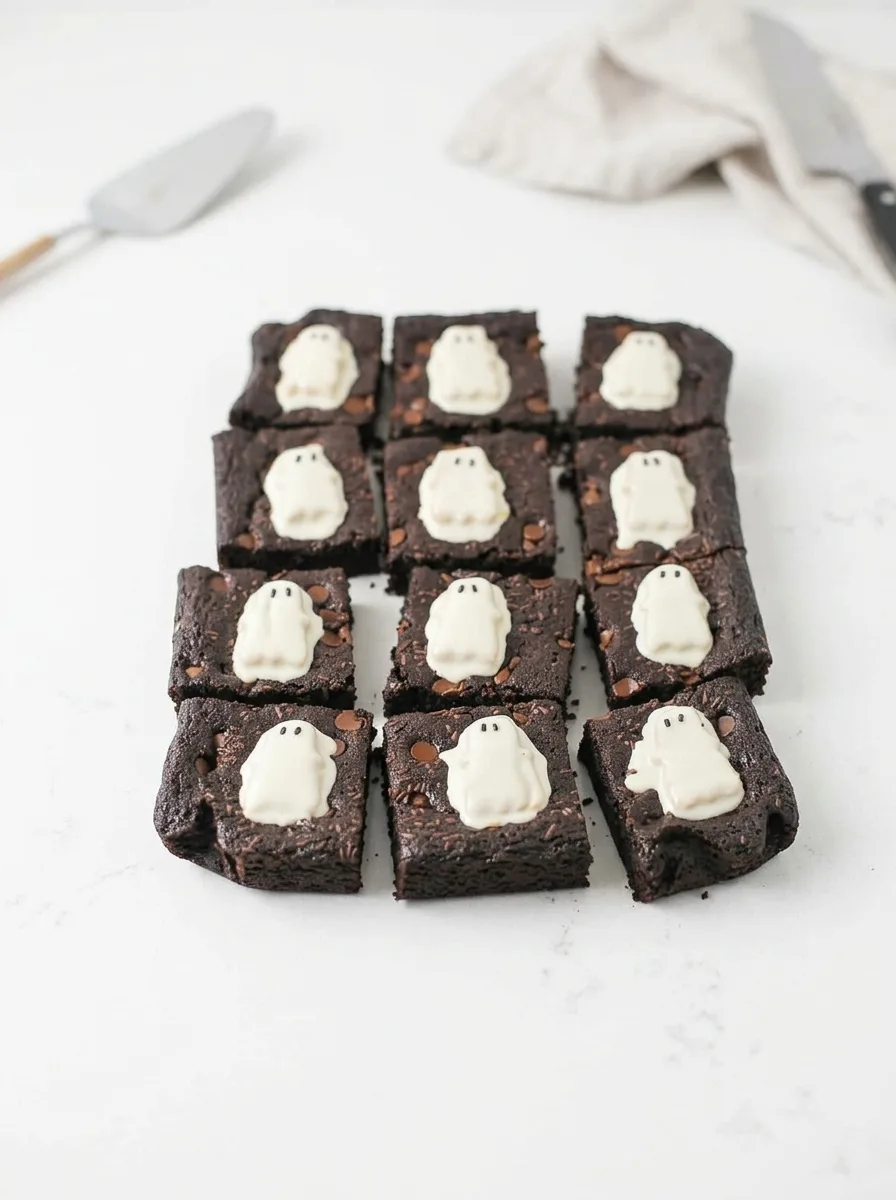
- Reese’s White Chocolate Ghost Candies: Adding these adorable ghosts on top creates a fun, spooky presentation that’s perfect for the season.
With this delightful lineup of ingredients, each element plays a role in making these Halloween brownies unforgettable. Let’s get baking and bring some magic into the kitchen!
Crafting Your Halloween Brownies
In just an hour, your kitchen will be filled with the amazing scent of chocolate, echoing the joyous Halloween spirit. Let’s dive into the steps to make these magical treats that will excite kids and adults alike.
- Preheat and Prep:
Preheat your oven to 350°F. Line a 9 x 13 baking dish with parchment paper, ensuring the edges extend for easy lifting later. Feel the warmth fill the kitchen, a prelude to the chocolate indulgence to come.
- Melt Butter:
In a medium pot over low heat, melt 1 cup of unsalted butter. Watch as the butter transforms into a golden pool, releasing a nutty aroma that hints at the rich, fudgy brownies to come.
- Mix Cocoa and Sugar:
Add 1 cup plus 2 tablespoons of cocoa powder and 1 ½ cups sugar to the melted butter. Stir vigorously until the mixture is smooth and glossy. The deep, dark color should glimmer, promising intense chocolate flavor.
- Incorporate Eggs:
Add the eggs one at a time, mixing well after each addition. You’ll notice the batter becoming thicker and more luscious, while the subtle scent of cocoa intensifies.
- Add Vanilla:
Stir in 1 tablespoon of vanilla extract, infusing the batter with a warm, inviting fragrance that blends beautifully with the chocolate undertones.
- Combine Dry Ingredients:
Add ¾ cup all-purpose flour, 1 teaspoon salt, and ½ teaspoon baking soda. Mix until just combined, ensuring you get a dense, fudgy texture. Avoid over-mixing to maintain that melt-in-the-mouth feel.
- Fold in Chocolate Chips:
Gently fold in 1 ½ cups of chocolate chips. Each chip is a promise of gooey bliss as they meld into the batter.
- Pour and Sprinkle:
Pour the rich batter into the prepared pan. Sprinkle 1 tablespoon of chocolate jimmies over the top. This final touch adds a festive crunch that crackles in the oven.
- Bake to Perfection:
Bake for 40-45 minutes. You’ll know they’re ready when a toothpick inserted in the center comes out clean, and the kitchen is filled with the heady scent of baked chocolate goodness.
- Cool and Decorate:
Let the brownies cool for 10-15 minutes, then gently place 12 Reese’s white chocolate ghost candies on top. Allow them to cool completely, giving the ghosts time to settle for a hauntingly fun finish.
Enjoy this incredible journey into Halloween magic and share a slice with someone you love!
Spooky Twists & Techniques
When I first pulled these Halloween brownies from the oven, their fudgy richness was enough to make me smile. But, playing around with the technique can add a new layer of excitement to this delightful treat.
- Layering Technique: Pour half the brownie batter into the pan, then sprinkle a third of the chocolate chips before adding the remaining batter. This creates a luscious chocolate layer in the middle.
- Jimmies Crunch: For extra crunch, gently press the chocolate jimmies into the batter just before baking. This ensures they stick well and add a crispy contrast to the fudgy interior.
- Ghost Placement Tip: Strategically place the Reese’s white chocolate ghost candies slightly off-center while the brownies are still a bit warm. This helps them adhere without losing their shape.
- Over-the-Top Chocolate: For an ultra-decadent touch, sprinkle a few additional chocolate chips on top of the freshly poured batter before baking. This enhances the chocolate flavor and gives the top a gorgeous, glossy finish.
Play around with these techniques, and you’ll discover new ways to bring a bit of your own magic to the table!
Keeping the Brownie Magic Alive
Once you’ve enjoyed these Halloween brownies, you might have a few left over for the next day. To keep them fresh, store them in an airtight container for up to three days at room temperature. If you plan to enjoy them over a longer period, pop them into the fridge where they’ll stay fresh for up to a week. If you’re thinking way ahead, these brownies freeze beautifully for up to three months—but remember to let them cool completely before sealing them up.
When you’re ready to dive back into the chocolatey goodness, reheating is easy. For the best texture, warm them gently in the oven at 300°F for about 5-7 minutes. This method ensures they stay moist without drying out. Let them sit at room temperature for a bit after thawing if they’ve been frozen—patience makes every bite even more delightful!
Delightful Pairings for Halloween Brownies
As the warmth of these rich, fudgy Halloween brownies fills your home, imagine enhancing the experience with a few thoughtful accompaniments that complement their chocolaty depth and festive charm.
Sides:
- Vanilla Ice Cream: The creamy, cool texture provides a refreshing contrast to the warm, dense brownies.
- Hot Apple Cider: The spicy, fragrant notes of cinnamon and apple complement the rich cocoa flavors, making each bite feel cozy and autumnal.
- Espresso Shot: For a grown-up twist, the bitterness of espresso highlights the sweetness of the brownies.
Garnishes:
- Whipped Cream: A dollop on top adds a light, airy touch against the dense, fudgy texture.
- Orange Zest: A sprinkle of zest introduces a hint of citrus brightness that cuts through the chocolate.
- Crushed Peppermint: For a festive crunch and a touch of coolness, peppermint provides both contrast and holiday spirit.
With these pairings, each mouthful becomes a little celebration, a captivating dance of flavors and textures. How do you plan to enjoy your Halloween brownies? Maybe with a hot cup of cider or a dollop of fresh cream?
Halloween Brownies Recipe
Ingredients
Method
- Preheat the oven to 350°F. Line a 9 x 13 baking dish with parchment paper. In a medium pot, melt the butter over low heat.
- Add the cocoa powder and sugar, and mix to combine. Add the eggs one at a time, mixing well after each addition.
- Stir in the vanilla. Add the flour, salt, and baking soda, and mix until just combined. Fold in the chocolate chips.
- Pour the batter into the prepared pan, and sprinkle with the chocolate jimmies. Bake for 40-45 minutes, until a toothpick inserted in the center comes out clean.
- Let cool for 10-15 minutes, then place the ghost candies on top. Let cool completely before slicing and serving.


0 Comments