

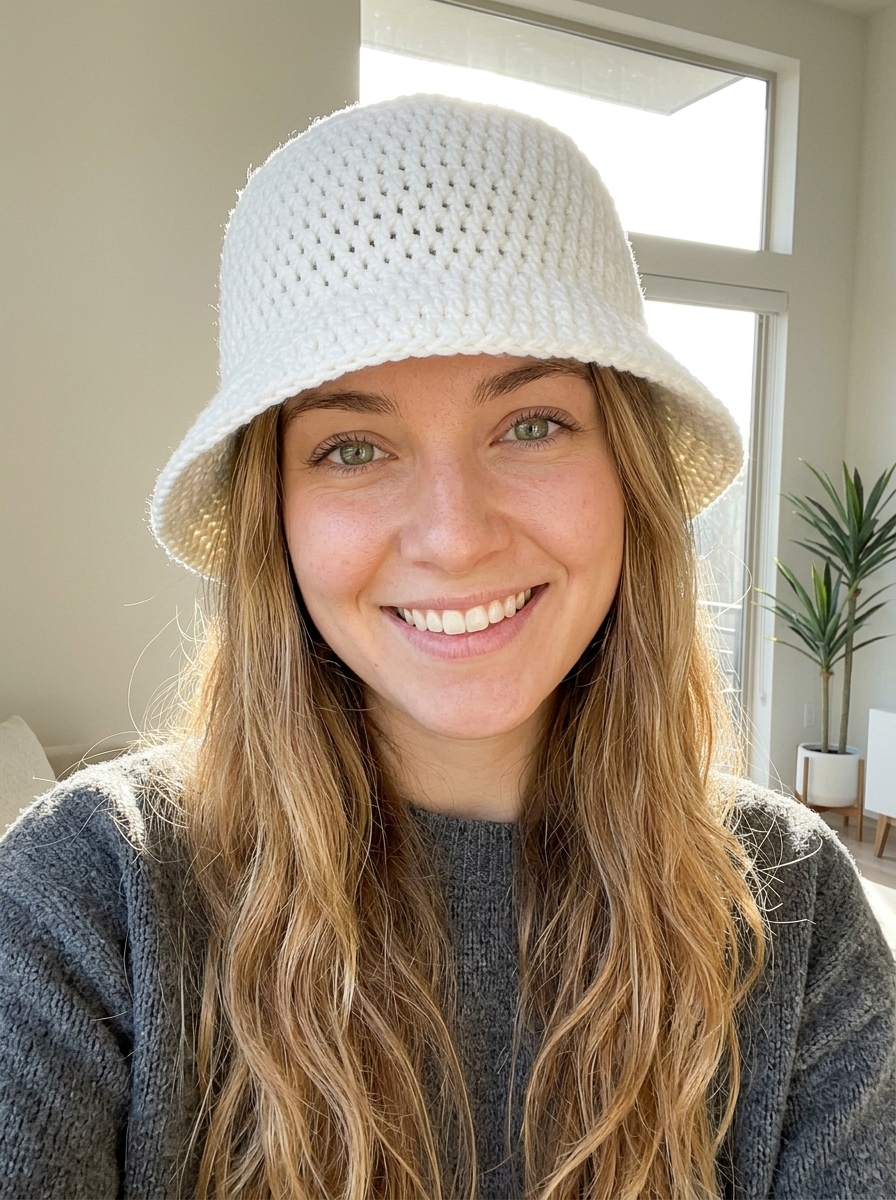
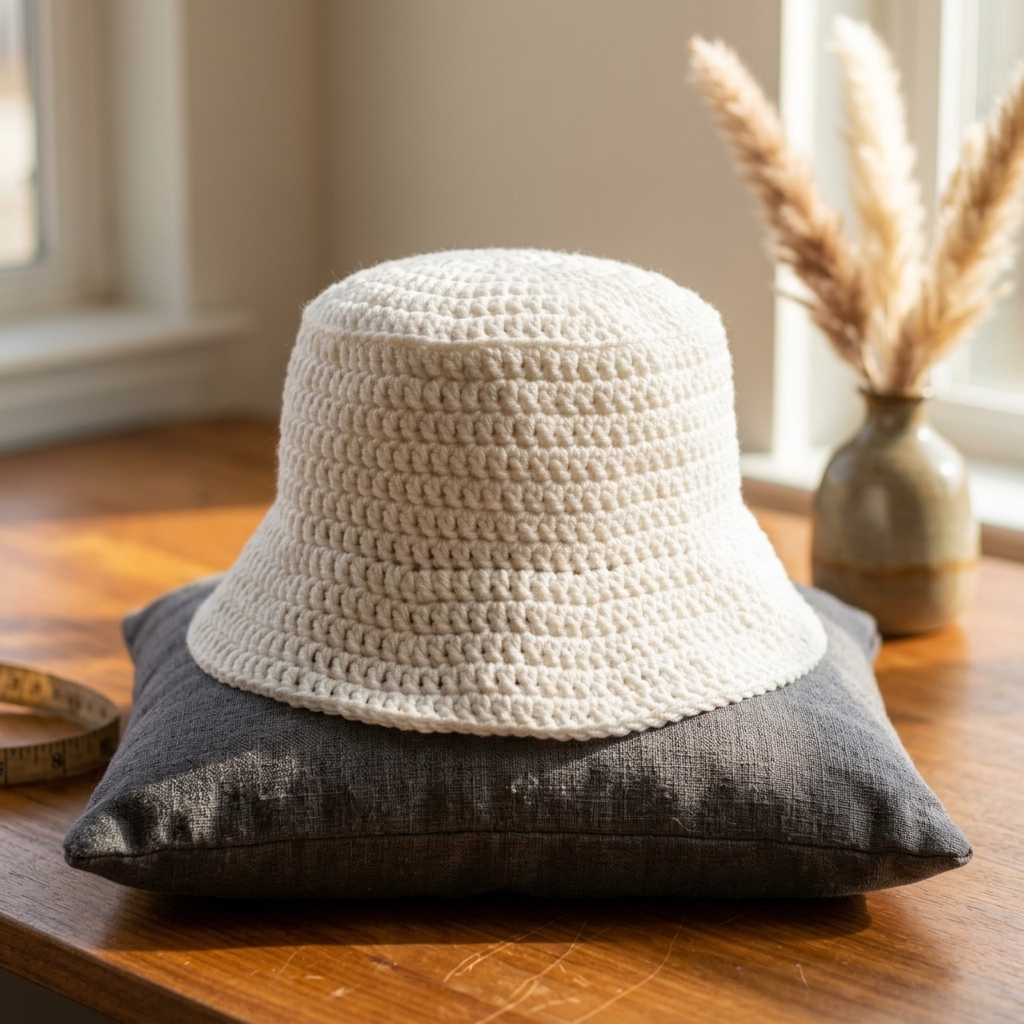
Making a classic crochet bucket hat is one of the best beginner projects you can start today. This quick pattern uses minimal yarn, works up in a few hours, and teaches essential shaping skills. Furthermore, the clean double-crochet texture looks stylish in every season. Whether you want a white sun hat or a colorful piece, this free tutorial guides you step by step.
If you enjoy wearable accessories and bags, you will also love our mesh market crochet bag pattern. Additionally, you can pair your hat with our granny square tote bag for a complete handmade outfit. Now, let us look at the design details that make this hat stand out.
Why This Crochet Bucket Hat Pattern Works So Well.
Many beginner hat patterns turn out floppy or overly rounded like a beanie. However, this crochet bucket hat uses two simple stitch adjustments to create crisp, tailored edges.
1. A Clean Straight Brim Instead of a Wavy Brim.
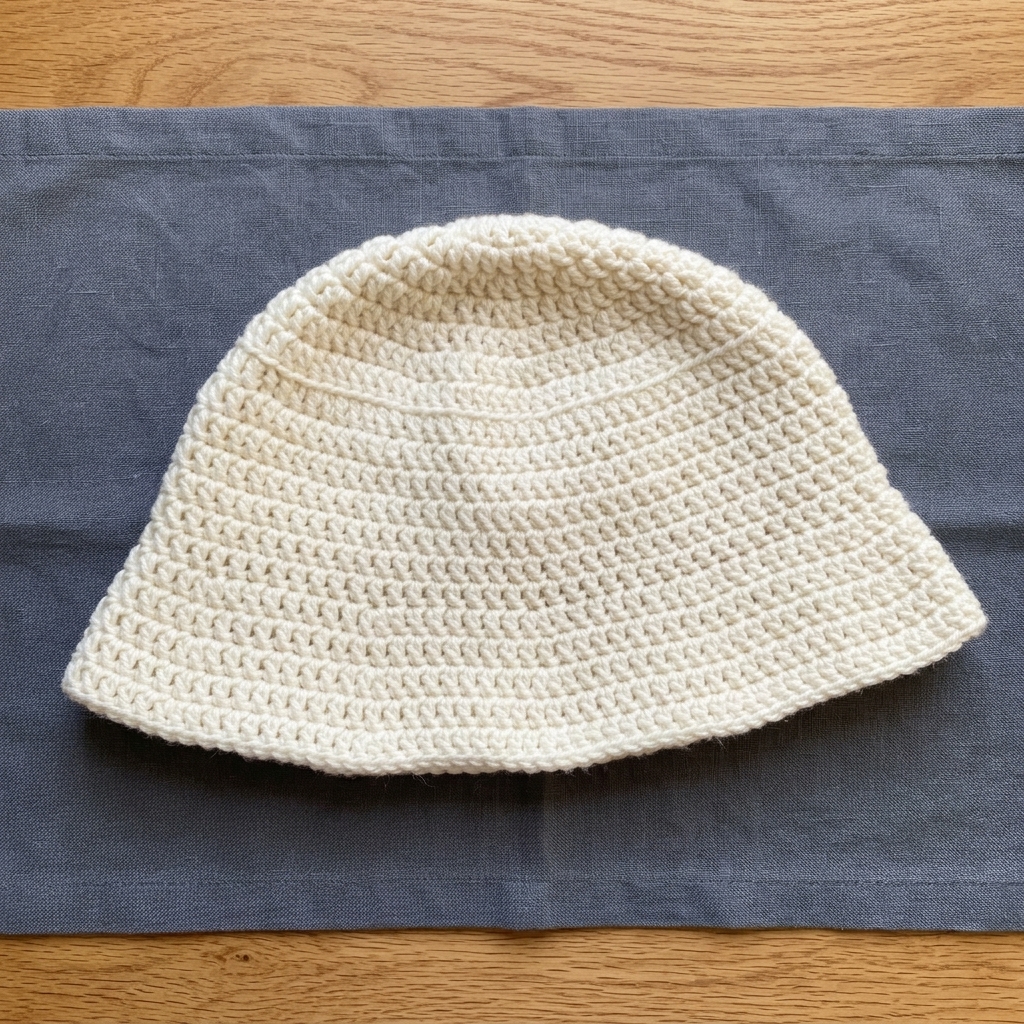
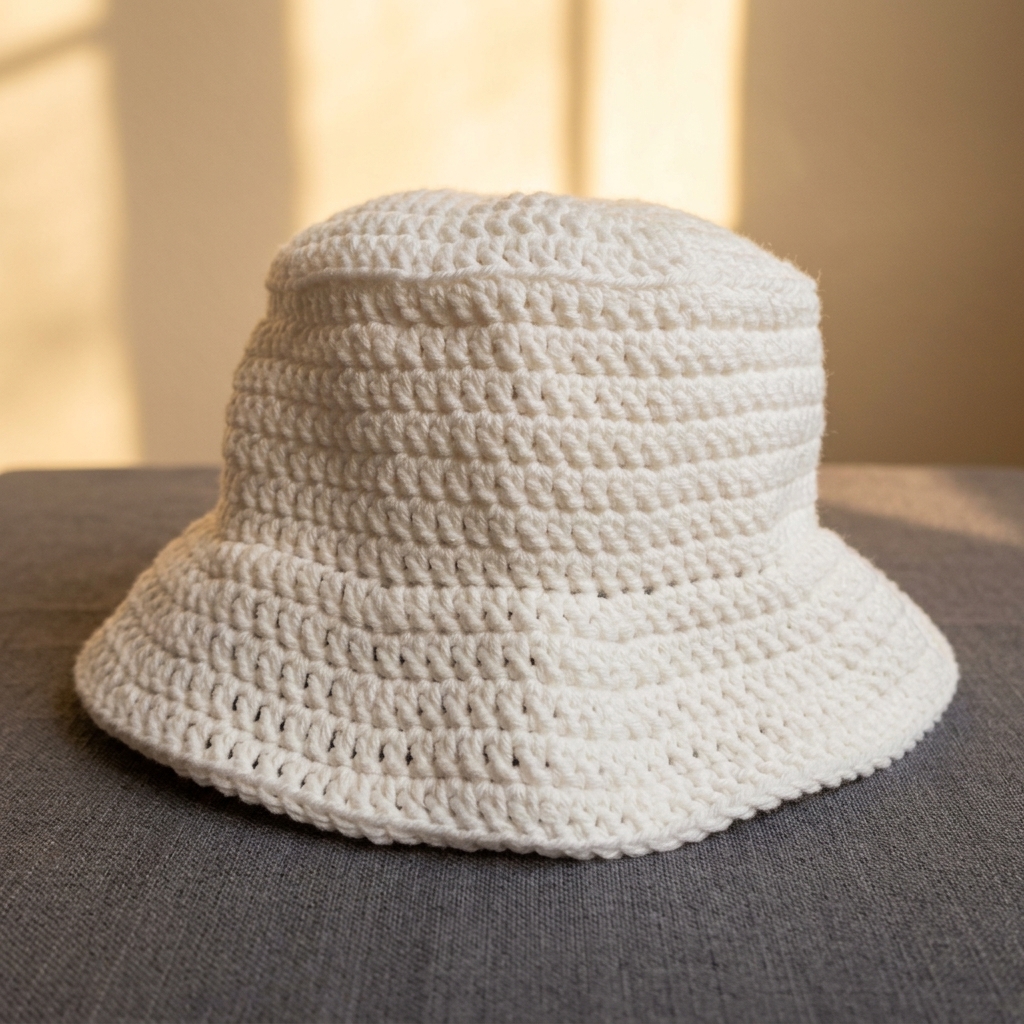
First, this pattern features a structured, downward-angled straight brim rather than a ruffled wavy brim. Because you only increase in every other round of the brim, the fabric flares outward gently. Conversely, if you prefer a dramatic wavy brim, simply work increases in every brim round.
2. Crocheting Crisp Bends and Folds.
Second, working into a single loop creates natural fold lines where the hat changes direction. Specifically, working in the back loops only (blo) on Middle Round 1 produces a clean 90-degree bend. This sharp fold transitions smoothly from the flat top crown to the vertical sides. Later, working in the front loops only (flo) on Brim Round 1 helps the brim angle outward. Consequently, this minor adjustment gives your crochet bucket hat a professional, store-bought silhouette.
3. A Blank Canvas for Appliqués and Colorwork.
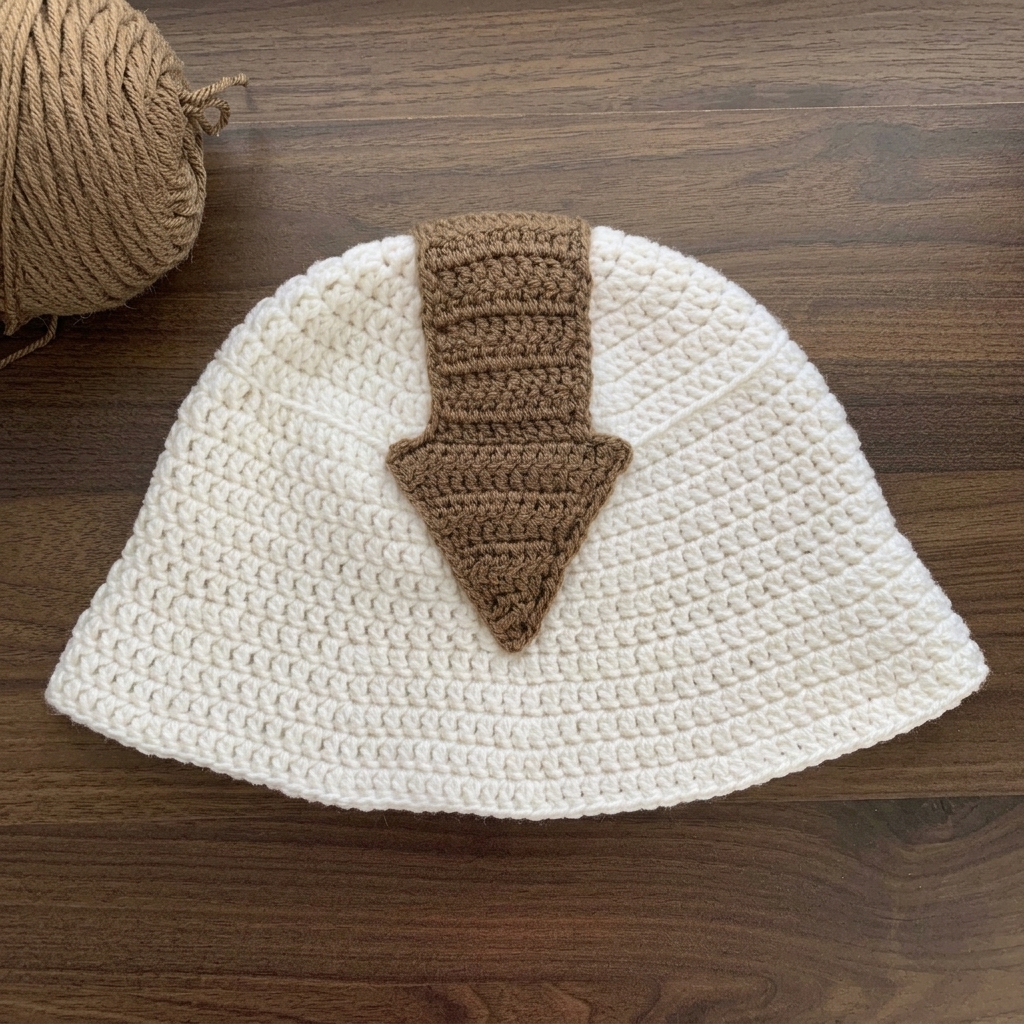
Third, the solid double-crochet fabric serves as a blank canvas for endless creative ideas. For example, you can sew a brown crocheted arrow onto the front to create an Appa bucket hat. This fun design resembles the sky bison Appa from the show Avatar: The Last Airbender.
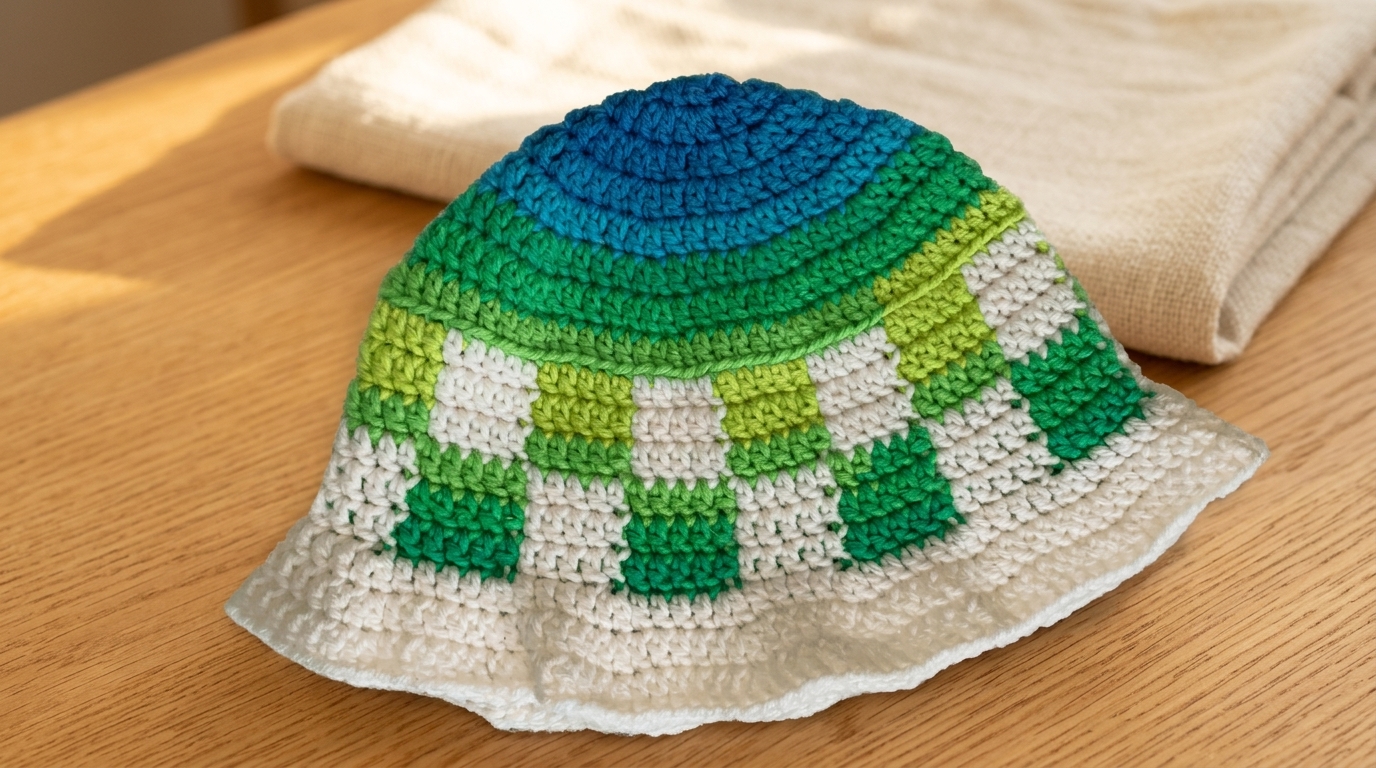
Moreover, you can add flat or 3D appliqués such as stars, hearts, or flowers. You can also try stripes, color-blocking, or tapestry colorwork. For instance, the checkered crochet bucket hat below uses the same techniques with colorwork and a wavy brim.
Exact Materials and Tools Needed.
Gather the exact yarn weight, yardage, and hook size listed below before starting your crochet bucket hat. Using medium-weight acrylic or cotton yarn ensures great stitch definition and structure.
- Yarn: 80 grams (approx. 2.8 oz) of #4 Medium Worsted Weight Yarn. The sample uses Red Heart Super Saver yarn in “White”.
- Crochet Hook: 5.00 mm (US H-8) crochet hook. We recommend an ergonomic Clover Amour 5.00 mm crochet hook.
- Notions: Sharp scissors and a yarn needle for weaving in loose ends.
Exact Gauge, Sizing Guide, and Abbreviations.
Checking your gauge is important if you want to follow the exact stitch counts for Small, Medium, and Large sizes. Therefore, crochet a quick test swatch before beginning the crown.
Pattern Gauge.
- Gauge: 8.5 rows of 15 double crochets makes a 10 x 10 cm (4 x 4 inch) square.
Pattern Notes and Sizing Tips.
- Crochet Terminology: This pattern uses standard US crochet terms.
- Turning Chains: The chain 2 (ch 2) at the start of each round does not count as a double crochet.
- Creating Bends: Working in the back loops only (blo) or front loops only (flo) creates the bend in the hat.
- Multi-Size Stitch Counts: In the Middle and Brim sections, parentheses (Small, Medium, Large) show the stitch counts for Small, Medium, and Large sizes.
- Head Circumference Reference: For reference, the sample Medium hat fits a 53 cm (20.8 inch) head loosely.
Stitch Abbreviations (US Terms).
- blo: Back loop only.
- ch: Chain.
- dc: Double crochet.
- flo: Front loop only.
- inc: Increase (work 2 dc into the same stitch).
- rep: Repeat.
- sl st: Slip stitch.
- st: Stitch.
Step-by-Step Crochet Bucket Hat Instructions.
This crochet bucket hat is worked top-down in joined rounds. You will crochet three sections: the Top, the Middle, and the Brim.
Part 1: Crocheting the Top Crown (Determines Hat Size).
The flat circle you crochet for the top determines the final size of your hat. Specifically, the circle circumference should match your head circumference before you move onto the middle portion.
- Round 1: Make a magic ring, ch 2, and work 10 dc into the magic ring. Join with a sl st. (10 stitches).
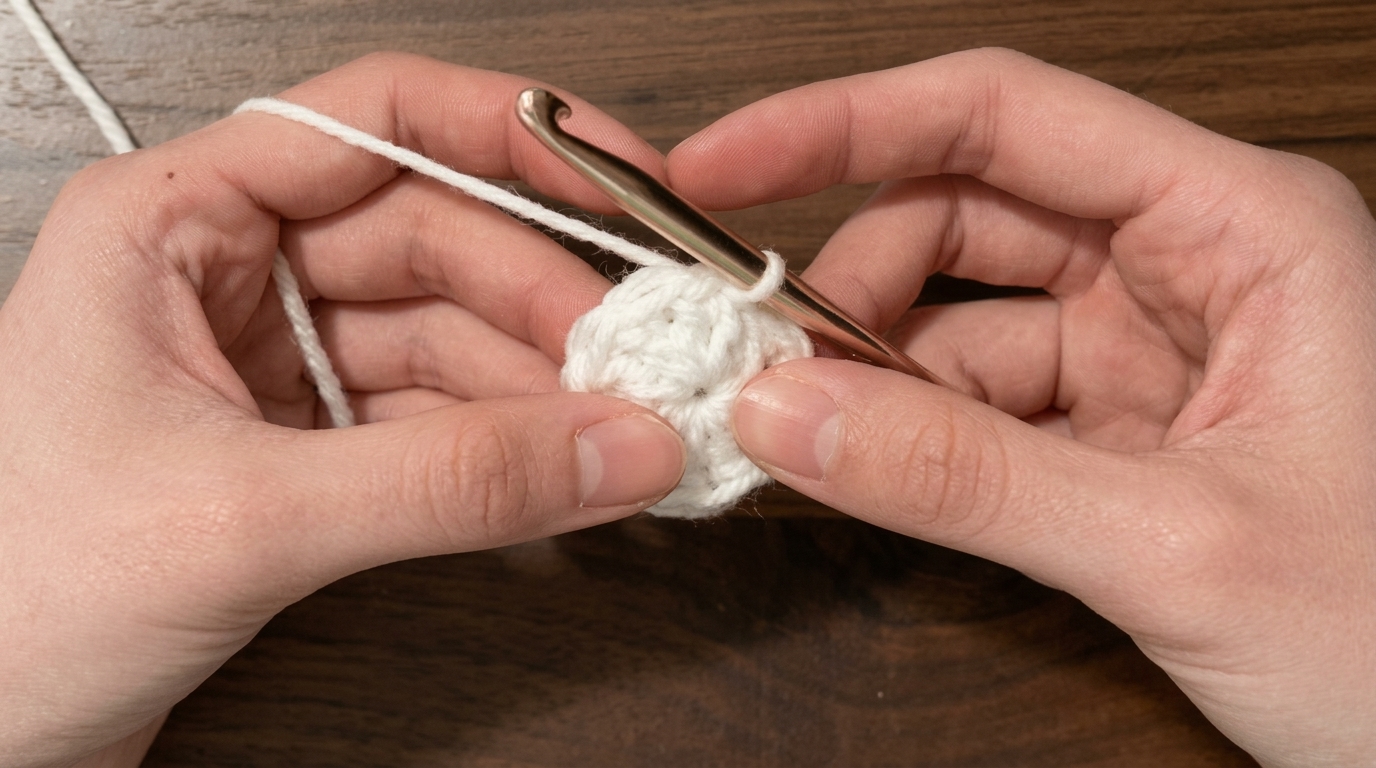
- Round 2: Ch 2, inc in each st around, and sl st. (20 stitches).
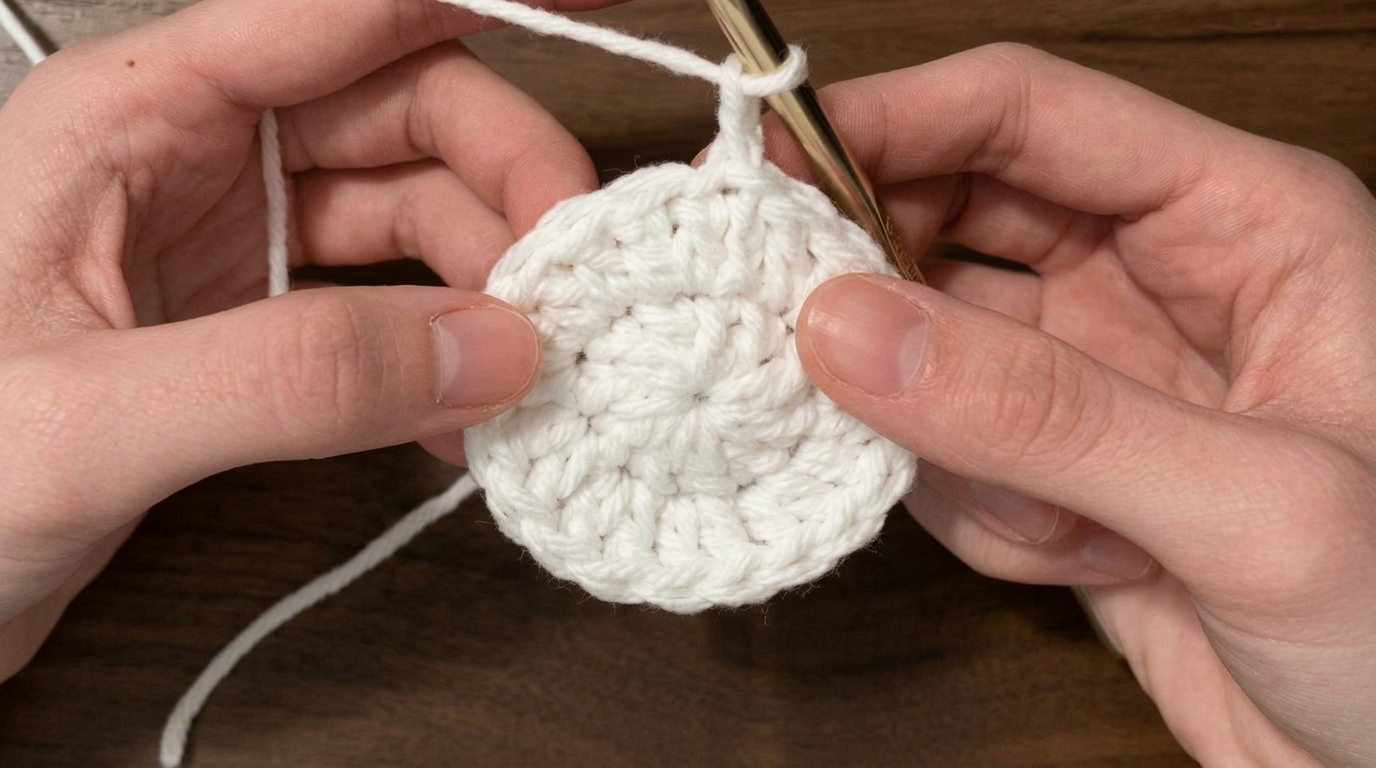
- Round 3: Ch 2, rep [dc in the first st, inc in the next] around, sl st. (30 stitches).
- Round 4: Ch 2, rep [dc in the first 2 st, inc in the next] around, sl st. (40 stitches).
- Round 5: Ch 2, rep [dc in the first 3 st, inc in the next] around, sl st. (50 stitches).
- Round 6: Ch 2, rep [dc in the first 4 st, inc in the next] around, sl st. (60 stitches).
- Round 7 (Small Size): Ch 2, rep [dc in the first 5 st, inc in the next] around, sl st. (70 stitches). Stop here and move onto the Middle for a Small sized hat if your gauge matches.
- Round 8 (Medium Size): Ch 2, rep [dc in the first 6 st, inc in the next] around, sl st. (80 stitches). Stop here and move onto the Middle for a Medium sized hat if your gauge matches.
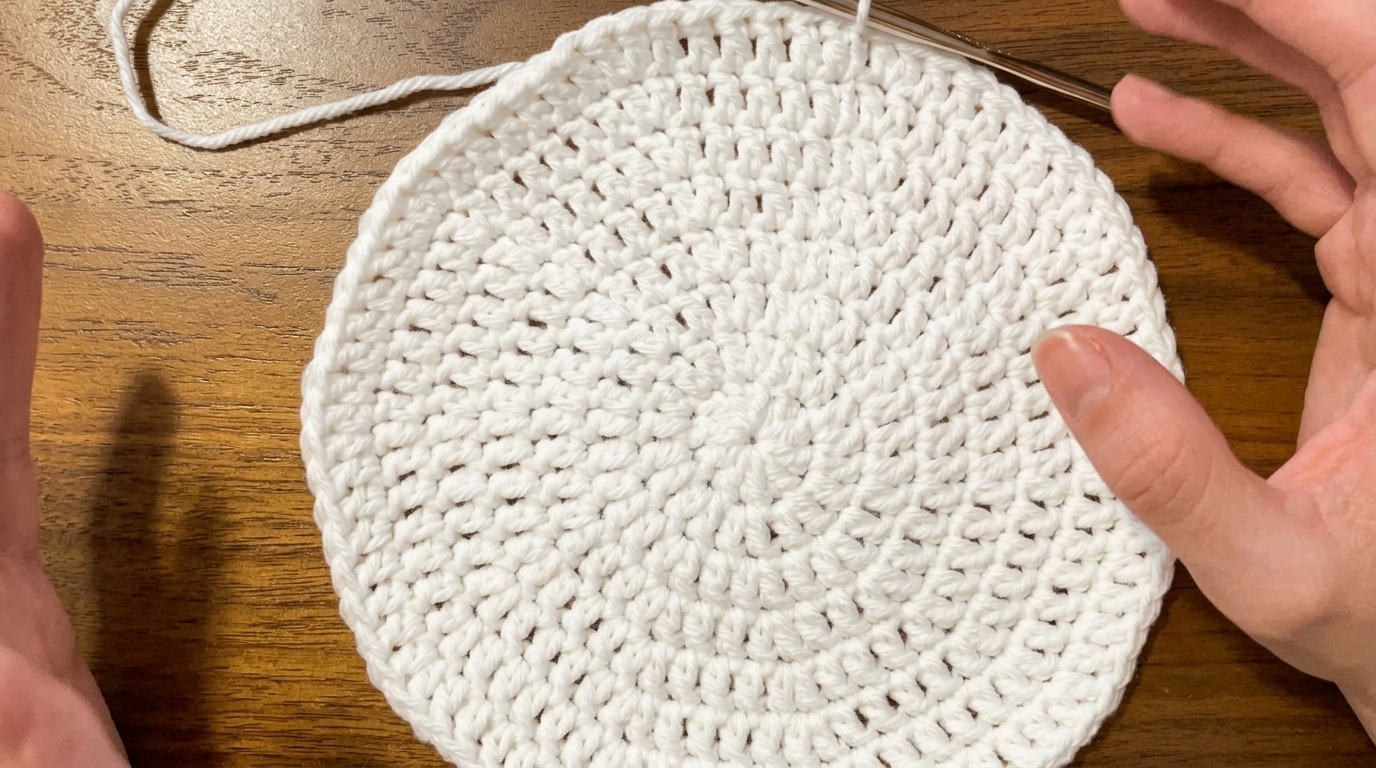
- Round 9 (Large Size): Ch 2, rep [dc in the first 7 st, inc in the next] around, sl st. (90 stitches). Stop here and move onto the Middle for a Large sized hat if your gauge matches.
If you want a smaller hat, work fewer rounds for the top. Conversely, for a larger hat, add more rounds and increase after one additional stitch than the round before.
Part 2: Crocheting the Middle Section (Hat Body).
Once your crown circle matches your head size, work regular double crochet rounds with zero increases. This builds the vertical middle sides of the crochet bucket hat.
- Round 1: Ch 2, dc in the blo of each st around, sl st. (70, 80, 90 stitches).
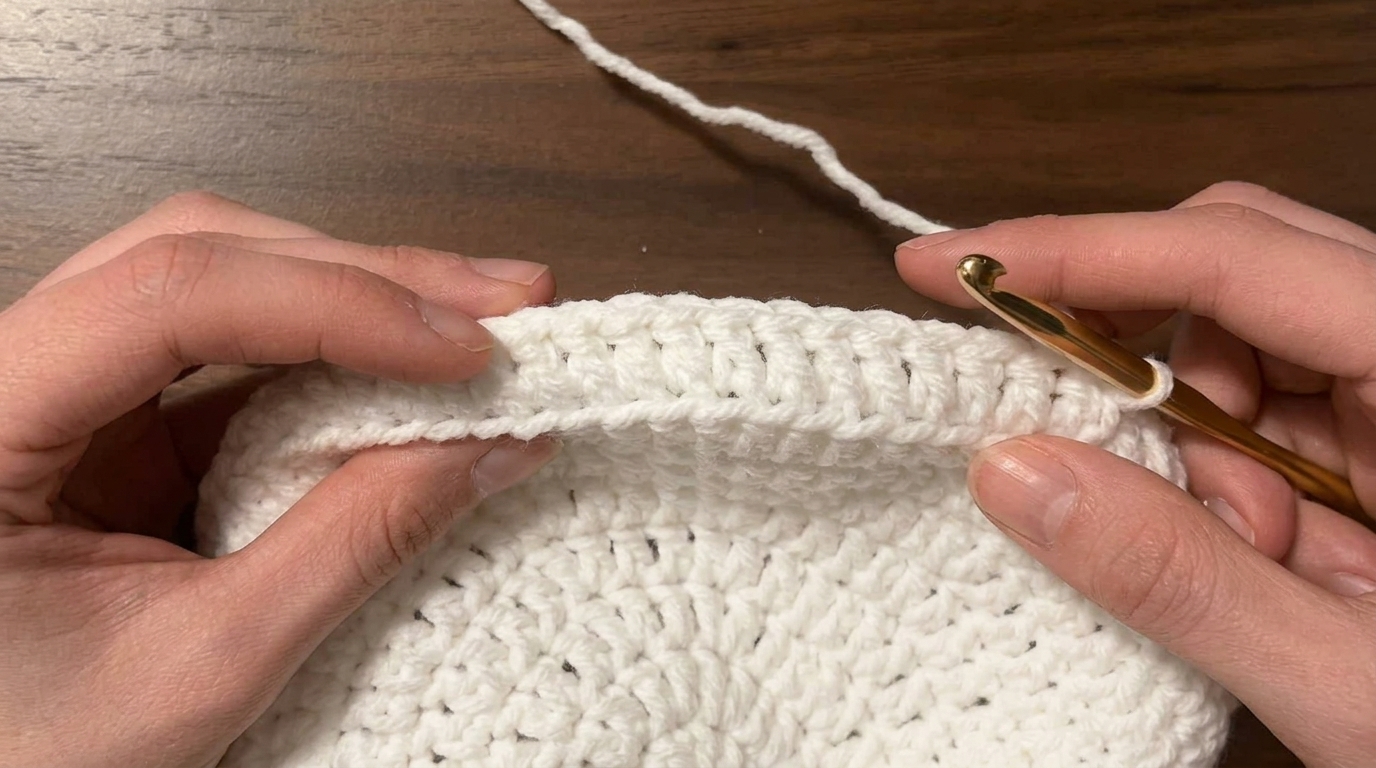
- Rounds 2 – 7: Ch 2, dc in each st around, sl st. (70, 80, 90 stitches).
For a shorter middle section, work fewer rounds. Similarly, for a longer middle body, simply work more rounds of double crochet.
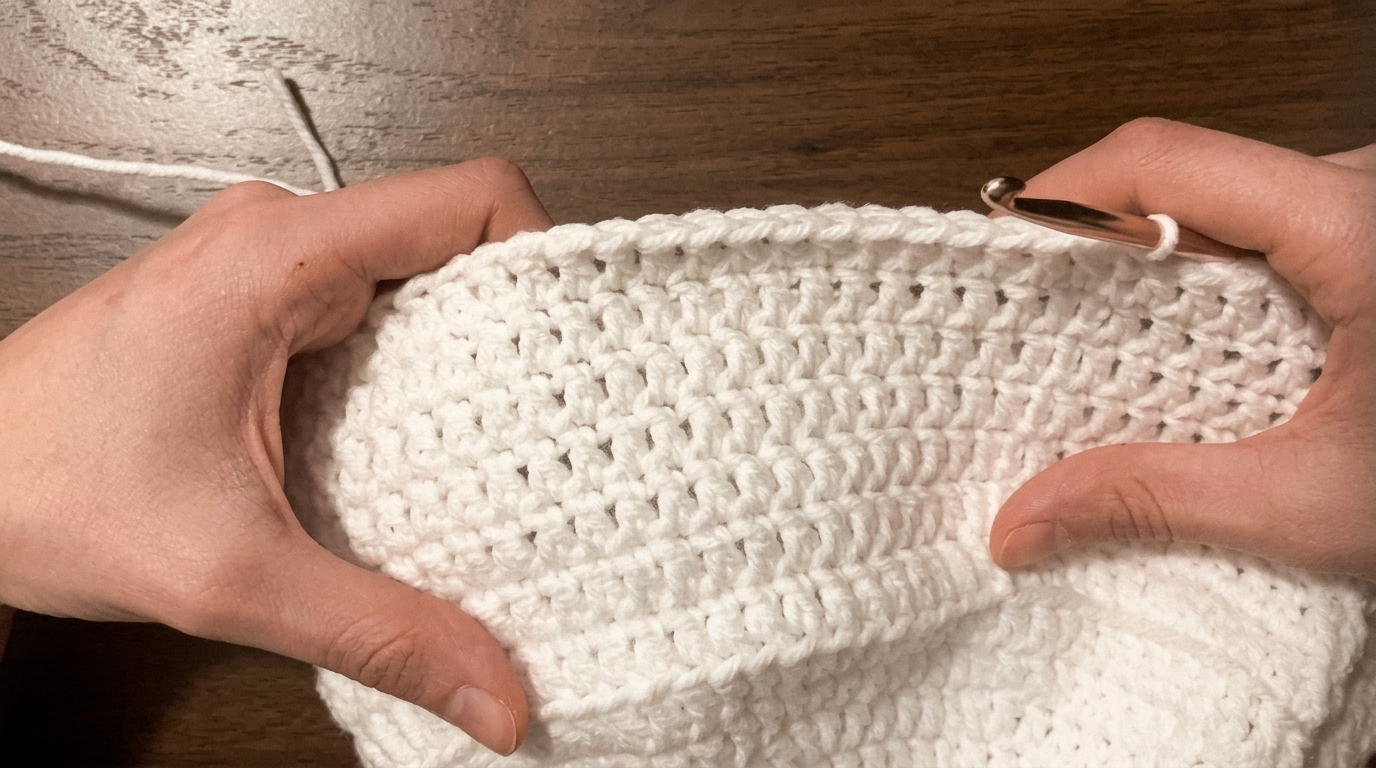
Part 3: Crocheting the Angled Straight Brim.
Now we will shape the flat, downward-angled brim of the crochet bucket hat. We only increase by 10 stitches in every other round. If we increased every round, the brim would stick straight out without a downward angle. With no increases, it would drop straight down like the middle section.
- Round 1: Ch 2, rep [dc in the flo of the first (6, 7, 8) st, inc in the flo of the next] around, sl st. (80, 90, 100 stitches).
- Round 2: Ch 2, dc in each st around, sl st. (80, 90, 100 stitches).
- Round 3: Ch 2, rep [dc in the first (7, 8, 9) st, inc in the next] around, sl st. (90, 100, 110 stitches).
- Round 4: Ch 2, dc in each st around, sl st. (90, 100, 110 stitches).
- Round 5: Ch 2, rep [dc in the first (8, 9, 10) st, inc in the next] around, sl st. (100, 110, 120 stitches).
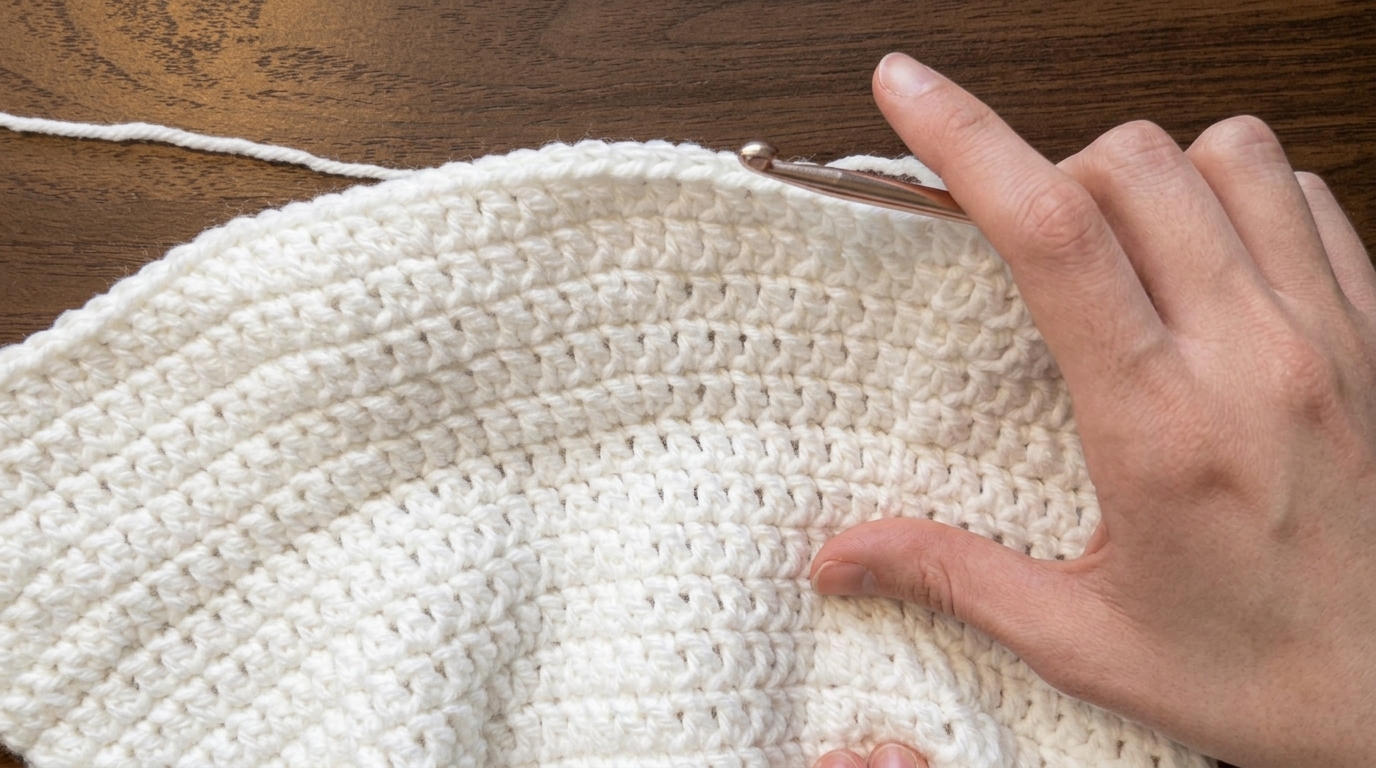
- Finishing: Fasten off your yarn. Weave in all loose ends securely using your yarn needle.
FAQs and Troubleshooting Common Beginner Issues.
Beginners occasionally run into tension or shaping questions while making their first crochet bucket hat. Below are the exact solutions to the most common problems.
1. How Do I Customize the Hat Sizing?
Measure the circumference of your head with a flexible tape measure. Next, increase the top circle until its circumference matches your head circumference. For reference, a 53 cm head fits the 80-stitch Medium size loosely. Once the circle matches your head size, start the middle section.
2. What If the Magic Ring Is Not Working Out?
If you struggle with the magic ring in Round 1, use either of these two easy alternatives.
- Chain-4 Ring Method: Make a slip knot and ch 4. Next, sl st into the 1st chain (4th chain from the hook). This gives you a little circle to work your 10 dc into.
- Chain-3 Method: Make a slip knot and ch 3. Then, work 10 dc directly into the 1st chain (3rd chain from the hook).
3. Why Is My Top Crown Curling or Getting Wavy?
- Curling Into a Bowl: If the top curls into a bowl instead of lying flat, check your stitch count. You may have missed increases, or your tension may be too tight.
- Getting Wavy or Ruffled: Conversely, if the top is not flat and gets wavy, check your increases. You may have added too many increases, or your tension may be too loose.
4. How Do I Adjust the Middle and Brim Lengths?
First, remember that there are no increases in the middle portion. You can add or remove plain double-crochet rounds to adjust the height. Second, in the brim, you increase 10 times evenly in Round 1. In Round 2, you double crochet all around with no increases. In Round 3, you increase 10 times evenly again. Then, repeat the second and third rounds until your brim reaches your desired length. For more fun beginner projects, try our simple crochet shoulder bag tutorial or our free amigurumi panda crochet pattern.


0 Comments