

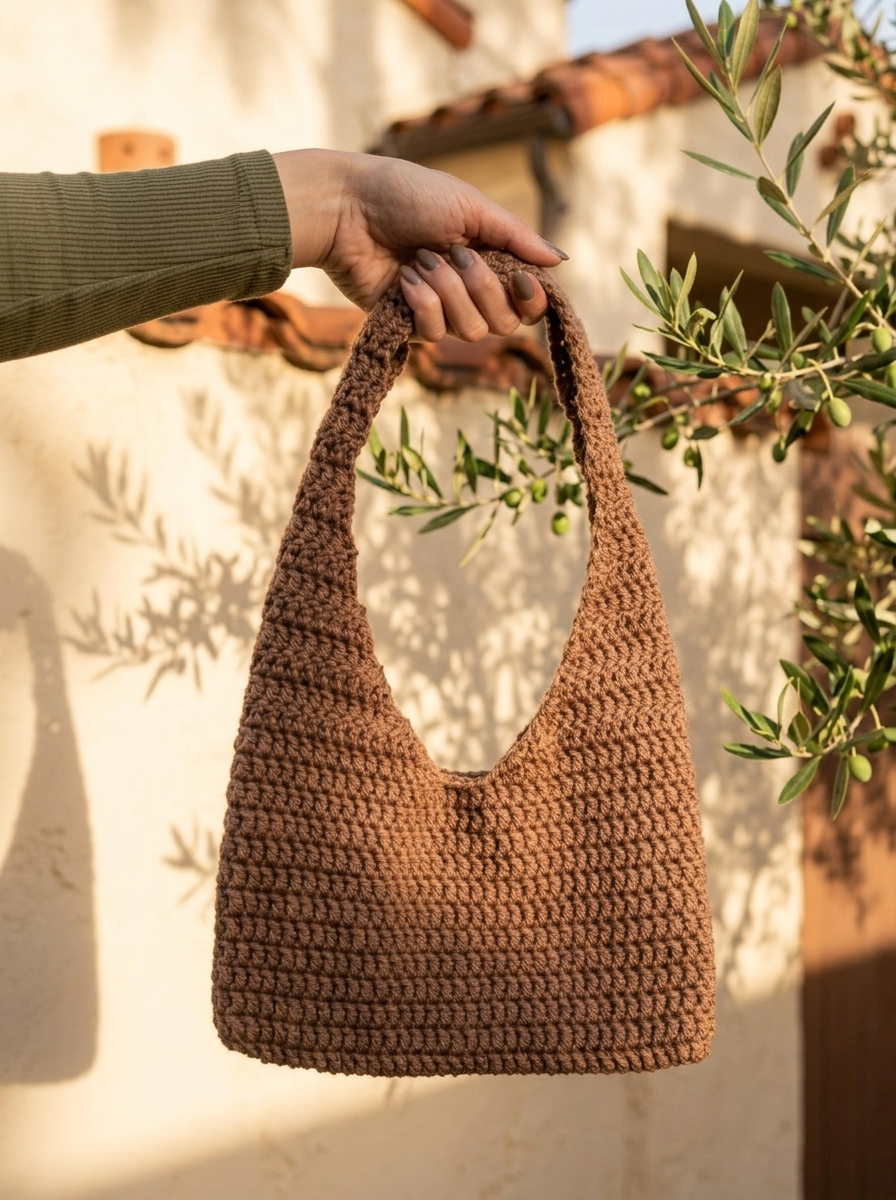
A handmade crochet shoulder bag is one of the most practical accessories for your everyday wardrobe. Moreover, its sleek hobo silhouette pairs effortlessly with casual denim, cozy sweaters, or breezy summer outfits. Even better, you only need 70 grams of medium weight yarn and a 5.0 mm crochet hook. As a result, you can complete the entire project in a single afternoon.
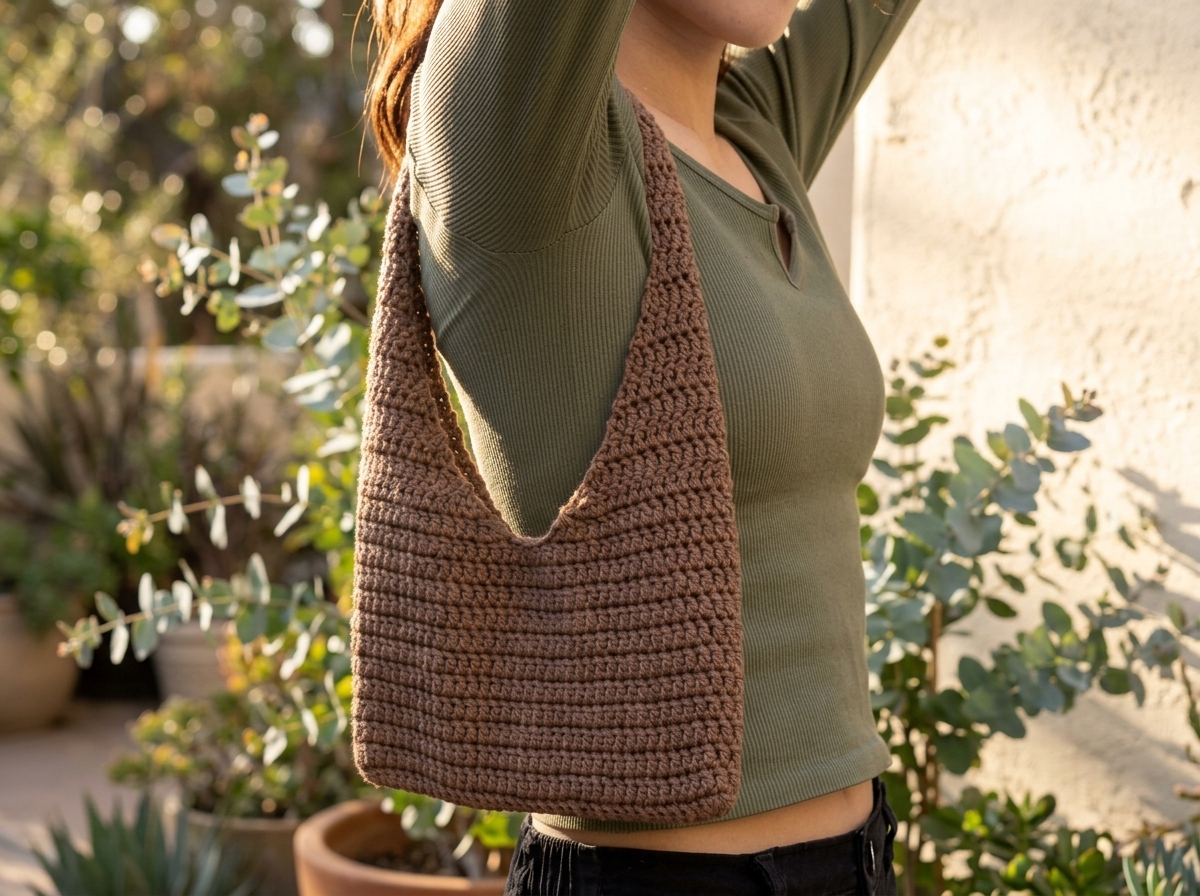
Why You Will Love This Advanced Beginner Crochet Shoulder Bag.
This crochet shoulder bag pattern is designed for confident beginners who want a modern result without fussy assembly. First, the entire bag uses one primary stitch: the classic double crochet (dc). Consequently, the fabric builds height quickly and creates a clean, uniform texture.
Additionally, the one-piece construction is almost completely seamless. First, you start at the bottom foundation chain and work upward in joined rounds for the body. Next, you transition directly into turned rows to shape both tapered straps. Aside from a quick whip-stitch seam at the top handle, very little sewing is needed. Furthermore, you can explore our DIY & Crafts collection for more handmade ideas. For instance, check out our puff stitch crochet blanket tutorial and free panda amigurumi crochet pattern.
Custom Sizing & Project Overview.
Both the bag height and the strap length are super easy to adjust. Simply add extra rounds to the body for more depth, or add rows to lengthen the strap. However, the bag width stays fixed at 24 centimeters (9.4 inches) unless you alter the strap pattern. Therefore, check the italicized notes inside the pattern below whenever you want to customize the size.
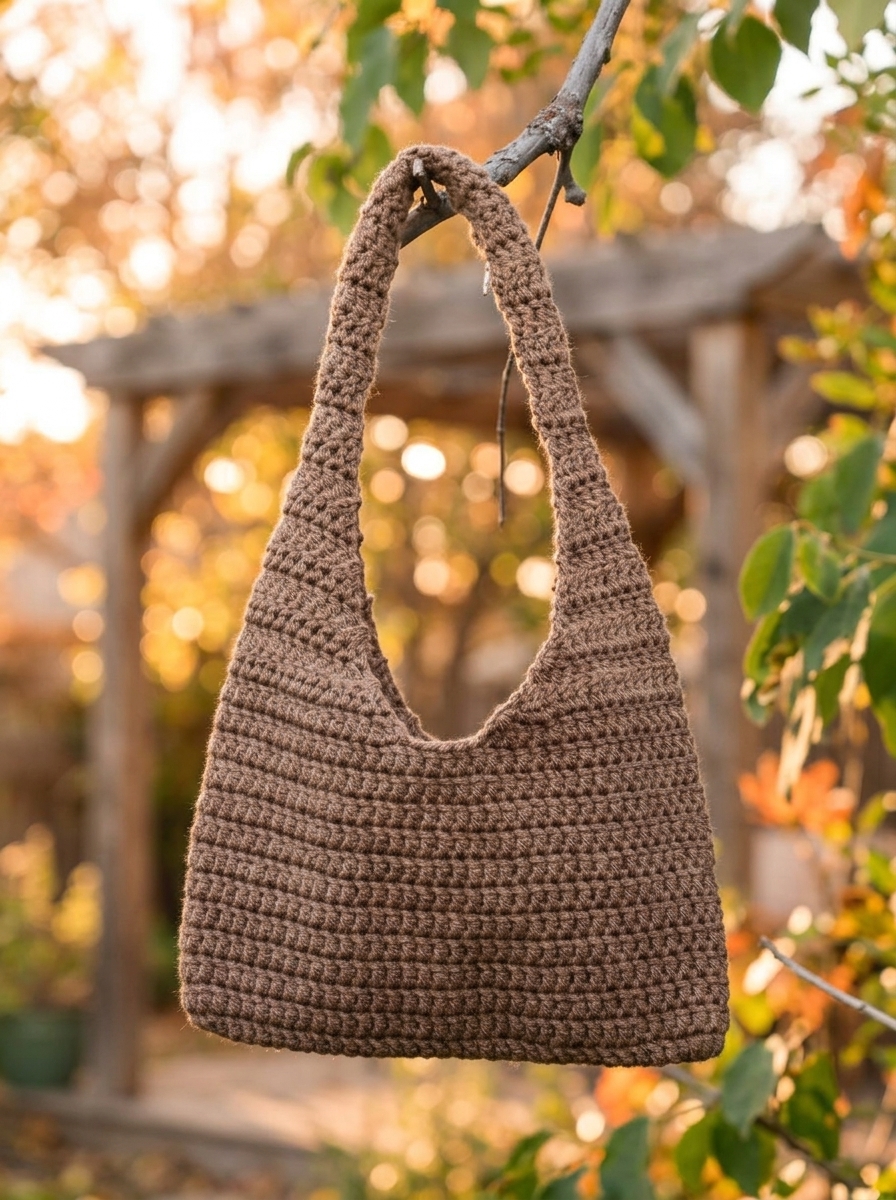
Your bag construction follows four simple stages from start to finish:
- Body: Crochet an oval base around the foundation chain and work upward in joined double crochet rounds.
- Marking Straps: Place 4 stitch markers along the top rim to divide the front and back openings evenly.
- Straps: Work each tapered strap directly onto the body in turned rows using simple decreases.
- Sewing Straps: Connect the two 7-stitch strap ends at the top shoulder seam with a whip stitch.
Choosing the Best Yarn & Crochet Hook Size.
For most crochet bags, 100% cotton yarn is recommended because cotton fibers reduce stretching over time. However, medium-weight acrylic yarn is also a fantastic option when you prioritize color matching and softness. For example, the sample bag uses Red Heart Super Saver acrylic yarn in Cafe Latte to match a handmade beanie.
To keep your stitches firm and strong, always size down your crochet hook. Specifically, the yarn label recommends a 5.5 mm hook, but this pattern uses a 5.0 mm crochet hook instead. In fact, you can even go down to a 4.0 mm hook for an ultra-dense weave. You can also consult the Craft Yarn Council yarn weight standards when picking substitute yarns.
Materials & Tools Needed.
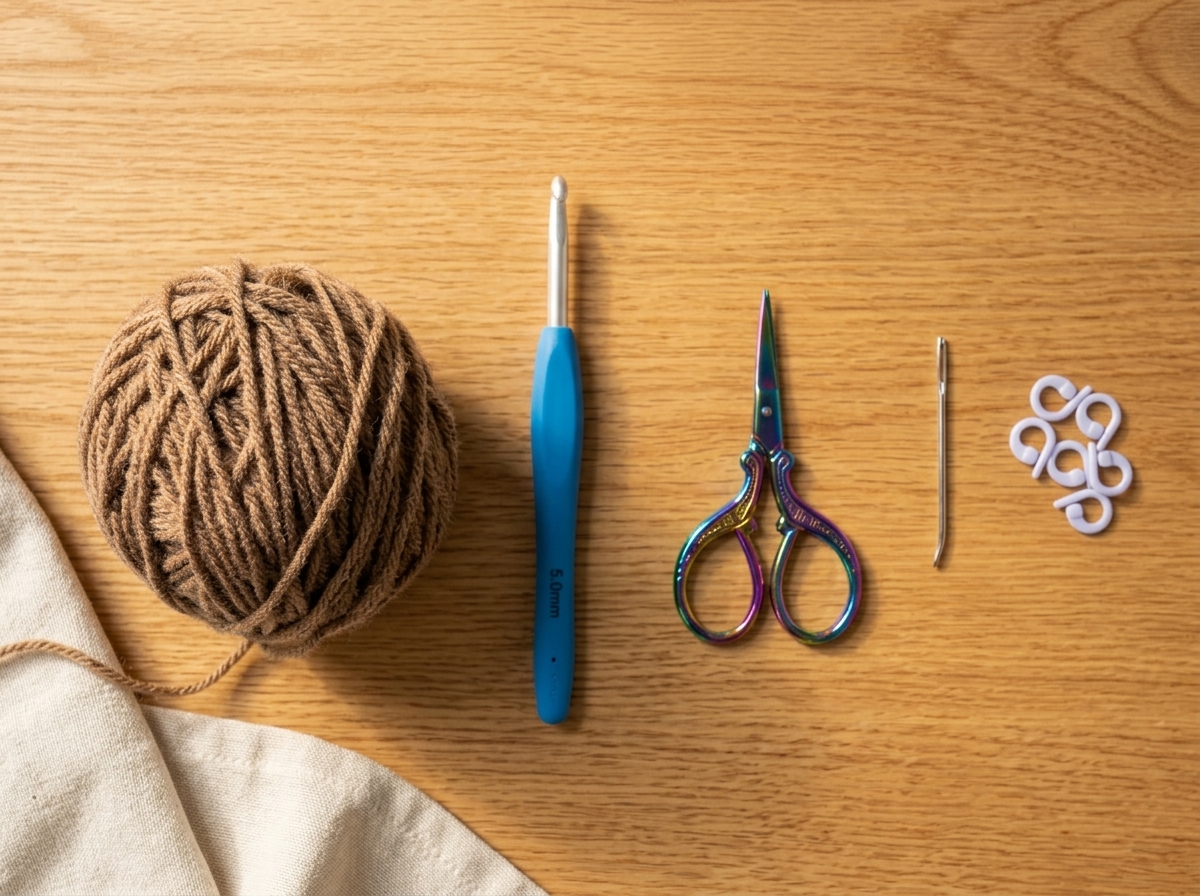
Gather these exact supplies before starting your crochet shoulder bag project:
- Yarn: 70 grams of medium weight (#4) yarn (Red Heart Super Saver in the color Cafe Latte).
- Crochet Hook: 5.0 mm (US H/8) Clover Amour crochet hook.
- Scissors: Sharp embroidery scissors for trimming yarn ends.
- Yarn Needle: Tapestry needle for sewing the straps and weaving in loose ends.
- Stitch Markers: 4 locking stitch markers (bobby pins or safety pins work too).
- Yarn Bowl: Optional accessory to keep your yarn ball tidy while crocheting.
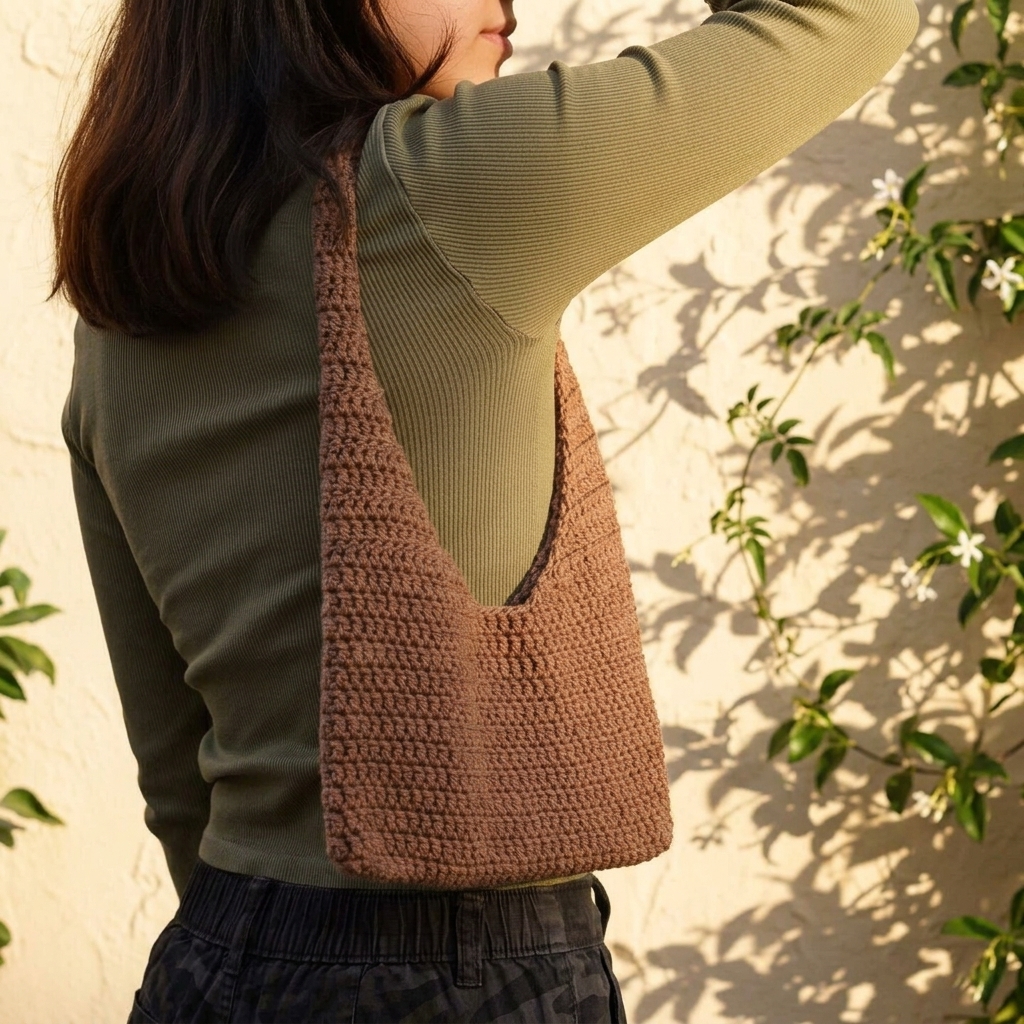
Finished Dimensions & Gauge.
- Dimensions Excluding Straps (Bag Body): 24 centimeters wide x 13.5 centimeters tall (9.4 x 5.3 inches).
- Overall Dimensions (Including Straps): 24 centimeters wide x 31 centimeters tall (9.4 x 12.2 inches).
- Gauge Swatch: 9 rows of 15 double crochets (dc) equals a 10 x 10 centimeter (4 x 4 inch) square.
Important Notes, Tips & Abbreviations (US Terms).
- This pattern uses standard US crochet terms throughout.
- Italicized notes show you exactly what to change if you want to adjust the bag size.
- The
ch 2at the start of each round or row does NOT count as a double crochet unless it is a decrease row. - The
ch 2at the beginning of Rows 1–10 of the straps counts as part of the stitch count. - If you do not have stitch markers, ordinary bobby pins and safety pins work great too.
Stitch Abbreviations.
- ch: chain stitch.
- dc: double crochet.
- dc2tog: double crochet 2 together (1-stitch decrease).
- dc3tog: double crochet 3 together (2-stitch decrease).
- sk: skip stitch.
- sl st: slip stitch.
- st: stitch.
Simple Crochet Shoulder Bag Written Pattern.
Part 1: Crocheting the Bag Body.
First, you will crochet around both sides of the foundation chain to create a seamless oval base for your crochet shoulder bag.
- Foundation: Make a slipknot on your 5.0 mm hook, then
ch 35.
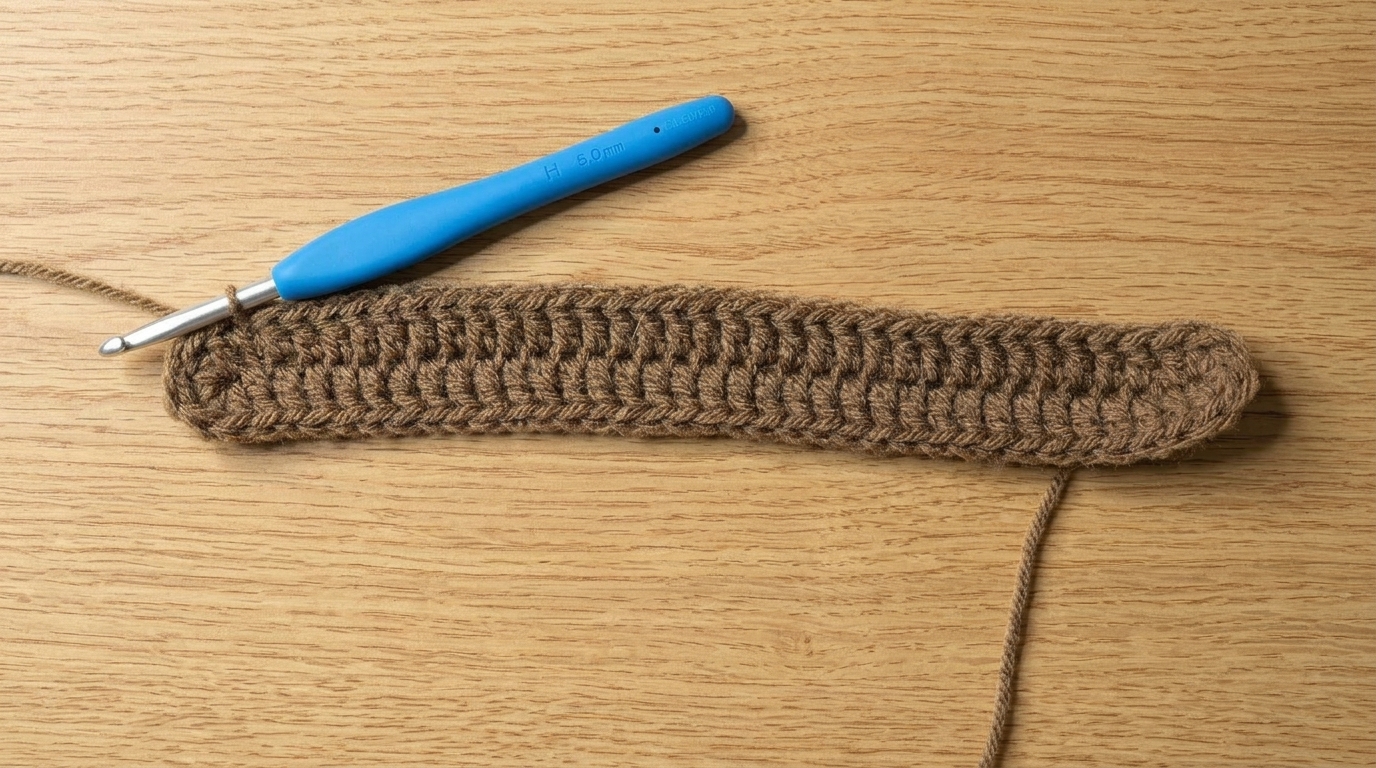
Pro Tip to Minimize Holes in Round 1: Working 6 double crochets into the first and last chains can leave small gaps. To prevent holes, place the 6th dc right between the posts of the 1st and 2nd dc.
- Round 1: Work
dc 6in the 3rd ch from the hook, thendcin the next31 ch. Next, workdc 6in the last ch and rotate your foundation chain to work along the underside. Finally, workdcin the next31 chacross the bottom edge, and join with asl st. (74 st).
- Rounds 2–12:
ch 2, work1 dcin each stitch around, and join with asl st. (74 st per round).
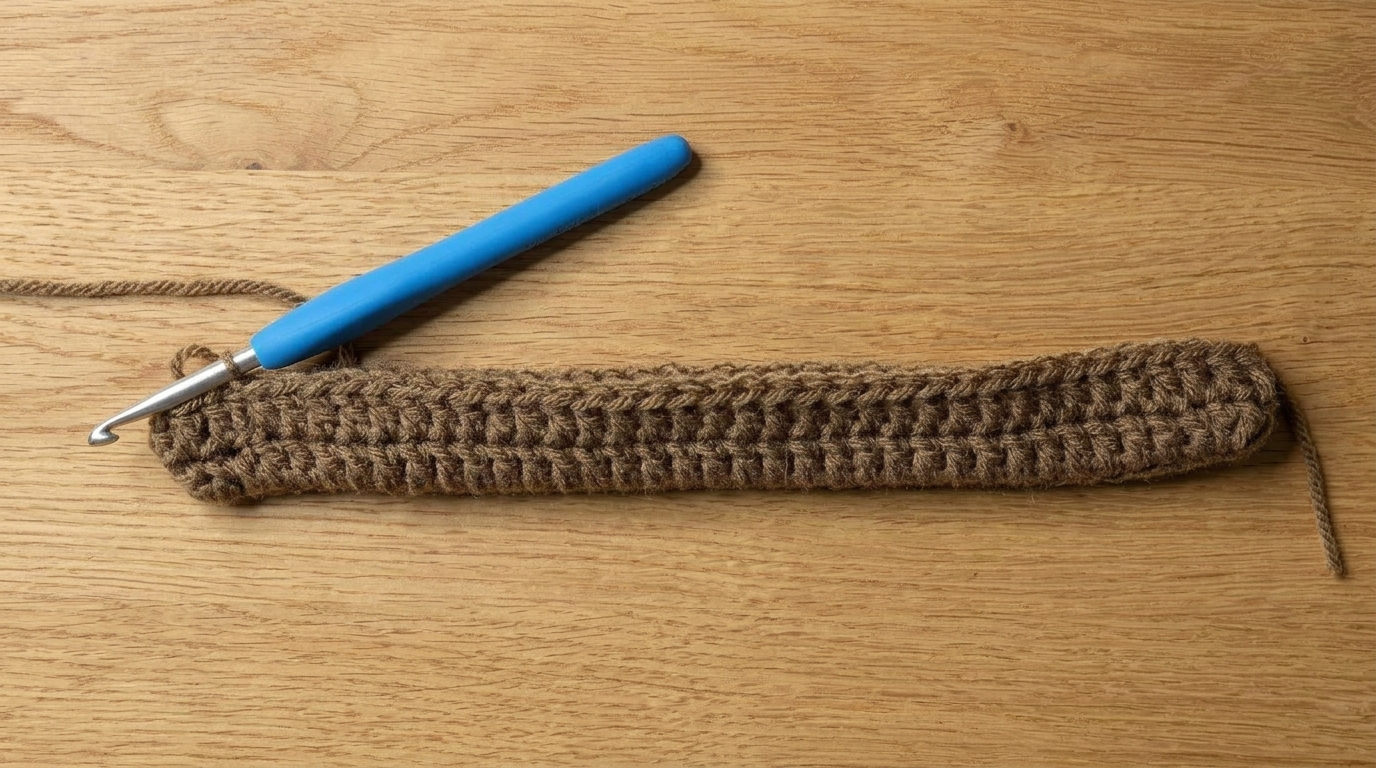
Note: Do fewer rounds for a shorter bag body, or add more rounds for a longer, deeper bag.
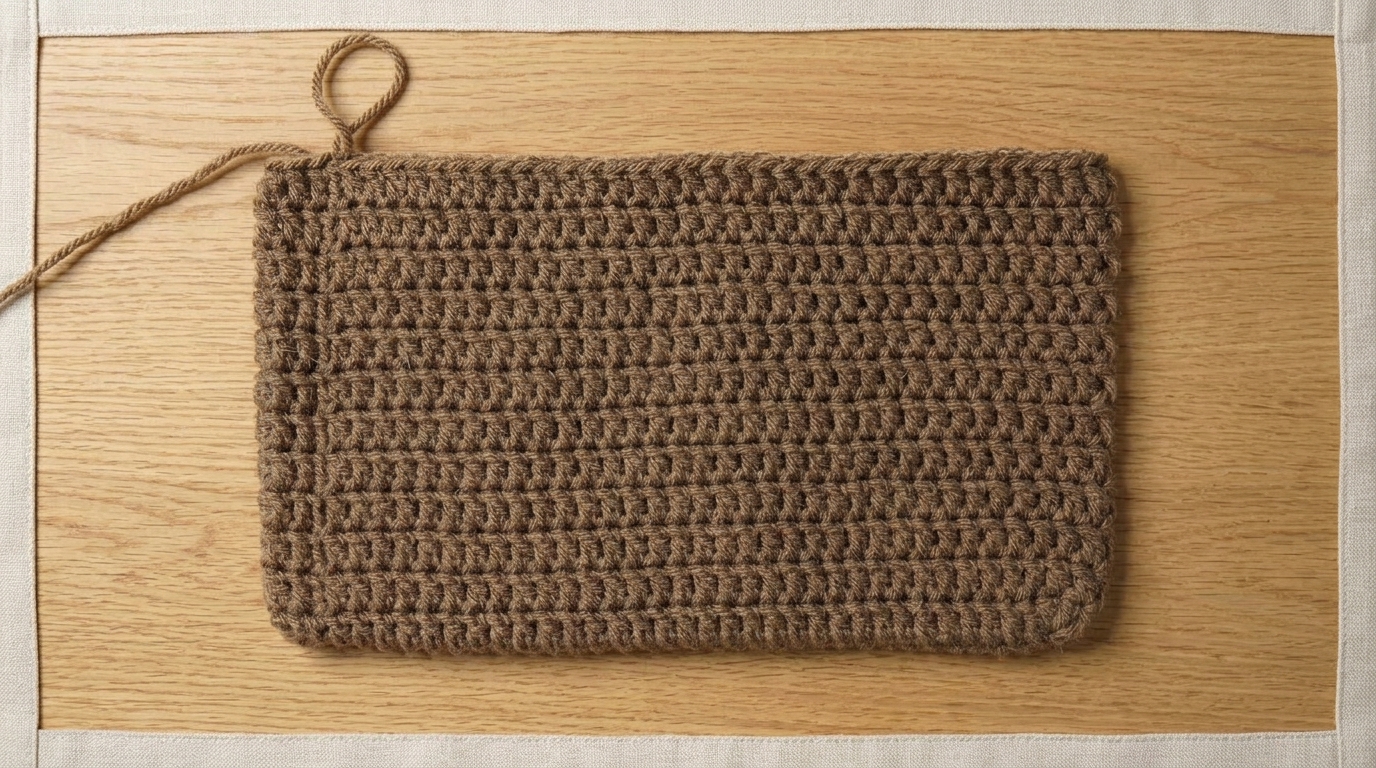
After finishing Round 12, fasten off your yarn neatly.
Part 2: Marking the Straps.
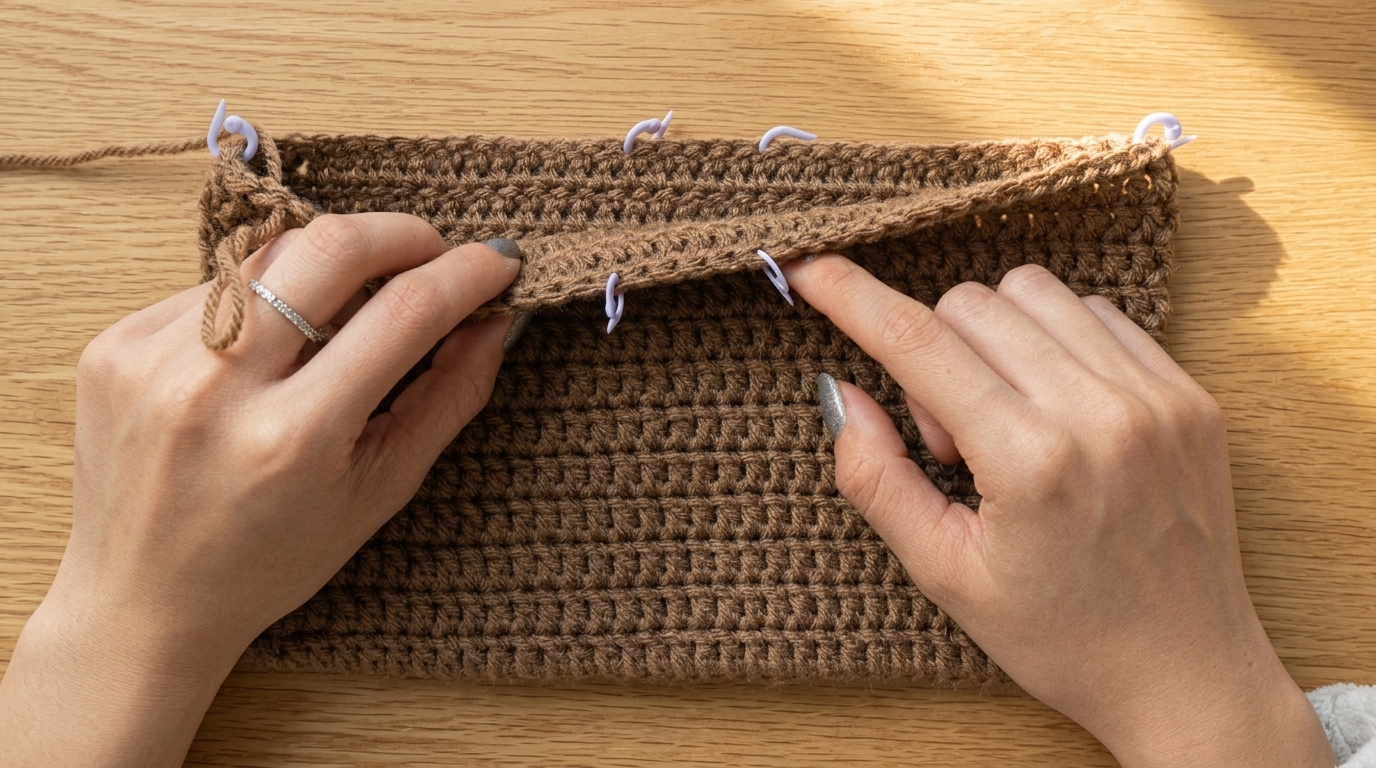
Next, use 4 stitch markers to position the two straps symmetrically along the top edge of your crochet shoulder bag.
- Mark the Left and Right Edges: Fold the bag flat along the bottom foundation chain. Place a stitch marker in the stitch on the far left edge and another on the far right edge. Make sure there are exactly 36 stitches between the markers on both the front and back sides.
- Mark the Start and End of the Straps: Count and mark the 16th stitch to the right and left of each outer edge marker. Verify that there are exactly 4 unworked stitches left in the middle between the two center markers on each side.
- Remove the Outer Edge Markers: Take out the two markers on the far left and right edges. The four remaining markers show where Row 1 of each strap starts and ends. You will work the bag straps one at a time in turned rows.
Part 3: Crocheting the Straps.
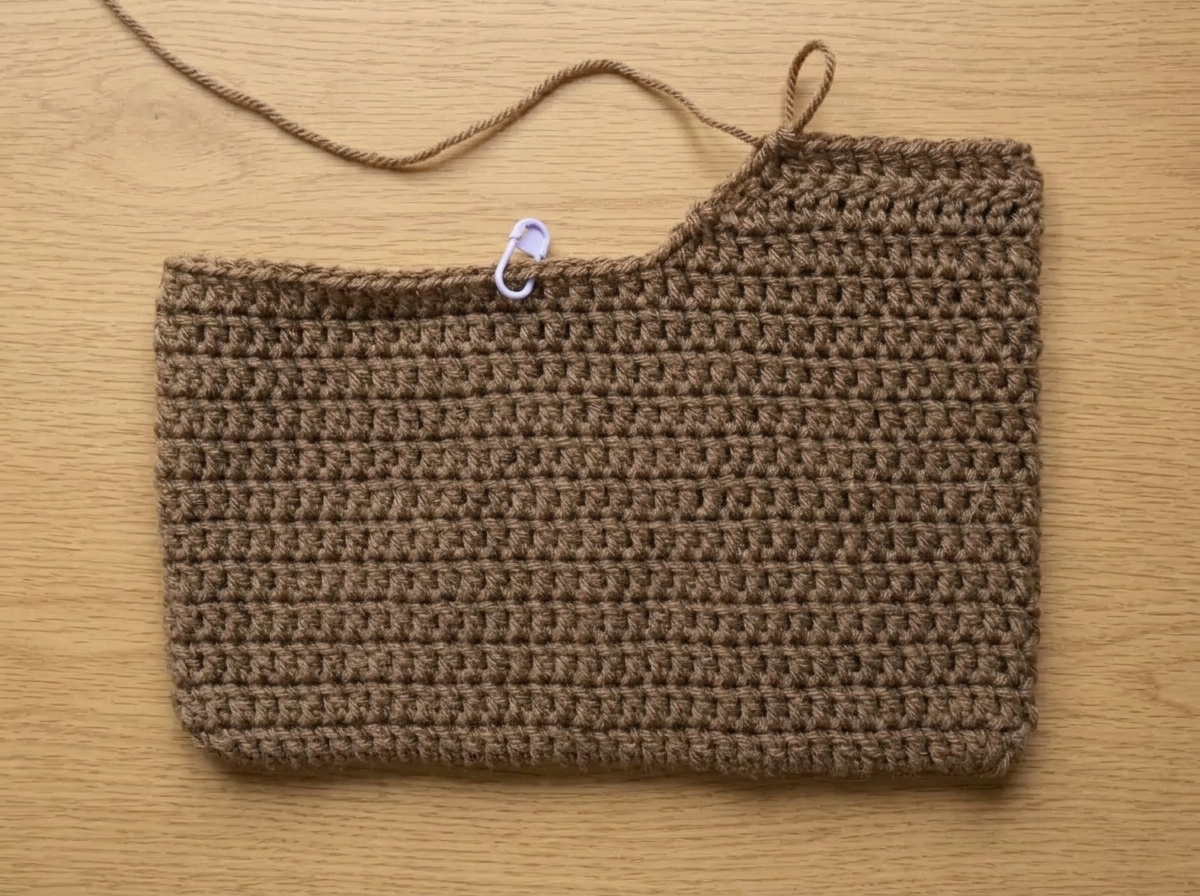
Attach your yarn to the left stitch marker. The final stitch of Row 1 will be worked into the next stitch holding a marker. Remove both stitch markers for this strap after completing Row 1.
- Row 1:
ch 2, sk 1, dc2tog, thendcacross until3 stremain, and finish withdc3tog. (29 st). - Important Note for Row 1: The
[ch 2, sk 1, dc2tog]at the beginning of the row counts as adc3tog. - Rows 2–3:
ch 2, turn,sk 1, dc2tog, thendcacross until3 stremain, and workdc3tog. (25 st on Row 2; 21 st on Row 3).
- Rows 4–10:
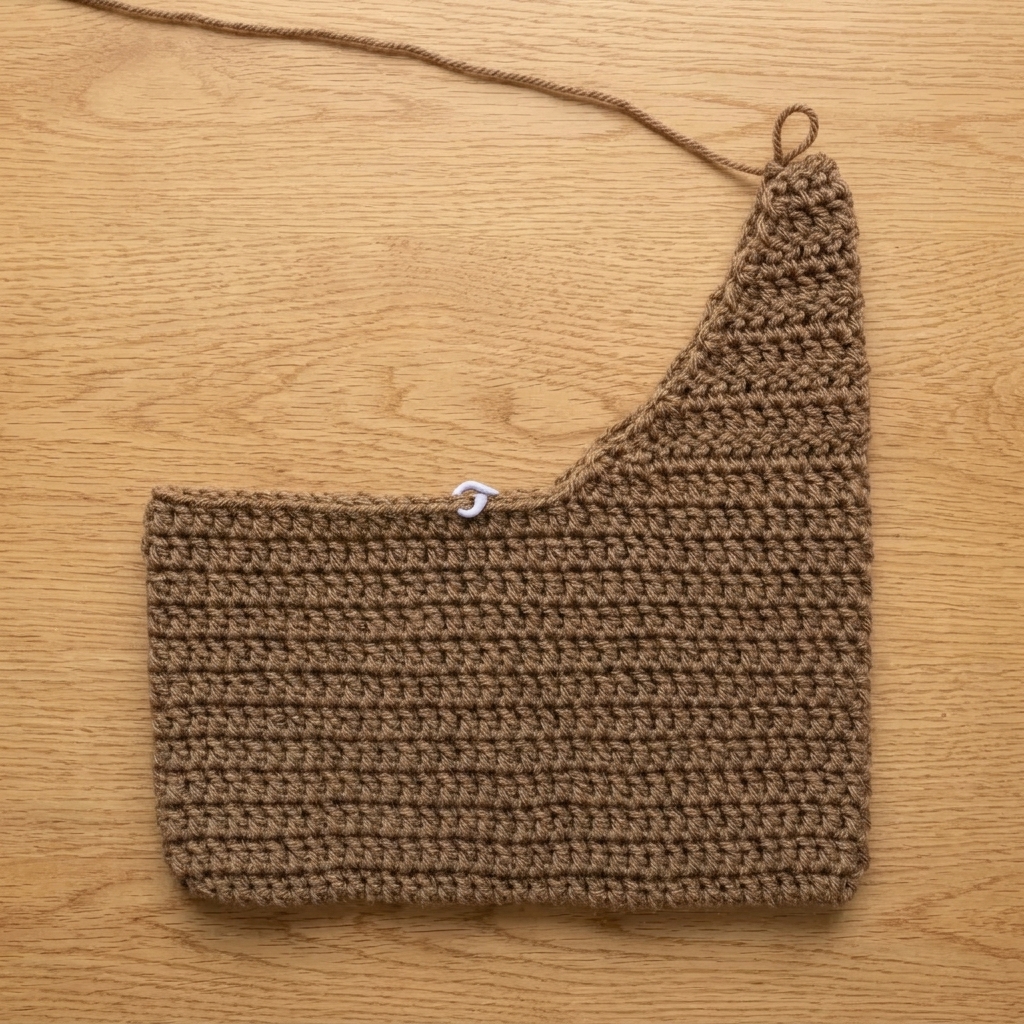
ch 2, turn,sk 1, dc, thendcacross until2 stremain, and workdc2tog. (19, 17, 15, 13, 11, 9, 7 st). - Important Note for Rows 4–10: The
[ch 2, sk 1, dc]at the start of each row counts as adc2tog.
- Rows 11–20:
ch 2, turn, and work1 dcin each stitch across. (7 st per row).
Note: Do fewer rows for a shorter strap, or work more rows for a longer strap. Always work slightly fewer rows than you think you need to account for natural yarn stretching.
Fasten off after completing Row 20 of the first strap.
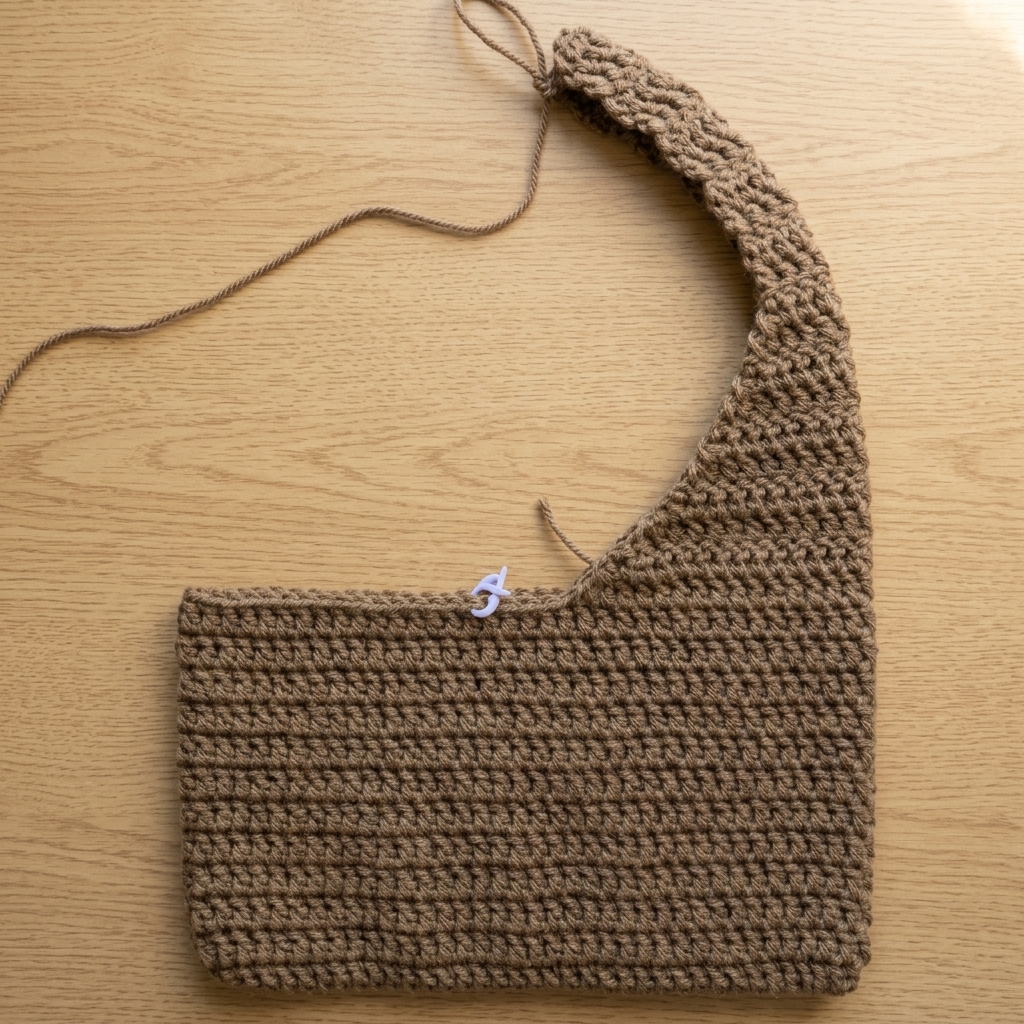
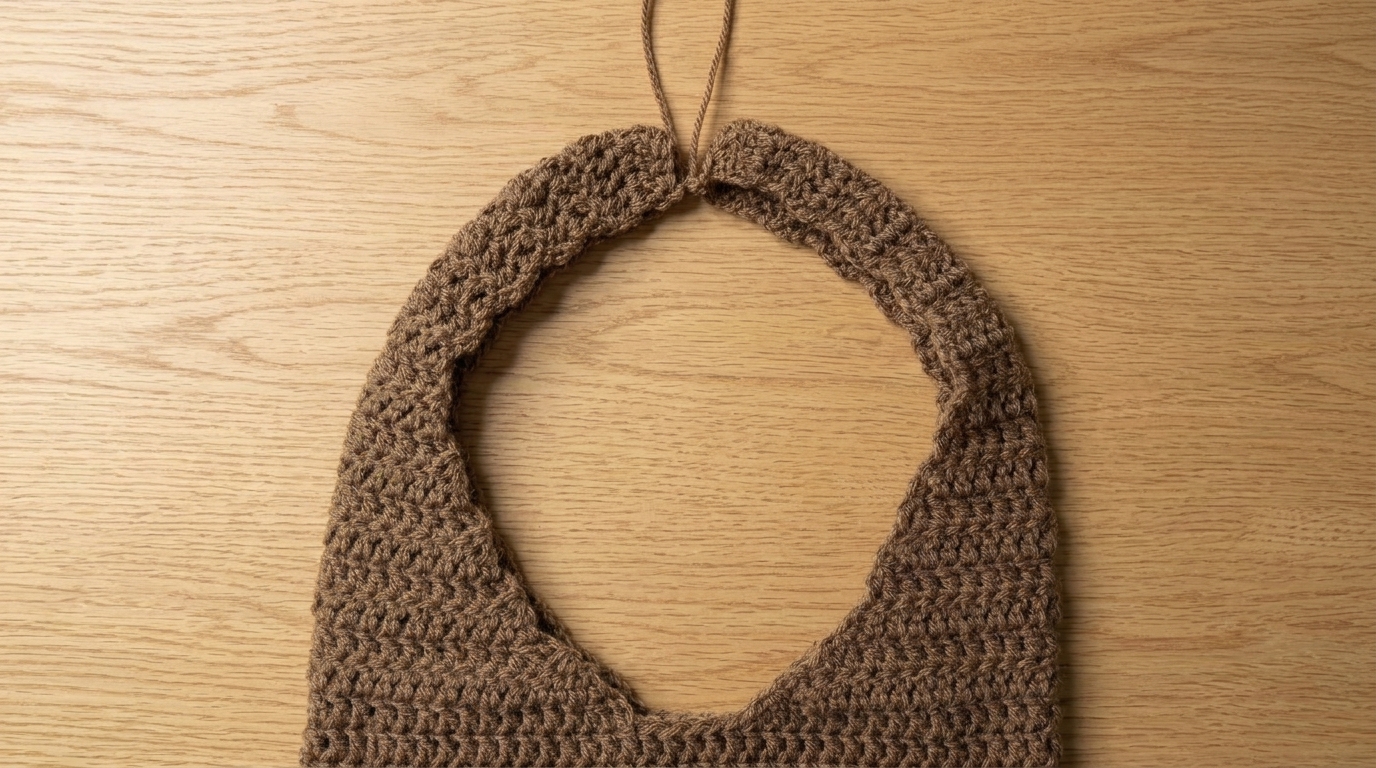
Second Strap Instructions: Flip the bag so the finished strap sits on the right side. Attach your yarn to the remaining left stitch marker. Repeat Rows 1–20 to make an identical second strap. Finally, fasten off leaving an extra-long loose tail measuring about 10 inches (25 centimeters).
Part 4: Sewing Straps & Finishing Your Bag.
Thread the 10-inch (25 cm) loose yarn end onto your yarn needle. Next, align the last row of both straps and whip stitch across all 7 stitches to connect them. Tie a secure double knot to lock the seam in place.
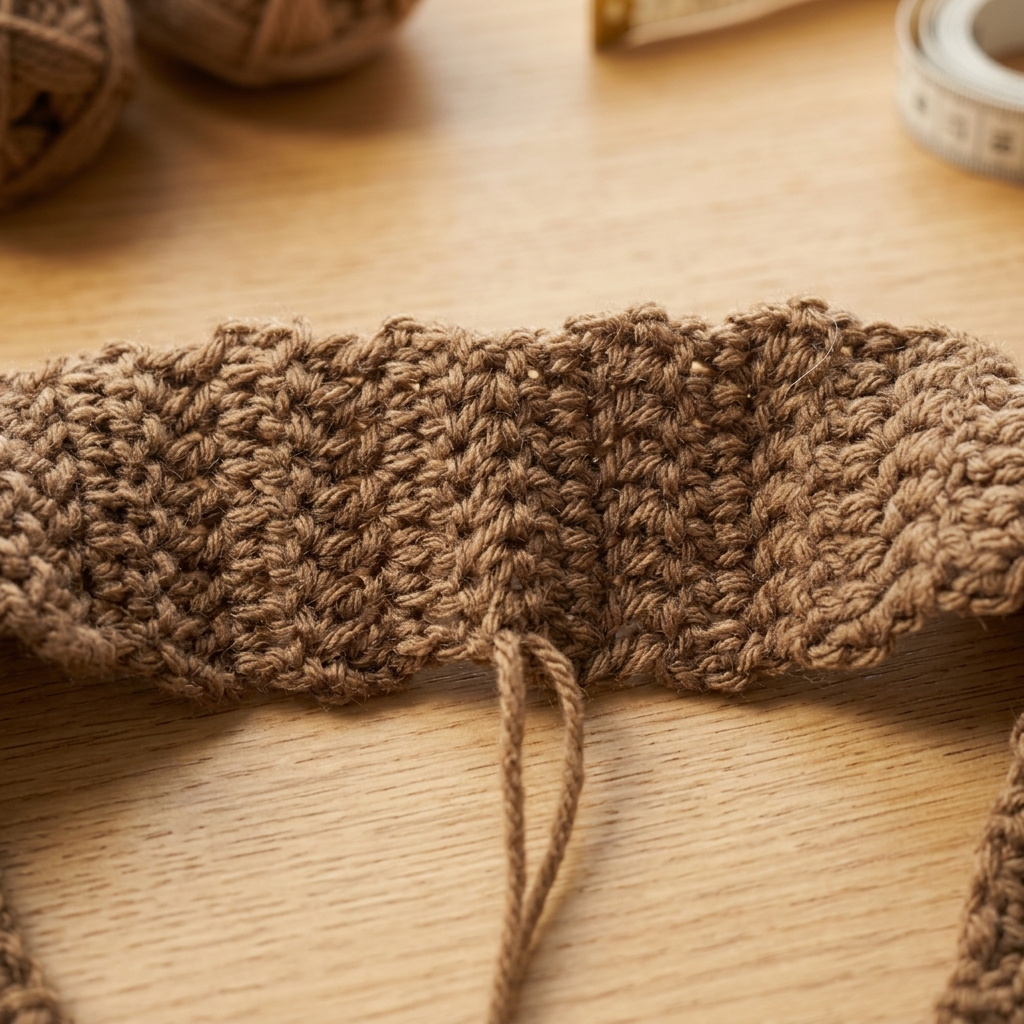
Finally, weave in all remaining loose ends inside the bag. Your crochet shoulder bag is now finished and ready to wear!
Care Tips & Frequently Asked Questions.
- How do I stop my crochet bag strap from stretching? First, work with a smaller 5.0 mm or 4.0 mm hook so your stitches stay tight. Additionally, you can slip stitch along both outer edges of the strap to lock the length in place.
- Can I line this crochet shoulder bag with fabric? Yes, you can easily sew a simple cotton pouch lining inside the 24 x 13.5 cm body. Consequently, small items like lip balm, coins, or keys will never slip between the double crochet posts.
- How should I wash my finished bag? For Red Heart Super Saver acrylic yarn, machine wash gently in cool water and lay flat to dry. Similarly, if you use 100% cotton yarn, hand wash in cold water and reshape the bag flat on a towel.


0 Comments