

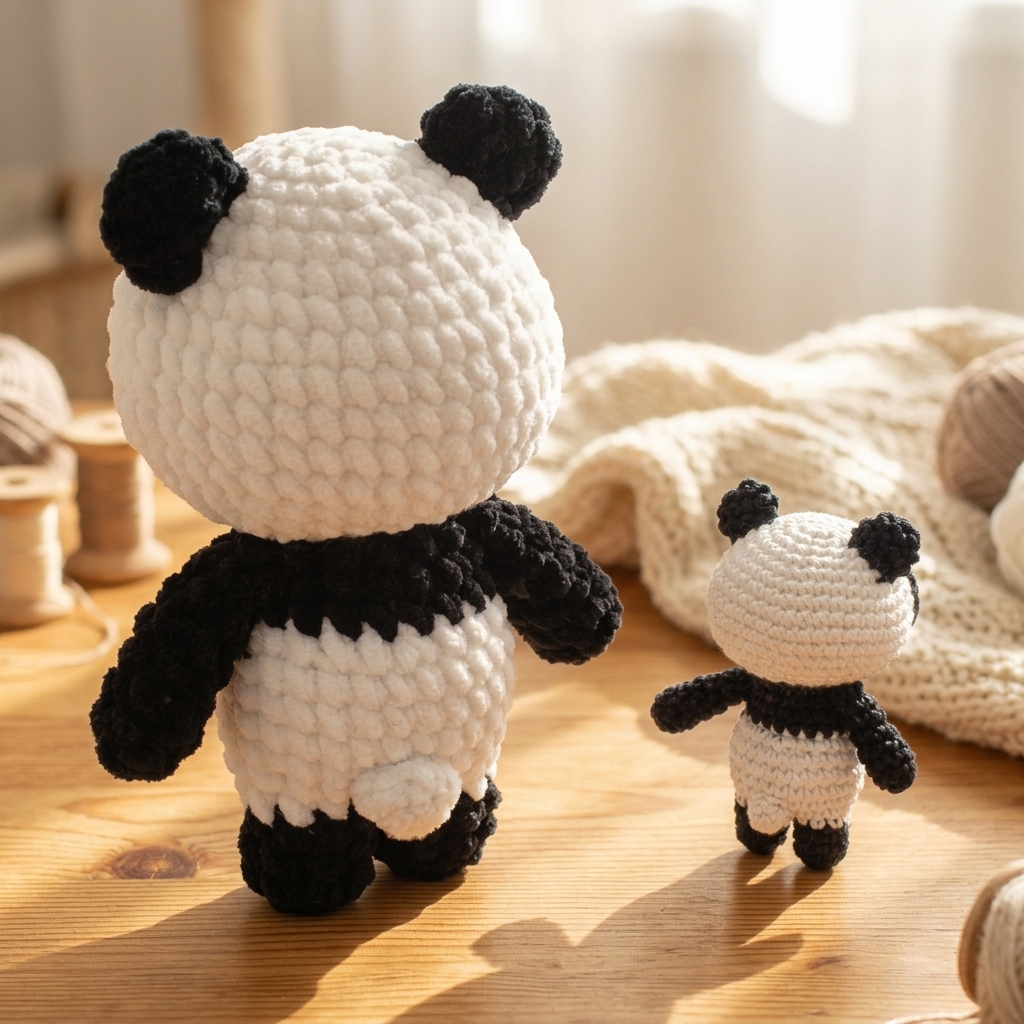
If you want a quick, adorable handmade gift, this free panda crochet pattern is the ideal weekend project. Because the shaping is simple and beginner-friendly, you can finish your plushie in just a few hours. Furthermore, this versatile design works beautifully with any yarn weight in your stash.
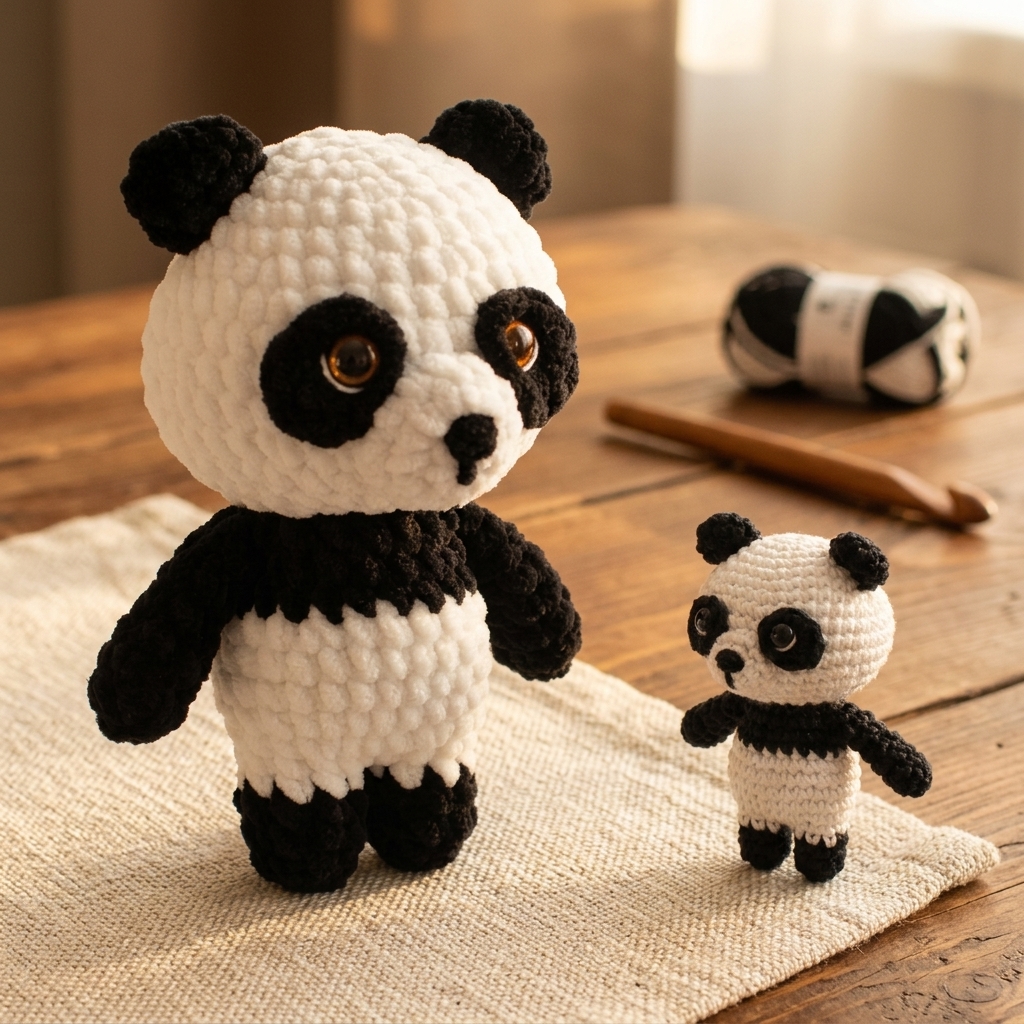
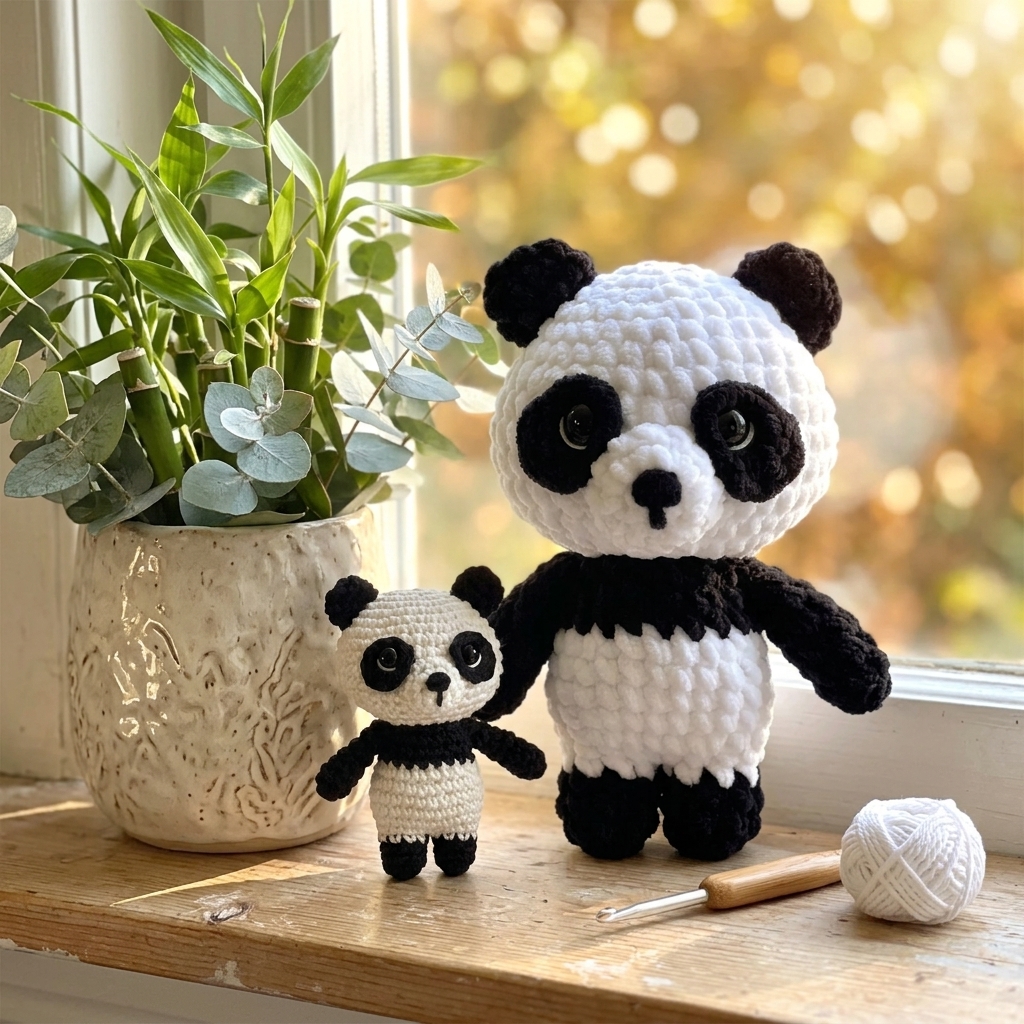
In addition, the final size of your stuffed bear depends entirely on the yarn and hook you select. For example, thin cotton yarn creates a cute pocket keychain, while thick chenille yarn produces a huggable nursery toy. If you love handmade home projects, explore our creative DIY craft and decor ideas for more inspiration.
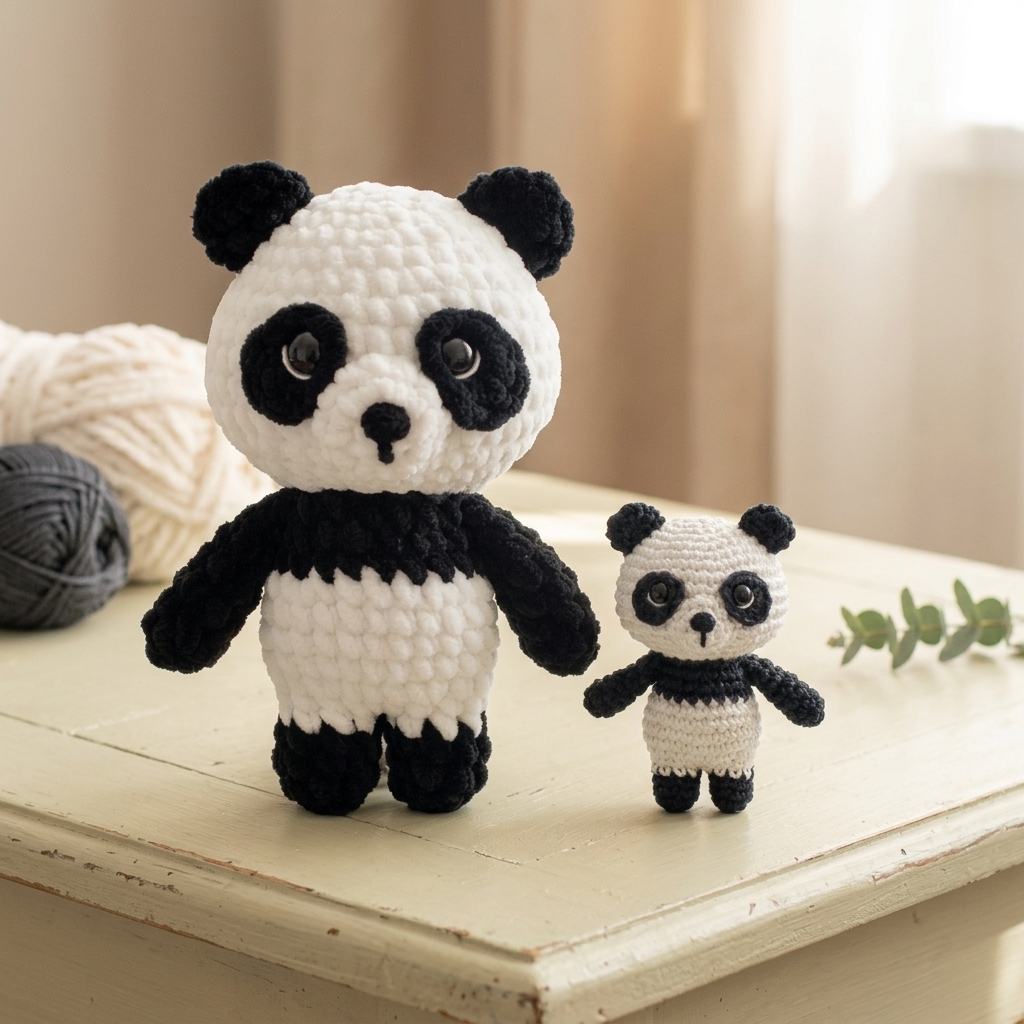
Materials, Yarn Sizes & Exact Measurements
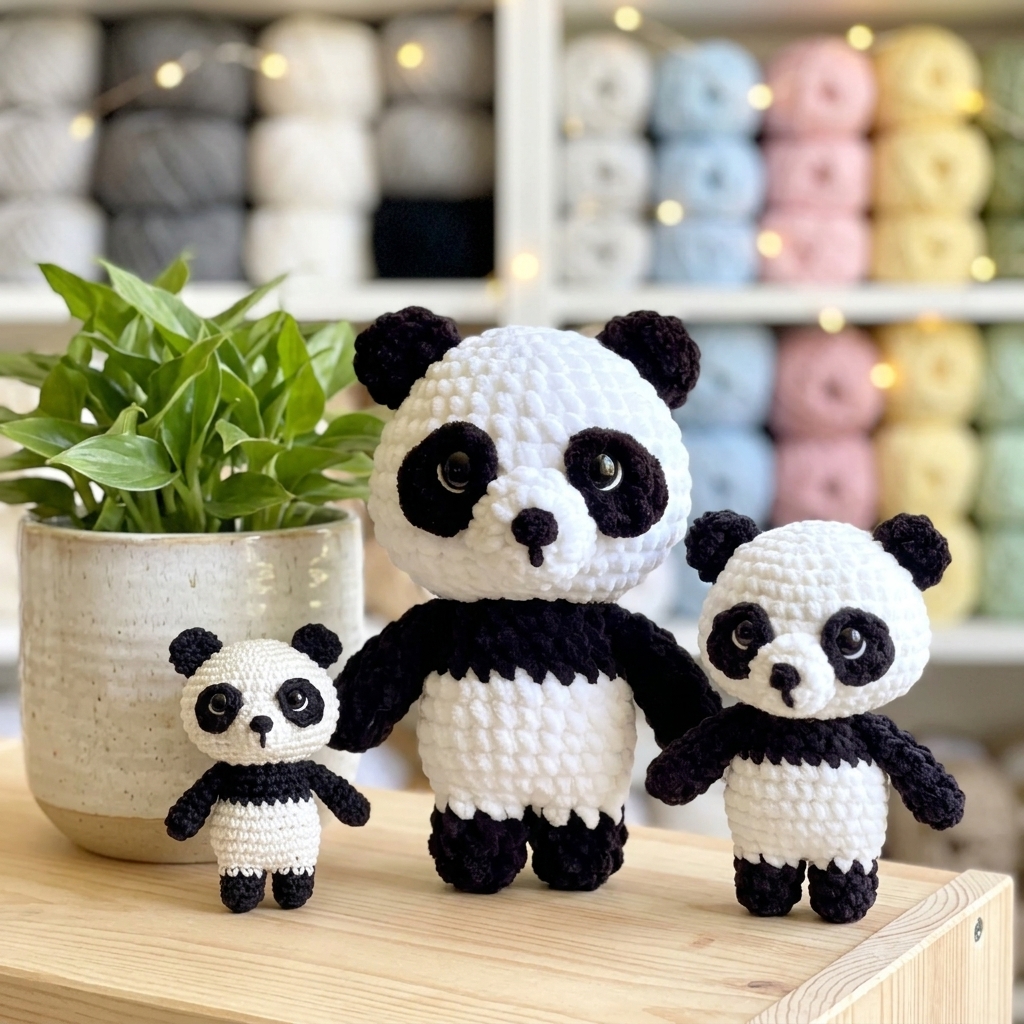
Below are the exact materials and measurements used for all three versions of this panda bear plushie. However, you can easily substitute another yarn brand if needed. Moreover, to crochet a larger or smaller version with this free panda crochet pattern, simply switch to a thicker or thinner yarn and matching hook.
| Version | Finished Measurement | Exact Yarn Used | Hook Size | Safety Eyes |
|---|---|---|---|---|
| 1. Cotton Sport Weight | 10 cm / 4 inch | Yarn and Colors Must Have White (001) & Black (100) | 2.5 mm | 7 mm (1 pair) |
| 2. Chenille DK Weight | 14 cm / 6 inch | Scheepjes Little Darling Black & White Chenille DK | 3.5 mm | 15 mm (1 pair) |
| 3. Chenille Super Bulky | 21 cm / 8 inch | White and Black Super Bulky Chenille Yarn | 5.0 mm | 15 mm (1 pair) |
Complete Materials Breakdown by Size
- Option 1 — Cotton Sport Weight Version (10 cm / 4 inch): Yarn and Colors Must Have White cotton (color: 001), Yarn and Colors Must Have Black cotton (color: 100), Synthetic Poly Filling, Crochet hook size 2.5 mm, and 1 pair of 7 mm safety eyes.
- Option 2 — Chenille DK Version (14 cm / 6 inch): Scheepjes Little Darling Black and White Chenille DK yarn, Synthetic Poly Filling, Crochet hook size 3.5 mm, and 1 pair of 15 mm safety eyes.
- Option 3 — Chenille Super Bulky Version (21 cm / 8 inch): White and Black Super Bulky Chenille yarn, Synthetic Poly Filling, and Crochet hook size 5.0 mm. You can easily search for a similar chenille yarn near you on YarnSub.
- Tools & Supplies: Scissors, blunt-point tapestry needles (nr. 16 or 17), and sewing pins.
Blanket Yarn Tip: Are you using thick Blanket yarn instead? In that case, we strongly recommend using an 8 mm crochet hook so your stitches stay comfortable and even.
Crochet Abbreviations (US Terms)
Every round in this pattern uses standard US crochet abbreviations. Additionally, because amigurumi is worked in continuous spirals, always place a stitch marker in the first stitch of each round.
- Rnd: Round
- st: stitch
- sc: single crochet
- sl st: slip stitch
- dec: decrease
- inc: increase
- hdc: half double crochet
- dc: double crochet
- ch: chain stitch
Free Panda Crochet Pattern (Step-by-Step Instructions)
Follow the round-by-round stitch counts below carefully. The number in parentheses at the end of each line shows the exact total stitch count for that round.
Eye Patch (Make 2x)
First, use black yarn to make both oval eye patches before starting the head.
- Rnd 1: Work
2 sc, 1 hdc, 2 dc, 1 hdc, 2 scin a magic ring. (8) - Finish: Make an invisible fasten off, leaving a yarn tail for sewing.
- Eye Prep: Push a safety eye directly through the middle of the magic ring. However, do not put the backing washer on it yet.
Head
Next, switch to white yarn to crochet the head from the top down.
- Rnd 1: Start 8 sc in a magic ring. (8)
- Rnd 2:
inc8 times. (16) - Rnd 3:
(sc in next 3 st, inc in next st)repeat 4 times. (20) - Rnd 4:
(sc in next 4 st, inc in next st)repeat 4 times. (24) - Rnd 5:
(sc in next 3 st, inc in next st)repeat 6 times. (30) - Rnd 6: sc in all 30 st. (30)
- Rnd 7:
(sc in next 4 st, inc in next st)repeat 6 times. (36) - Rnd 8:
(sc in next 11 st, inc in next st)repeat 3 times. (39) - Rnd 9–11: sc in all 39 st (3 rounds). (39)
- Rnd 12:
(sc in next 11 st, dec)repeat 3 times. (36) - Important Eye Placement: Attach the safety eyes (with the black eye patches on them) between rounds 9 and 10, leaving 5 stitches between both eyes. Lock the washers inside, but do not sew the black patches onto the head yet.
- Rnd 13:
(sc in next 4 st, dec)repeat 6 times. (30) - Rnd 14:
(sc in next 3 st, dec)repeat 6 times. (24) - Rnd 15:
(sc in next st, dec)repeat 8 times. (16) - Stuffing: Put synthetic poly stuffing firmly inside the head.
- Rnd 16:
dec8 times. (8) - Finish: Fasten off, leaving a yarn tail. Using your tapestry needle, weave the yarn tail through the front loop of each remaining stitch, pull it tight to close, and weave in the yarn end.
Snout & Nose Embroidery
Use white yarn for the snout piece.
- Rnd 1: Start 6 sc in a magic ring. (6)
- Rnd 2:
inc6 times. (12) - Rnd 3: sc in all 12 st. (12)
- Finish: Fasten off with a
sl st.
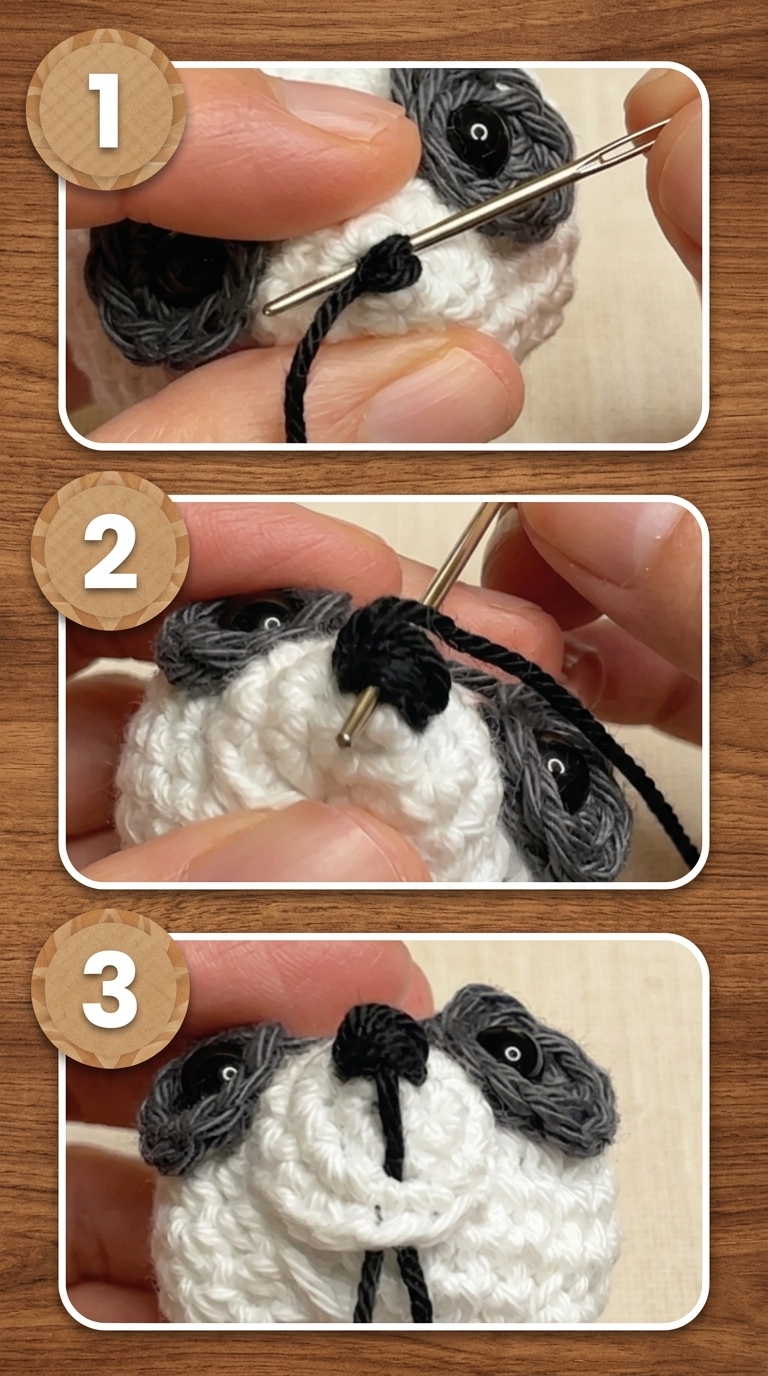
Sewing & Embroidery Instructions: Sew the snout onto the head between rounds 9 and 14. Next, embroider the nose on the snout (see photos 1–3 below) using black yarn. Put a small bit of stuffing inside the snout when there is still a small hole left, then finish sewing it shut. Afterward, sew the black eye patches flat onto the head.
Ear (Make 2x)
Use black yarn.
- Rnd 1: Start 8 sc in a magic ring. (8)
- Rnd 2–3: sc in all 8 st (2 rounds). (8)
- Finish: Fasten off with a
sl st. Flatten the ears (no stuffing needed) and sew both ears onto the head between rounds 3 and 7.
Body (Joining Two Legs Together)
First, we make two identical legs in black yarn and join them seamlessly into the torso.
- Legs (2x): Using black yarn, work Rnd 1: start 8 sc in a magic ring (8). Work Rnd 2–4: sc in all 8 st (8).
- Leg 1 & 2: Make a
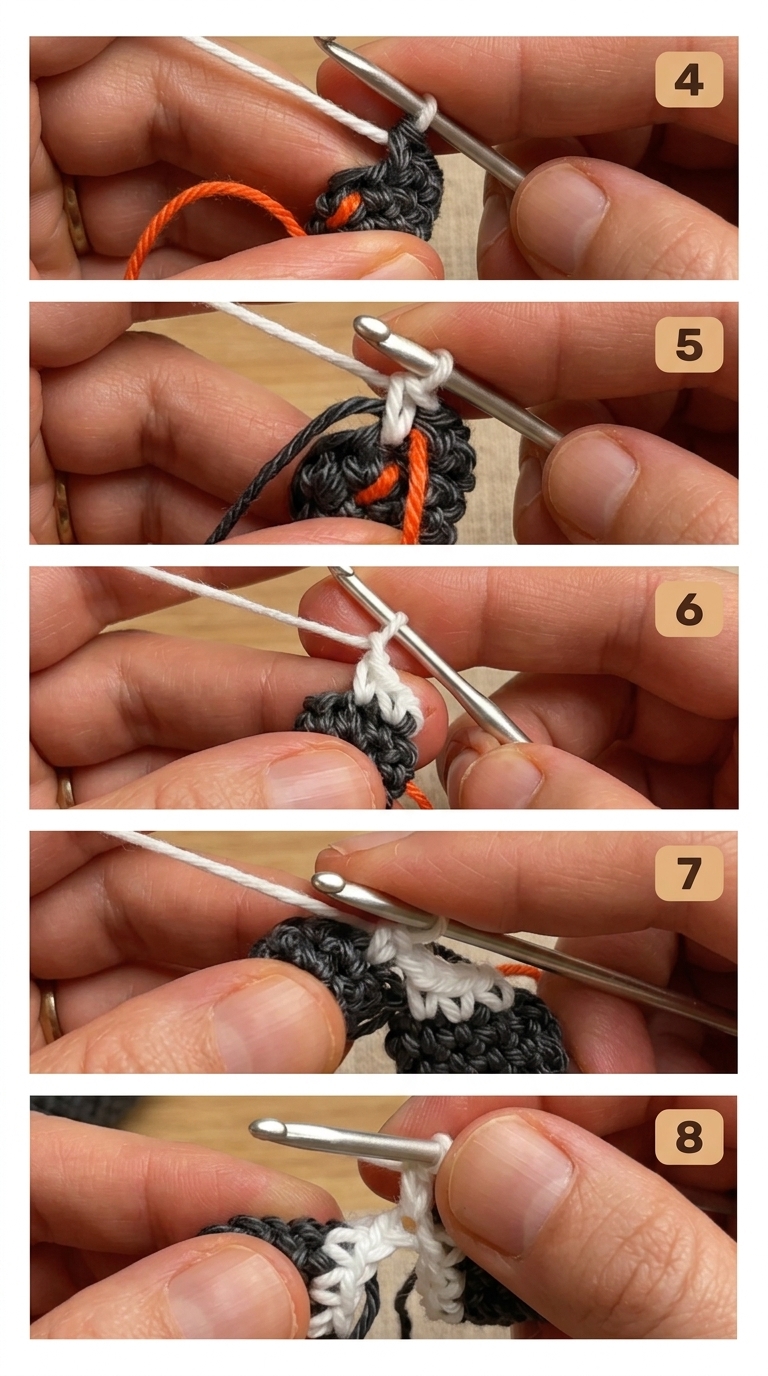
sl stin the next st and fasten off on the first leg. Then repeat rounds 1–4 for the second leg, but do not fasten off on the second leg. - Switch Color: Continue crocheting from the second leg and change to white yarn (see photos 4–5).
- Body Rnd 1: Work
sc in next 4 stof the second leg, thench 1(photo 6). Continue in the first stitch of the first leg (photo 7) and worksc in all 8 stof the first leg. Next, work1 sc in the chain st(photo 8), continue in the fifth stitch of the second leg, and worksc in next 4 stof the second leg. (18)
Finishing the Body Rounds
- Rnd 2:
(inc, sc in next 8 st)repeat 2 times. (20) - Rnd 3:
(sc in next 3 st, inc in next st)repeat 5 times. (25) - Rnd 4–6: sc in all 25 st (3 rounds). (25)
- Rnd 7:
(sc in next 3 st, dec)repeat 5 times. (20) - Switch Color: Change to black yarn.
- Rnd 8: sc in all 20 st. (20)
- Rnd 9:
(sc in next 3 st, dec)repeat 4 times. (16) - Rnd 10: sc in all 16 st. (16)
- Finish: Fasten off with a
sl st. Put stuffing firmly inside the body, then sew the body onto the head between rounds 15 and 16.
Arm (Make 2x)
Use black yarn.
- Rnd 1: Start 6 sc in a magic ring. (6)
- Rnd 2–7: sc in all 6 st (6 rounds). (6)
- Finish: Fasten off with a
sl st. Put a bit of stuffing in the bottom of the arms, flatten round 7, and sew the arms onto the sides of the body at round 10.
Tail & Final Eye Details
Use white yarn.
- Rnd 1: Start 6 sc in a magic ring. (6)
- Rnd 2: sc in all 6 st. (6)
- Finish: Fasten off with a
sl st. Sew the tail onto the back of the body between rounds 2 and 5. - Optional: Embroider a thin white stripe along the outer edge of the eyes to give your panda a bright, lively expression!
Frequently Asked Questions About This Free Panda Crochet Pattern
How long does it take to finish this panda amigurumi?
Most crocheters can complete this free panda crochet pattern in about 2 to 3 hours. Because the legs connect directly into the body without extra sewing, assembly is very fast.
Can beginners make this crochet panda plushie?
Yes, beginners can easily follow this tutorial. You only need basic stitches like single crochet, half double crochet, double crochet, increases, and decreases. Moreover, the step-by-step photos guide you through the nose embroidery and leg join.
Why should I use a smaller hook for amigurumi?
Using a smaller hook—such as a 2.5 mm hook for sport cotton or a 3.5 mm hook for DK chenille—creates tight stitches. Consequently, the white polyfill stuffing stays hidden inside the black and white yarn rounds.


0 Comments