

Black Magic Cake
There is something about rain pattering against the windowpane that turns my kitchen at spiilled into a cozy haven. As the storm rumbles outside, the rich aroma of Black Magic Cake fills the air, transforming a gloomy day into a celebration of flavors and warmth.
The secret to this indulgence lies in the harmonious blend of ingredients, where each one plays its part in crafting the ideal cake.
Ingredients We Love in Black Magic Cake
- Plain Flour: The backbone of our cake, providing structure without stealing the show.
- Unsweetened Cocoa Powder: Deep, rich cocoa goodness that sets the stage for chocolate magic.
- Caster Sugar: Perfect for its fine texture, melting effortlessly into a smooth batter.
- Baking Soda and Baking Powder: These give the cake its lovely rise and airy texture.
- Salt: Enhances all the flavors, bringing balance to the sweetness.
- Eggs: Our binding agent that adds richness and helps the cake maintain its structure.
- Buttermilk: Adds a delightful tang and ensures our cake stays incredibly moist.
- Vegetable Oil: Keeps the cake tender and moist, without overpowering other flavors.
- Vanilla Extract: A gentle aromatic touch that complements the chocolate.
- Key Technique: Instant Coffee and Hot Water: Dissolving instant coffee in hot water amplifies the chocolate flavor—an inspired twist that deepens complexity without a hint of coffee.
- Dark Chocolate: Forms the luxurious base of our glossy ganache.
- Thickened Cream: Adds smoothness and richness to the ganache, making it perfect for drizzling.
- Unsalted Butter: Whipped into our buttercream for a creamy, luscious finish.
- Icing Sugar: Sweetens the buttercream while keeping it light and fluffy.
- Garnish/Toppings: A final flourish of piped ganache gives the cake its signature, show-stopping look.
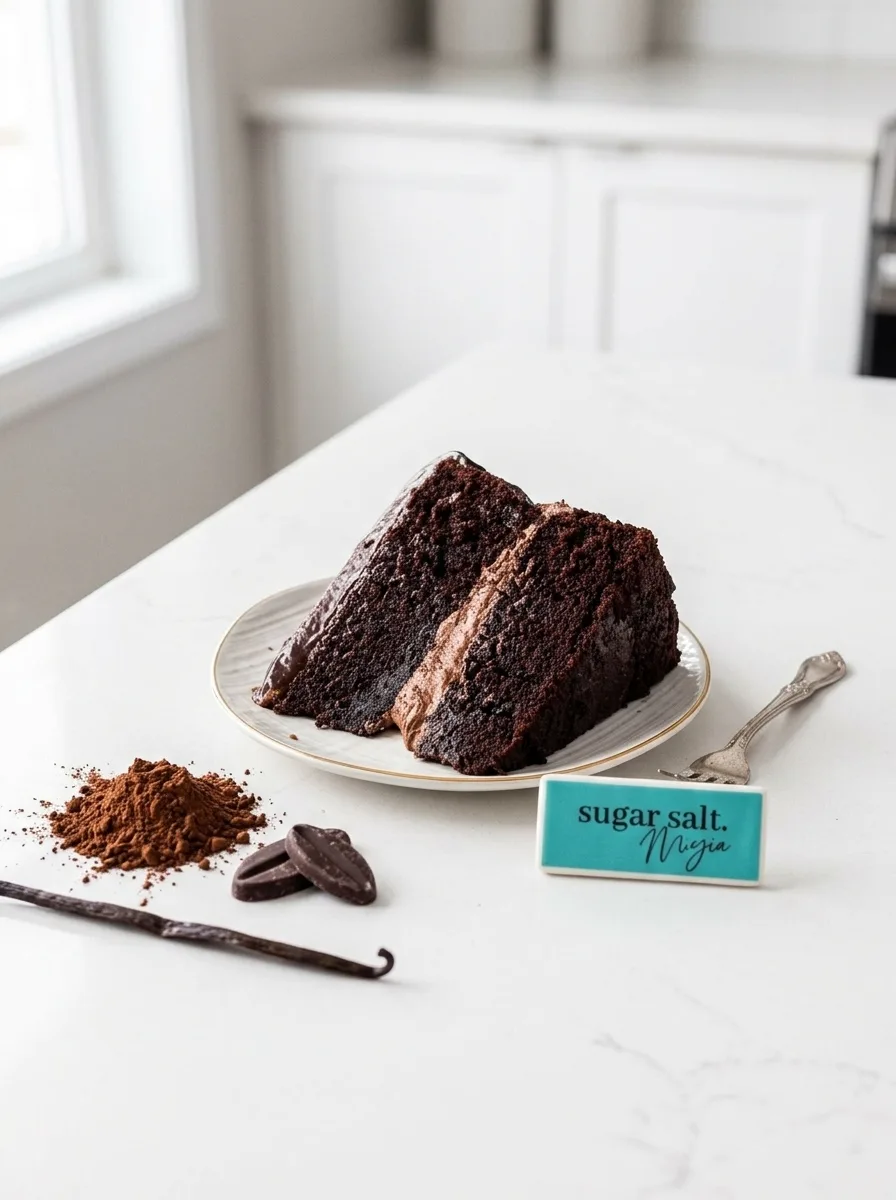
Creating Your Black Magic Cake
Take a 60-minute trip to chocolate heaven with this Black Magic Cake. It’s the perfect way to turn a quiet afternoon into something special.
- Preheat and Prep: Preheat your oven to 180°C (350°F) or 160°C for fan-forced settings. Grease and line two 8-inch cake tins with baking paper. Feel the warmth of the oven and anticipate the rich, chocolatey aroma that will soon fill the air.
- Brew the Coffee: Boil a kettle, then mix 1 cup of boiling water with 1 tablespoon of instant coffee. The mixture should be fragrant and inviting. Set aside to cool slightly.
- Mix Dry Ingredients: Sift flour and cocoa into a large bowl. Add caster sugar, baking soda, baking powder, and salt, whisking until combined. You should see a fine, uniform powder—the base of your cake magic.
- Incorporate Wet Ingredients: Make a well in the center of the dry mixture. Pour in eggs, buttermilk, vegetable oil, vanilla, and the prepared coffee. Mix with a handheld beater on low for 90 seconds. The batter should be smooth and velvety, with a rich chocolate scent.
- Bake the Layers: Divide the batter evenly between the prepared tins. Bake for 35-38 minutes. Your kitchen will be filled with the amazing aroma of chocolate. Check for doneness with a toothpick—if it comes out with just a crumb or two, you’re set.
- Level and Cool: With a gentle hand, use a flat-bottomed dish to press down softly on the cake tops to level them. Cool in tins for 10 minutes, then transfer to wire racks to cool completely. The cakes should feel firm yet tender to the touch.
- Prepare Ganache: For the ganache, place finely chopped dark chocolate in a small heatproof dish. Heat cream in a saucepan until steaming, then pour over chocolate. Once melted, stir until smooth and glossy. Let it cool to room temperature.
- Make Buttercream: Beat butter, cocoa, and half the icing sugar on medium for about 5 minutes until light and creamy. Stir in the remaining sugar, salt, vanilla, and half the ganache. Beat until smooth.
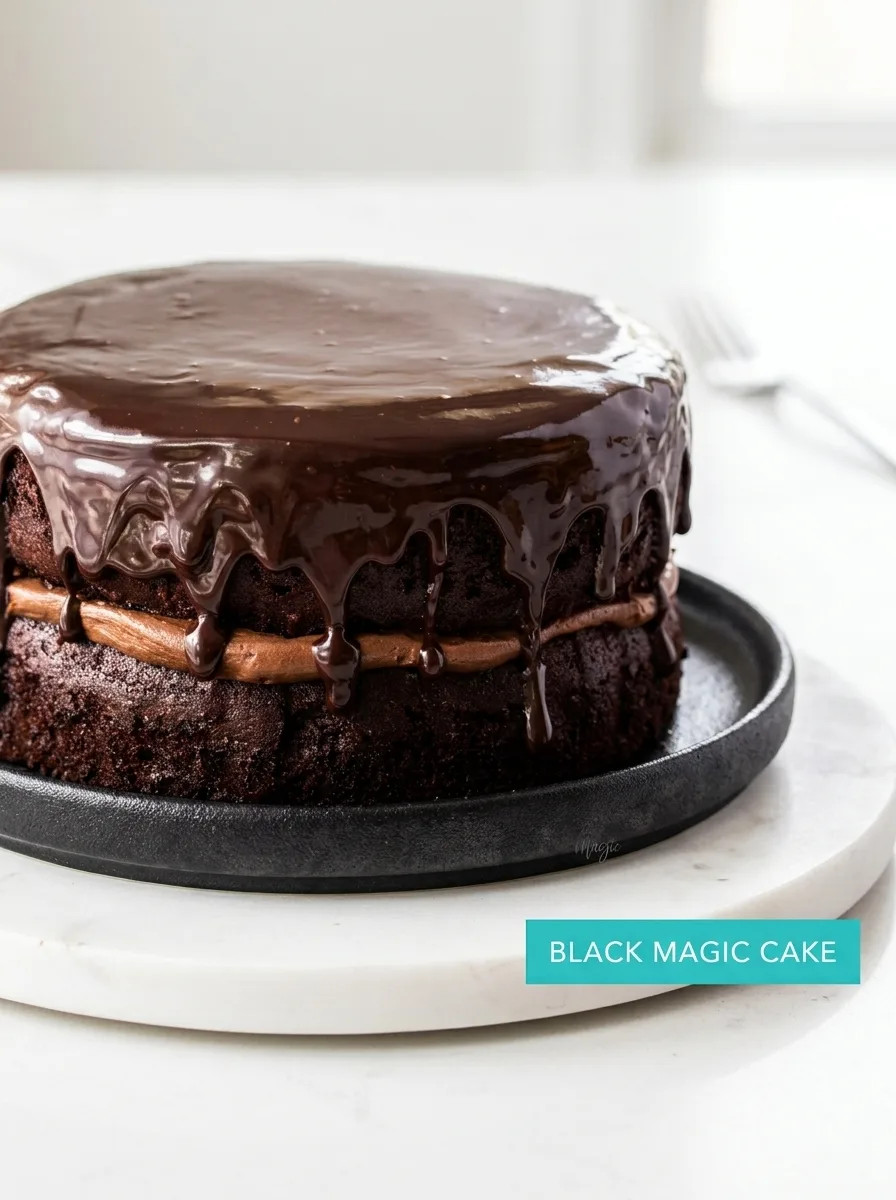
- Assemble the Cake: Spread half the buttercream on one cake layer. Place the second layer flat side up and spread remaining buttercream on top. Gently pipe or spread the reserved ganache over the edges, allowing some to drip down.
- Chill and Serve: Chill in the fridge for about 15 minutes to set. Your cake will be a visual and aromatic masterpiece ready to delight anyone who tastes it.
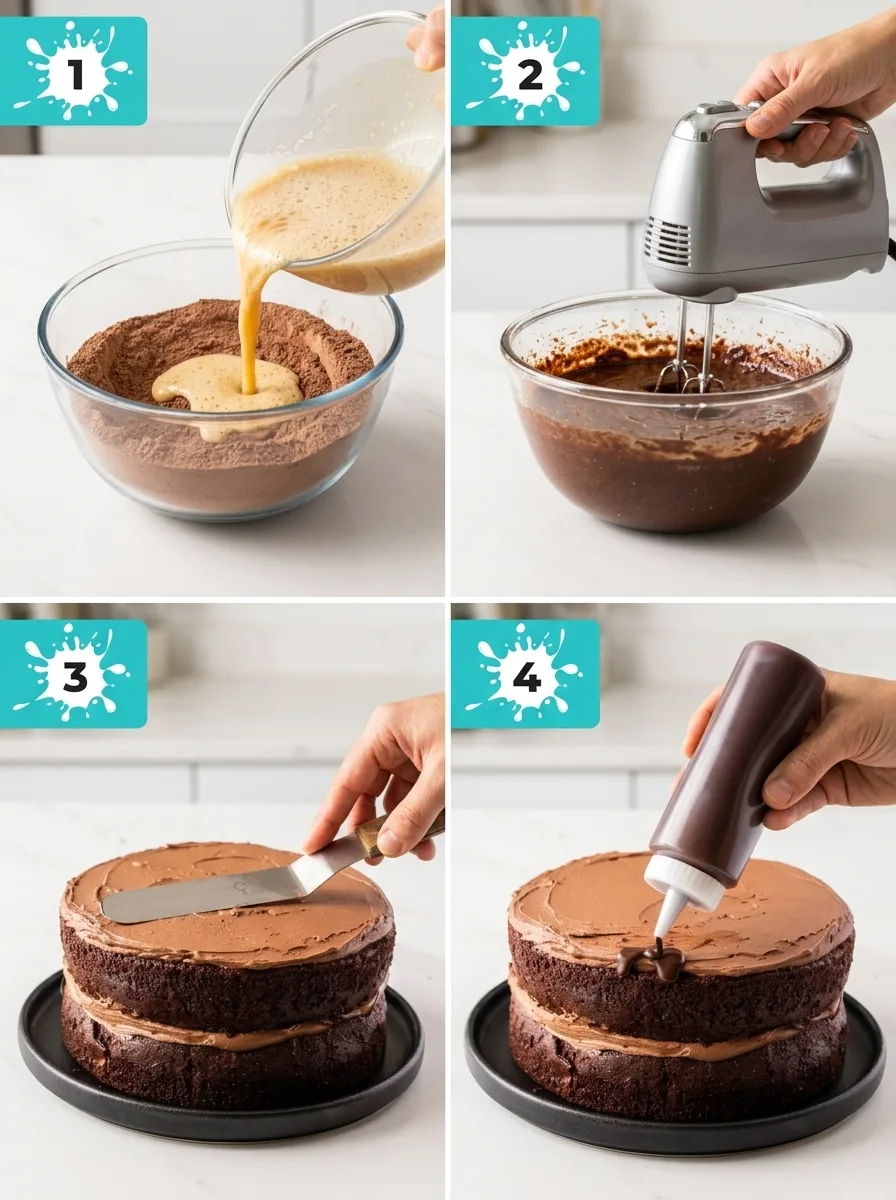
Enjoy the process of creating this luscious cake, knowing each step brings you closer to a truly magical bite.
A Touch of Magic: Elevating Your Black Magic Cake
As I often say, a recipe is a guideline, but the magic truly comes from how you make it your own. While this Black Magic Cake is indulgence as is, there are always little tweaks to enhance the experience even further. Here’s how you can sprinkle a bit of extra magic using our locked-in ingredients and methods.
- Coffee Infusion Tip: Dissolving instant coffee in hot water is inspired. To get an even deeper chocolate flavor, make sure your coffee is freshly dissolved and still warm when mixing it into the batter. This ensures the chocolate notes in the cocoa powder really shine.
- Leveling Mastery: When flattening your cake layers, use a flat-bottomed dish with gentle pressure, just enough to level but not compress. This small adjustment guarantees each layer has the perfect texture for stacking.
- Ganache Gloss: For a truly glossy finish on your ganache, ensure your chopped chocolate is finely minced, allowing smoother melting. Stir gently until it’s luscious and gleaming.
- Frosting Flair: While spreading the buttercream, consider using an offset spatula for that polished, bakery-style look. It helps achieve smooth sides and ensures an evenly thick layer of frosting to balance the cake’s richness.
Keep your kitchen a realm of creativity and exploration, and let each bake be an enchanting experience!
Keeping the Magic Alive
To ensure your Black Magic Cake’s enchanting flavors stay intact, store any leftovers in an airtight container in the fridge for up to three days. It’s crucial to let the cake cool completely before sealing it up—this prevents excess moisture from wreaking havoc on your cake’s tender crumb. If you’re thinking of freezing it, you’re in luck! Wrap the cake tightly in plastic wrap, then foil, and it’ll keep its charm for up to three months.
When you’re ready to indulge again, let it thaw in the fridge overnight. For that fresh-from-the-oven warmth, gently reheat a slice in the microwave at 50% power for about 20 seconds. This way, it won’t dry out, and the cake’s rich, chocolatey aroma will waft through your kitchen once more—a magical way to relive that first delightful bite. Enjoy every crumb!
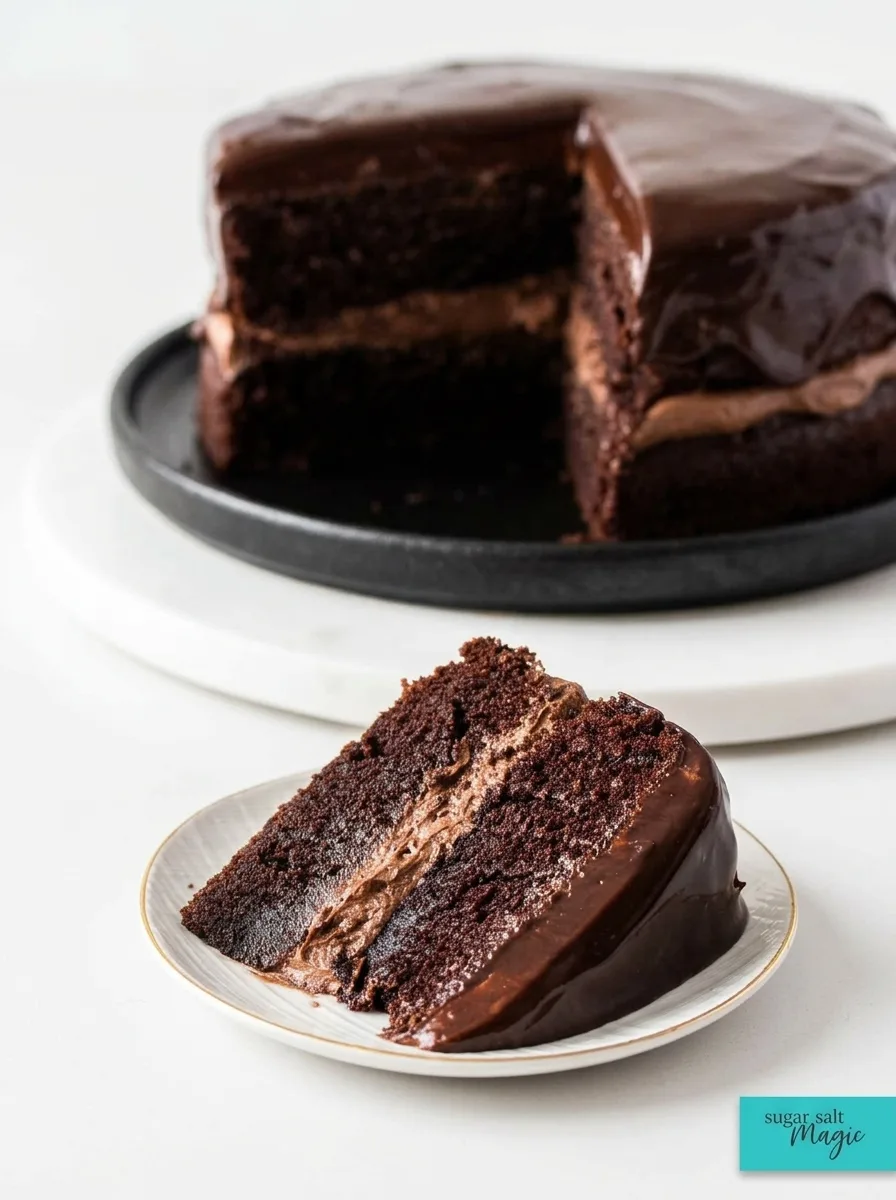
Improve Your Black Magic Cake Experience
As the rain serenades your windows and the cozy warmth of the kitchen wraps around you, it’s time to think about how you’ll enjoy each bite of this decadent Black Magic Cake. To enhance your chocolate indulgence, consider these pairing ideas that will complement the rich, moist texture of the cake.
Perfect Pairings:
- Vanilla Bean Ice Cream: The creamy, cold contrast balances the deep chocolate flavors, creating a delightful combination with each mouthful.
- Fresh Raspberries: Their tartness adds a refreshing burst that cuts through the cake’s richness, offering a delightful textural contrast.
- Espresso Shot: The bold notes accentuate the cocoa even further, delighting any chocolate and coffee lover.
Delightful Garnishes:
- Whipped Cream: The light and airy texture offers a soft counterpoint to the dense cake, making for a luxurious combination.
- Shaved Dark Chocolate: Adding both visual appeal and an extra chocolate hit, it’s a nod to the cake’s sophisticated flavors.
- Edible Gold Leaf: For those special occasions, a touch of gold brings an elegance that visually enchants.
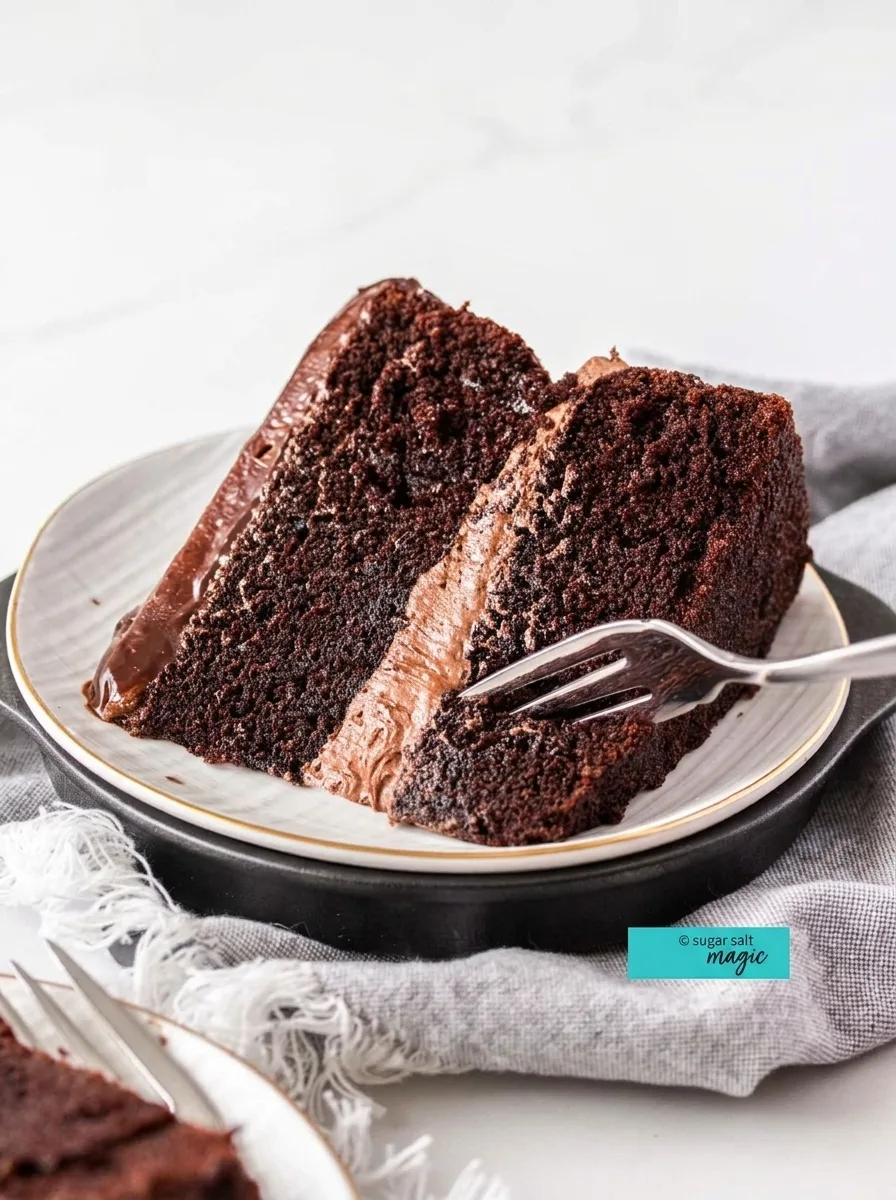
And there you have it—a slice of comfort that turns any rainy day into a celebration. What do you like to pair with chocolate cake to make it even more magical? Let’s explore the possibilities together in the comments!
Black Magic Cake
Ingredients
Method
- FOR THE BLACK MAGIC CAKE:Preheat the oven to 180C / 350F / 160C fan forced. Grease then line two 8 inch cake tins with baking paper.
- Boil the kettle and mix 1 cup of boiling water with the coffee. Set aside.
- In a large bowl, sift the flour and cocoa together, then add the sugar, baking powder, baking powder and salt and whisk to combine well.
- Make a well in the centre and add all of the wet ingredients - eggs, buttermilk, oil, vanilla, coffee.
- Use a handheld beater and mix on low for 90 seconds.
- Pour evenly into the 2 prepared baking pans. Place in the oven and cook for around 35-38 minutes or until a toothpick inserted in the centre, comes out with just a crumb or two.
- Use a small dish with a flat base to very gently press down on the top on top of each cake just to level them out a little. Don't press down too hard. Cool the cakes in the tins for 10 minutes, then turn out onto wire racks to cool. Cool completely before frosting.
- FOR THE CHOCOLATE BUTTERCREAM AND GANACHE:Start by making the chocolate ganache. Place the finely chopped chocolate in a small heatproof dish.
- Heat the cream in a small saucepan over low heat until its steaming, then pour it over the chocolate. Give the dish a gentle shake so all the chocolate is submerged. Leave for 30 seconds to soften, then stir to a smooth glossy ganache. Make sure the ganache is about room temperature before proceeding.
- Beat the butter, cocoa and half the sugar on medium for about 5 minutes or until very light and creamy - scrape down the sides of the bowl every so often.
- Add the remaining sugar, salt, vanilla and beat until well combined.
- Set aside roughly half of the ganache for the top of the cake. Add the other half to the buttercream mixture and beat until combined and smooth (only about 1 minute).
- Spread half the buttercream over the bottom layer of the cake. Place the second layer on top (flattest side up), press down gently to stick them together well. Spread the remaining buttercream over the top.
- Transfer the reserved ganache to a squeezee bottle or piping bag and pipe around the edge forcing some of the ganache to drip down. Fill in the centre with the remaining ganache and spread out into an even layer.
- Place in the fridge to set a little (it will only need 15 minutes or so) before serving.
- Please take a moment to rate this recipe. I helps me to keep creating free recipes and helps other readers too.


0 Comments