

The Beautiful Riverbed Crochet Blanket
I’m so excited to finally share the highly requested Riverbed Blanket pattern! This gorgeous throw combines two of my absolute favorite crochet techniques—the block stitch and the granny stitch—into one stunning, textured design. I rarely nail a swatch on the first try, but this one came together perfectly, and I just knew it was going to be a special project.
This blanket features dynamic stripes and a lot of beautiful color changes. While switching colors on every row might sound daunting (who loves weaving in ends?), it’s totally worth it for the incredible color palette you can create. I’ve included my favorite method for changing colors without leaving a million ends to weave in. However, if you want an easier route, try using a variegated yarn! It creates beautiful, effortless color transitions while you simply enjoy the rhythmic stitching.
Before you dive in, remember to wash and block your finished blanket. If you use an acrylic blend like the Wool-Ease yarn I used, a trip through the washer and dryer will transform the fabric into the softest, drapiest blanket ever!
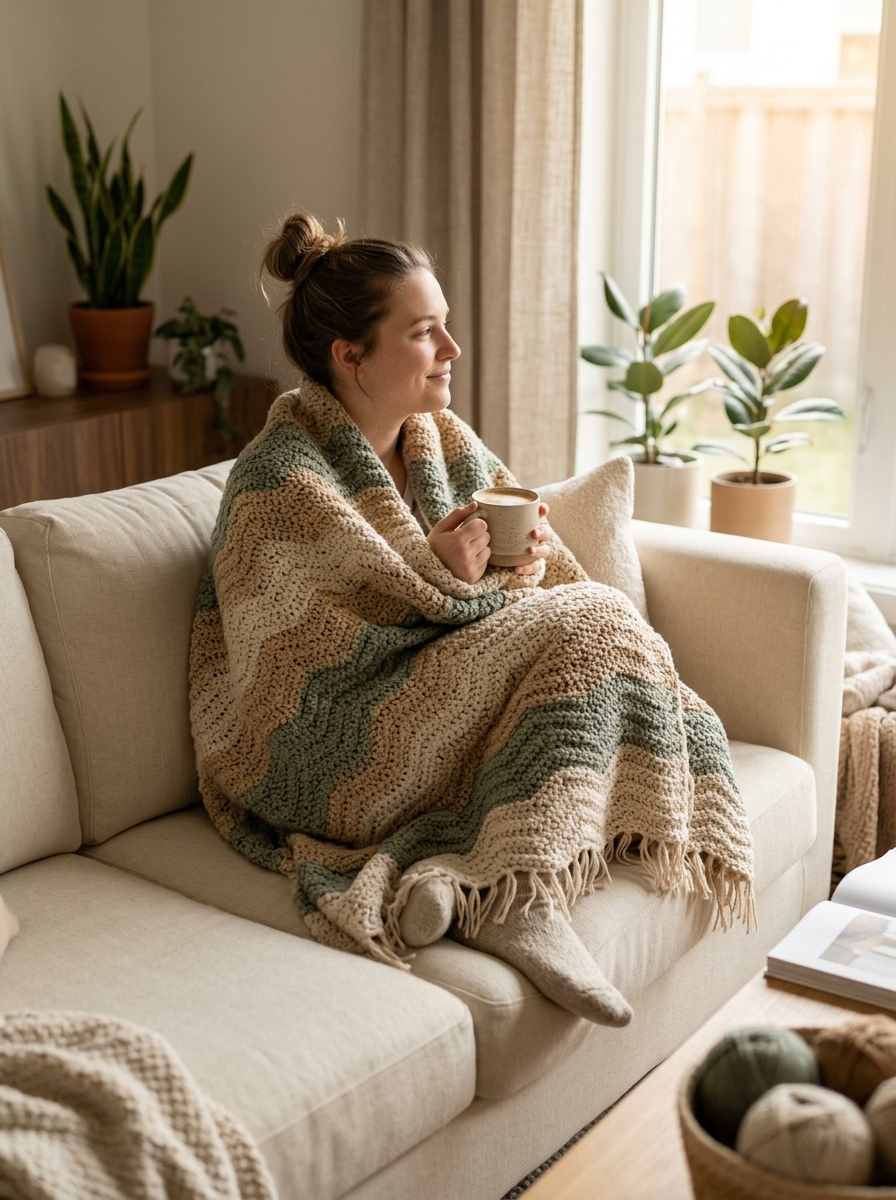
Finished Size
The final dimensions of this blanket, including the border, are 47 inches by 44 inches (approx. 119 cm by 112 cm). It’s the perfect toddler or small throw size!
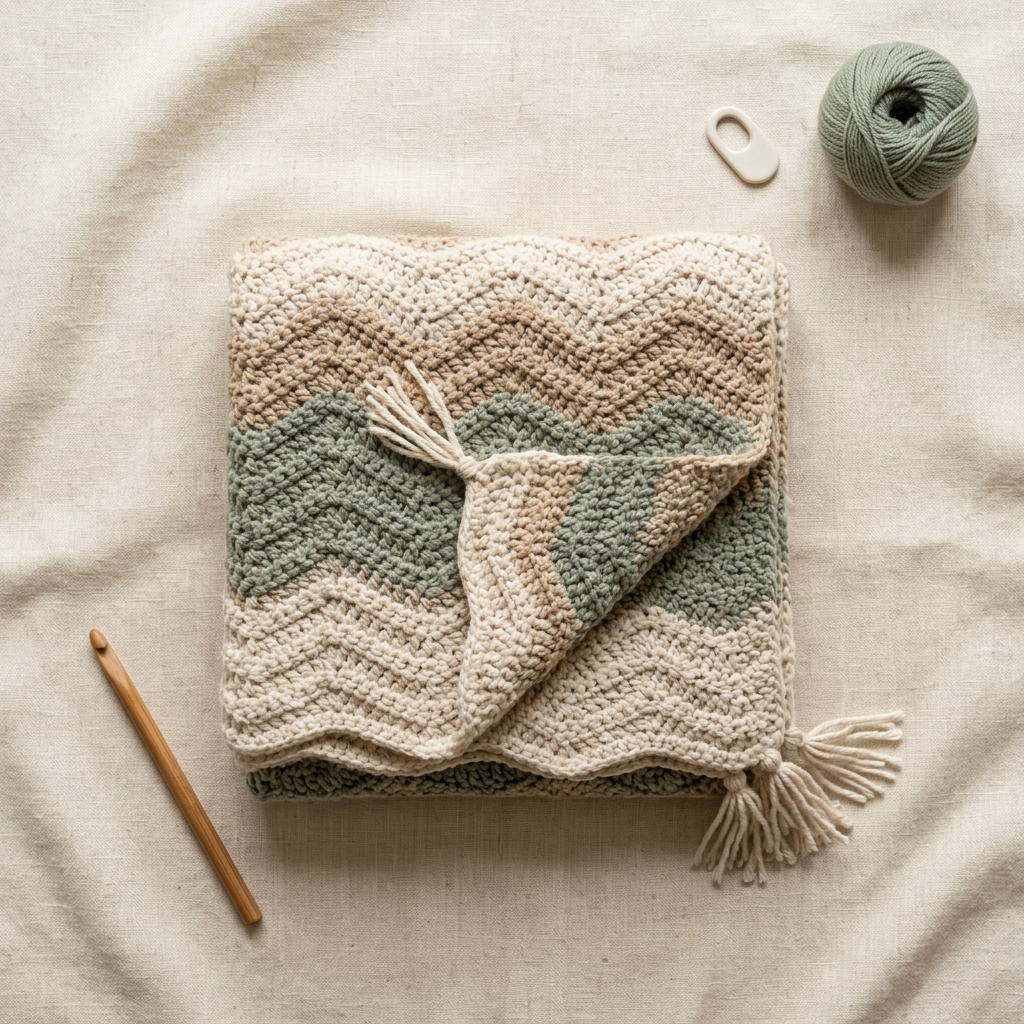
Gauge
In the main pattern stitch (starting from the first row): 14 stitches by 9 rows = 4″ x 4″ (10 x 10 cm).
Construction Overview
This blanket is worked in one single piece from the bottom up, working back and forth in rows. You’ll alternate between rows of double crochet, block stitches, and granny clusters to create a unique striped texture. A simple half-double crochet and single crochet border is added at the end.
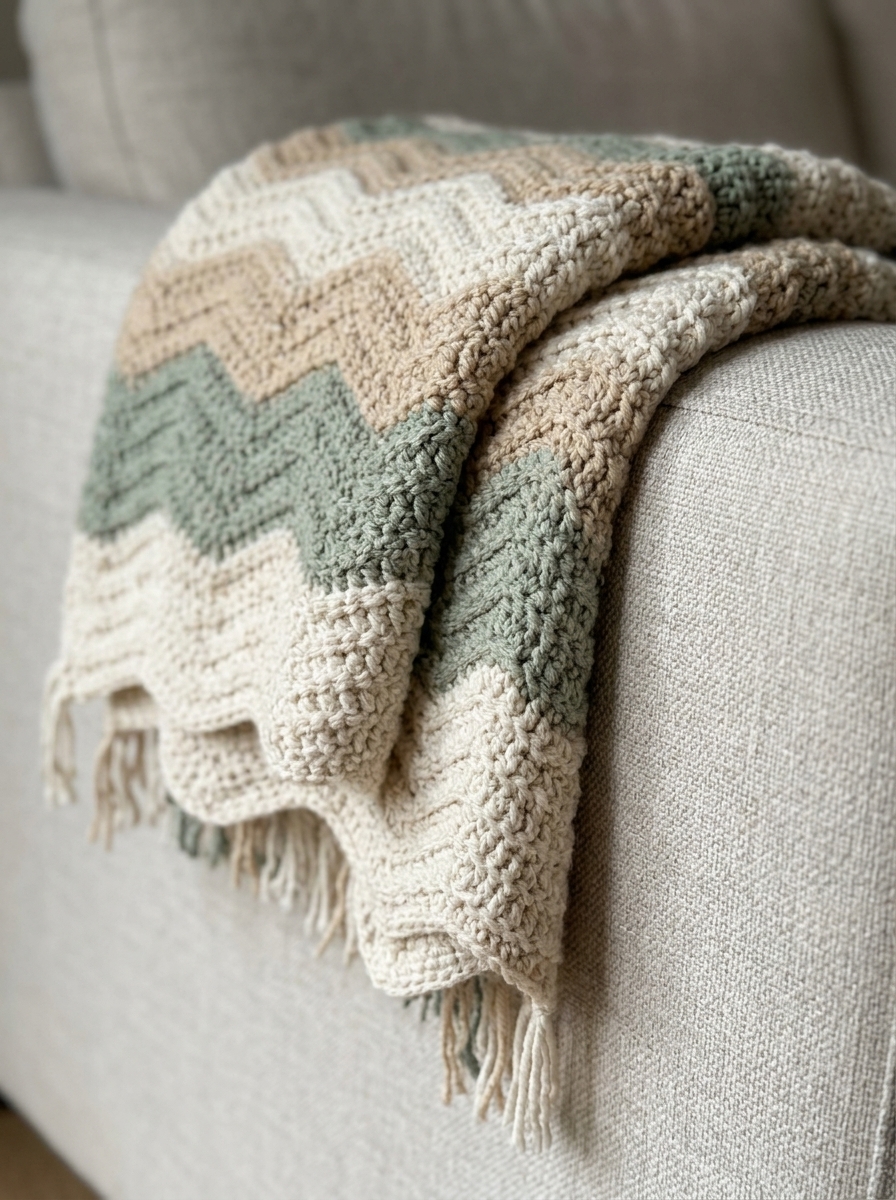
Supplies
- Yarn: Worsted/Aran weight acrylic or acrylic blend. I used Lion Brand Wool-Ease in 5 colors:
- Colour A: Grey Heather (2 skeins, 170g/360m total)
- Colour B: Rainforest (3 skeins, 230g/490m total) – Also used for the border
- Colour C: Fisherman (2 skeins, 170g/360m total)
- Colour D: Arrowwood (2 skeins, 170g/360m total)
- Colour E: Canyon Sunset (2 skeins, 170g/360m total)
- Hook: 5.5 mm (US I-9) crochet hook
- Notions: Scissors, tapestry needle, and 2 stitch markers
Stitches & Abbreviations (US Terms)
- Ch(s): Chain(s)
- St(s): Stitch(es)
- Ss: Slip Stitch
- Sc: Single Crochet
- Hdc: Half Double Crochet
- Dc: Double Crochet
- Cl: Cluster (3 double crochets worked in the same space)
- []: Repeat the sequence within the brackets
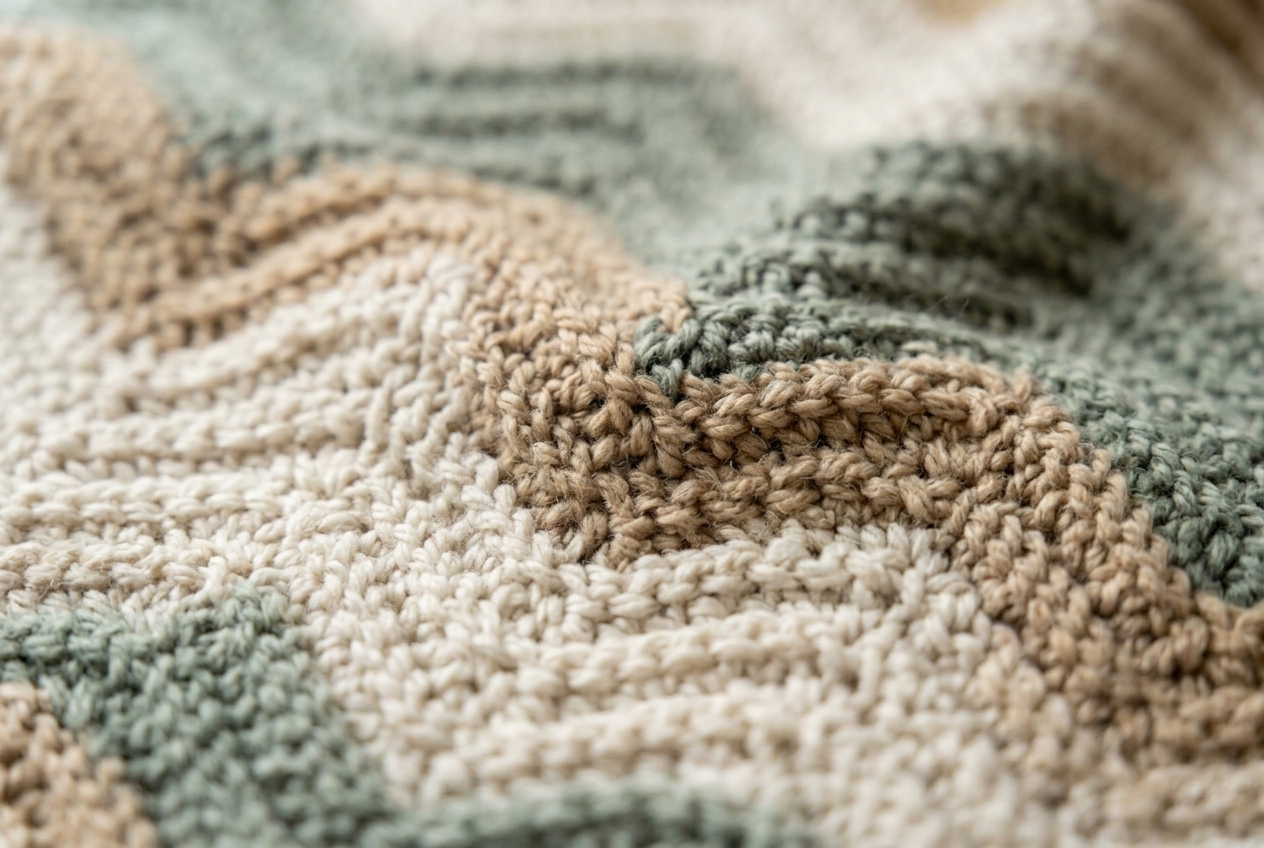
Special Stitches
Cluster (Cl): Yarn over, insert hook into the specified space, yarn over and pull up a loop, yarn over and pull through 2 loops on hook (2 loops on hook). Repeat this 2 more times in the same space (4 loops on hook). Yarn over and pull through all 4 loops on the hook. Note: For this pattern, the cluster is simply 3 regular double crochets placed in the same space, sometimes called a granny cluster.
Pattern Instructions
Sizing Note: If you want to customize the size of your blanket, make your starting chain a multiple of 3, then add 2 more chains.
Foundation: With Colour A, chain 152. (Use a stitch marker to mark the first stitch of each row to keep your edges straight).
Row 1: Dc in the 5th ch from the hook. Dc all the way across the chain. Ch 1 and turn. (149 sts)
Row 2: Join Colour B. Sc in the space between the first and second st, [ch 2, skip 3 sts, sc in the space between sts]. Repeat the sequence across. Ch 2 and turn. (149 sts)
Row 3: Join Colour A. [Cl in the ch-2 space from the previous row]. Repeat the sequence across to the last st, dc in the last st. Ch 2 and turn. (149 sts)
Row 4: Join Colour B. Dc in the space between the first and second st, [Cl in each space between the clusters from the previous row]. Repeat the sequence across to the last space, dc in the space and then dc in the last st. Ch 2 and turn. (149 sts)
Row 5: Join Colour C. [Cl in the space between the clusters from the previous row]. Repeat the sequence to the end of the row, then dc in the last st. Ch 2 and turn. (149 sts)
Row 6: Join Colour B. Dc in each st available across the row (do not work into the spaces between stitches). Ch 1 and turn. (149 sts)
Row 7: Join Colour C. Sc in the space between the first and second st, [ch 2, skip 3 sts, sc in the space between sts]. Repeat the sequence across. Ch 2 and turn. (149 sts)
Row 8: Join Colour D. [Cl in the ch-2 space from the previous row]. Repeat the sequence across to the last st, dc in the last st. Ch 2 and turn. (149 sts)
Row 9: Join Colour C. Dc in the space between the first and second st, [Cl in each space between the clusters from the previous row]. Repeat the sequence across to the last space, dc in the space and then dc in the last st. Ch 2 and turn. (149 sts)
Row 10: Join Colour D. [Cl in the space between the clusters from the previous row]. Repeat the sequence to the end of the row, then dc in the last st. Ch 2 and turn. (149 sts)
Rows 11 – 103: Repeat rows 6-10, following the colour sequence below (or randomizing as you prefer), for a total of 103 rows.
Colour Sequence Reference (Rows 11-103)
Row 11: E, Row 12: D, Row 13: E, Row 14: C, Row 15: E, Row 16: C, Row 17: A, Row 18: C, Row 19: A, Row 20: B,
Row 21: A, Row 22: B, Row 23: D, Row 24: B, Row 25: D, Row 26: E, Row 27: D, Row 28: E, Row 29: C, Row 30: E,
Row 31: C, Row 32: B, Row 33: C, Row 34: B, Row 35: A, Row 36: B, Row 37: A, Row 38: D, Row 39: A, Row 40: D,
Row 41: C, Row 42: D, Row 43: C, Row 44: E, Row 45: C, Row 46: E, Row 47: B, Row 48: E, Row 49: B, Row 50: D,
Row 51: B, Row 52: D, Row 53: A, Row 54: D, Row 55: A, Row 56: C, Row 57: A, Row 58: C, Row 59: B, Row 60: C,
Row 61: B, Row 62: E, Row 63: B, Row 64: E, Row 65: D, Row 66: E, Row 67: D, Row 68: A, Row 69: D, Row 70: A,
Row 71: E, Row 72: A, Row 73: E, Row 74: C, Row 75: E, Row 76: C, Row 77: B, Row 78: C, Row 79: B, Row 80: D,
Row 81: B, Row 82: D, Row 83: A, Row 84: D, Row 85: A, Row 86: E, Row 87: A, Row 88: E, Row 89: D, Row 90: E,
Row 91: D, Row 92: C, Row 93: D, Row 94: C, Row 95: A, Row 96: C, Row 97: A, Row 98: B, Row 99: A, Row 100: B,
Row 101: D, Row 102: B, Row 103: D.
Assembly / Finishing (Border)
Once you’ve completed all 103 rows, it’s time to add the border to give your blanket a polished finish.
Round 1: Attach your border colour (Colour B). Hdc all the way around your blanket, including down both sides.
Corners: When you reach a corner, work [2 hdc, 2 chs, 2 hdc] into the corner stitch.
Sides: Along the rough side edges, work 2 hdc into the side of each dc row, and 1 hdc into the side of each sc row. Repeat this around all 4 sides.
Round 2: Repeat Round 1, placing your hdc stitches into the hdc stitches of the previous round, and working your corner increases into the ch-2 spaces.
Round 3: Work [skip 2 sts, (sc, ch 2, sc) in the next st]. Repeat this sequence all the way around the blanket. If needed, you can add or skip an extra stitch at the end to make the pattern fit evenly.
Corners: Work [2 sc, 2 chs, 2 sc] in each of the 4 corner ch-2 spaces. Ss to join the round and fasten off.
Styling Tips & Quick Reference Notes
- Drape & Softness: Always wash your acrylic blankets! The fabric will relax, creating beautiful drape and softening the stitches considerably.
- Maintenance: Keep a fabric shaver handy. Acrylic blends can occasionally pill over time, especially with heavy use. A quick shave keeps your blanket looking brand new.
- End-Weaving Hack: If you hate weaving in ends, carry your yarn up the sides if the colors are repeated frequently, or crochet over your tails as you go. The border will hide any messy side carries!


0 Comments