

This chunky crochet blanket pattern uses a repeating wave stitch that looks intricate but is only two rows long once established. Worked in super bulky yarn on a 10 mm hook, it grows fast – most of the blanket comes together over a single weekend. Stitch multiples and yarn amounts are below.
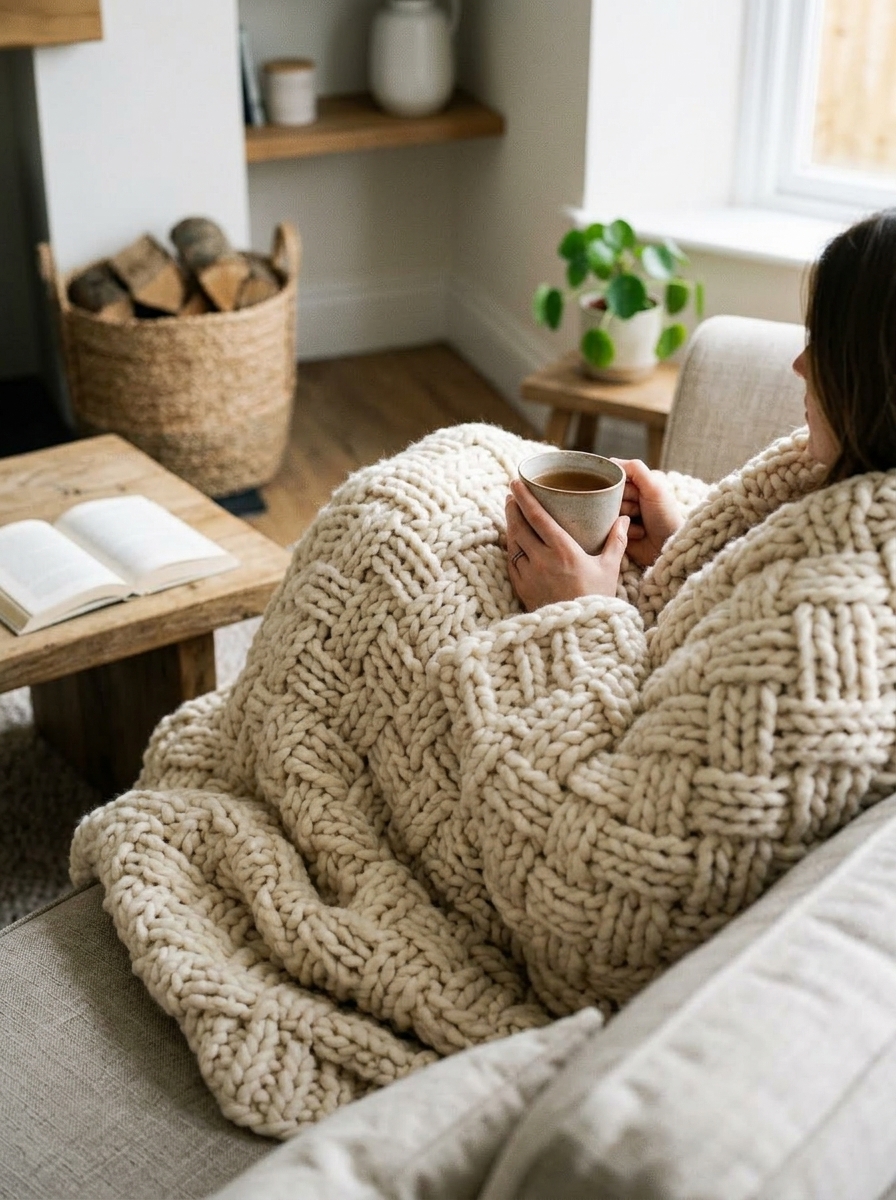
Are you looking for a crochet project that feels like a warm hug? The Splashing Waves Blanket is exactly what you need. This chunky crochet blanket works up incredibly fast and creates a dense, soothing texture that almost feels like a lightweight weighted blanket. The best part? It looks intricate but relies on a super easy one-row repeat, making it a perfect relaxing project to work on while catching up on your favorite shows.
Grab your favorite super bulky yarn and let’s dive into making this gorgeous two-toned afghan!
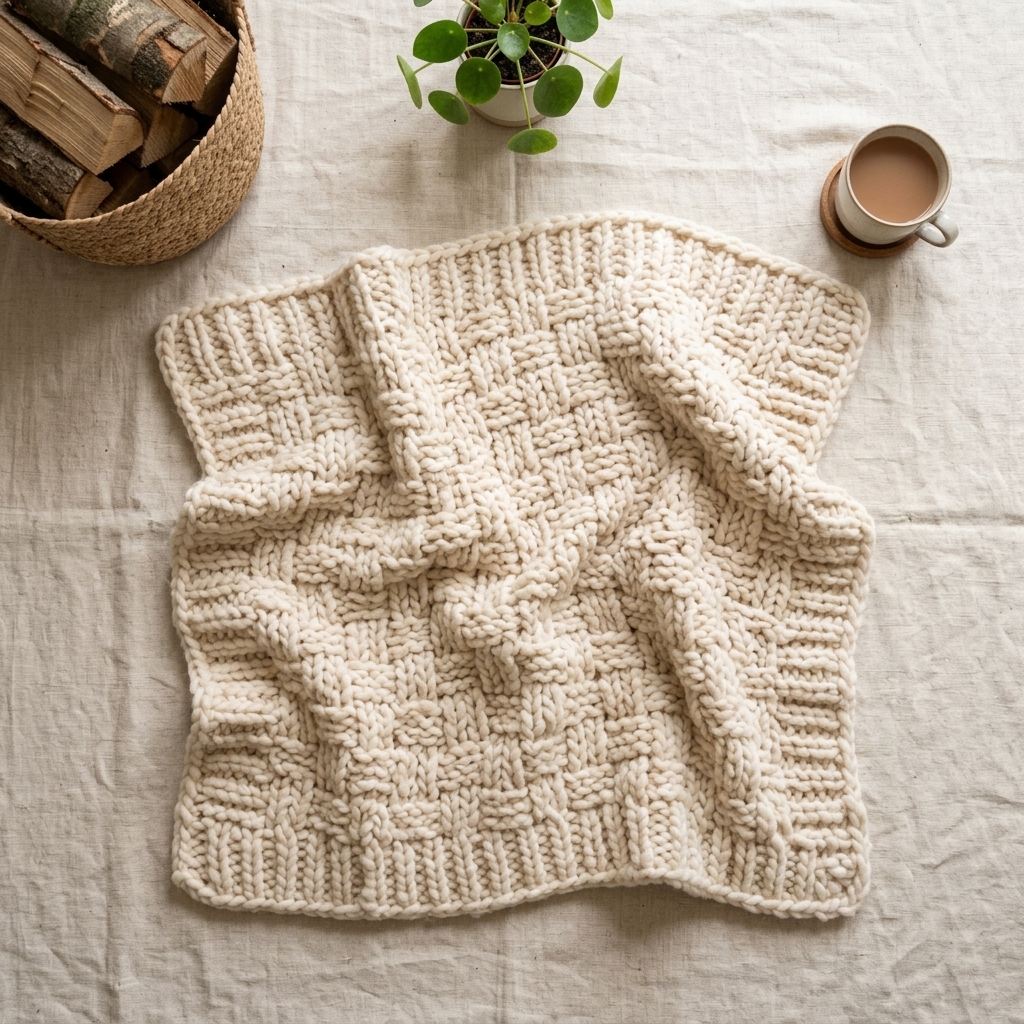
Finished Size
28.5 inches (72.4 cm) wide and 33 inches (83.8 cm) long.
Gauge
4 pattern repeats = 4.75 inches long.
Construction Overview
This blanket is worked in one continuous piece from the bottom up, alternating between two colors every two rows. You’ll carry the unused yarn up the side to minimize ends to weave in! After the main body is complete, a simple two-round border is added to finish off the edges neatly.
Supplies
- Yarn: Super bulky (Size 6) chenille yarn (like Bernat Blanket).
- Color A (Vanilla/Cream): 2.5 skeins (approx. 550 yards)
- Color B (Clary Sage/Green): 2 skeins (approx. 440 yards)
- Hook: Size N/P (10.0 mm) crochet hook
- Notions: Tapestry needle for weaving in ends, scissors.
Stitches & Abbreviations (US Terms)
- ch: chain
- sk: skip
- sl st: slip stitch
- sc: single crochet
- dc: double crochet
- YO: yarn over
- fpdc: front post double crochet
- sc2tog: single crochet two together
Special Stitches
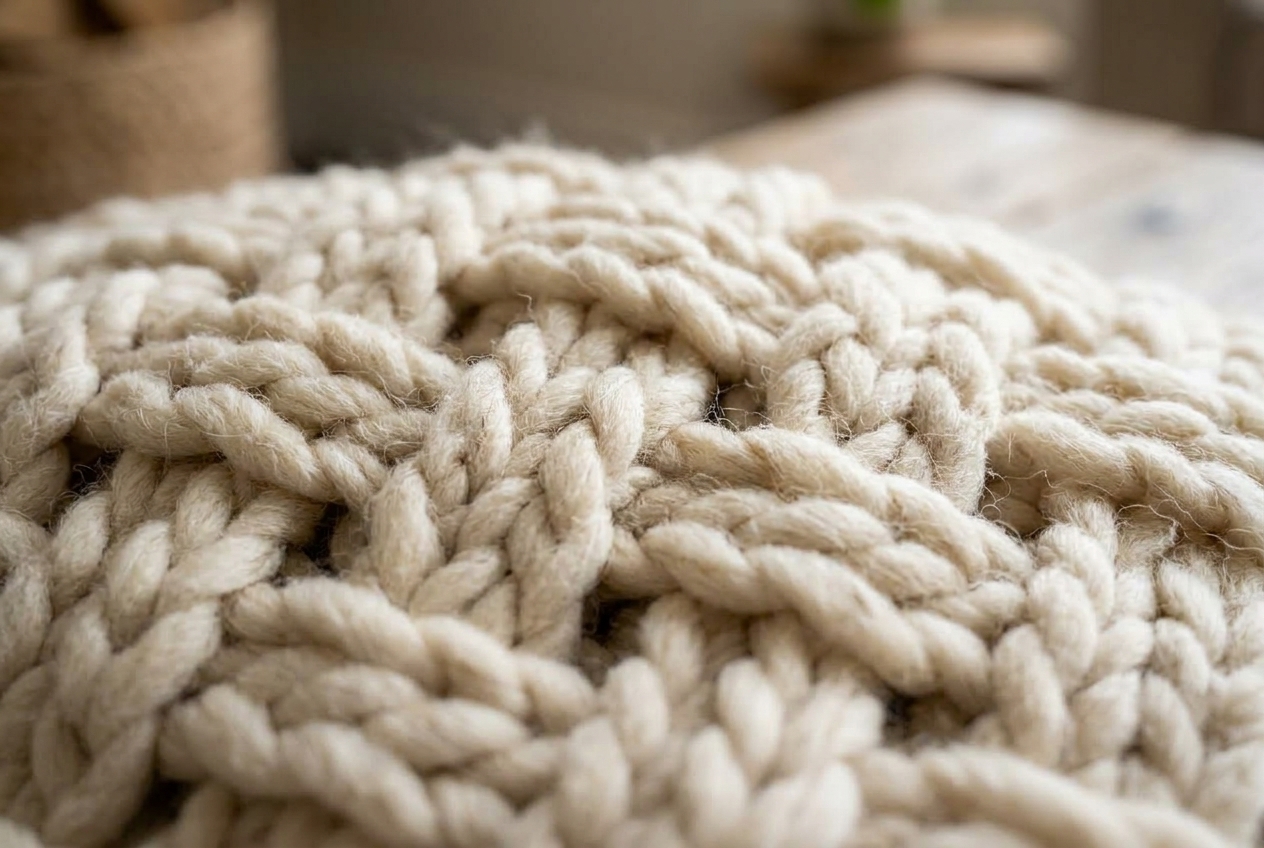
Front Post Double Crochet (fpdc): Yarn over, insert your hook from front to back to front again around the post of the specified double crochet (the post should sit in front of your hook). Pull up a loop (3 loops on hook). [Yarn over, pull through 2 loops] twice to complete the fpdc.
Single Crochet Two Together (sc2tog): Insert hook into the first stitch, pull up a loop. Insert hook into the next stitch, pull up a loop (3 loops on hook). Yarn over and pull through all 3 loops.
Quick Reference Notes
- Change colors every 2 rows.
- Do not fasten off at the end of each stripe. Drop the yarn and carry it loosely up the side; you will crochet over these floats when working the border.
- To change colors seamlessly, work the last dc of the row until 2 loops remain on your hook. Pick up the new color, yarn over, and pull through the final 2 loops.
Pattern Instructions
Foundation: With Color A (Cream), ch 70. (Note: To adjust the width, chain a multiple of 3 + 4).
Row 1: Work 1 dc in the 4th ch from the hook (the 3 skipped chains count as the first dc). Work 1 dc in each ch across. Turn.
Row 2: Ch 2 (counts as a dc here and throughout). *Sk the next 2 dc, work 3 fpdc around the next dc. Repeat from * until only the beginning ch-2 remains. Work 1 dc in the top of the beginning ch-2, changing to Color B (Sage) in the final step of the stitch. Turn. (Stitch count: 22 fpdc groups + 2 edge dc)
Rows 3 & 4: With Color B, repeat Row 2. At the end of Row 4, change back to Color A in the last step of the final dc.
Rows 5 & 6: With Color A, repeat Row 2. At the end of Row 6, change back to Color B in the last step of the final dc.
Rows 7 – 42: Continue repeating Row 2, alternating colors every 2 rows until you have completed a total of 21 color stripes (42 rows total, ending after a Color A stripe).
Assembly & Finishing
Border
Round 1: After completing the final row, do not change colors. Turn your work. Ch 1. Work 1 sc in the first st, 1 sc in the next st. *sc2tog over the next 2 sts, 1 sc in the next 2 sts. Repeat from * across the top edge to the corner, ending on top of the beginning ch-2. Work 2 more sc into the top of the beginning ch-2 to turn the corner.
Working down the left side edge, work 3 sc evenly across the edge of each color stripe until you reach the next corner. Work 2 more sc in the corner.
Working across the bottom foundation chain edge, *sc in the next 2 free loops, sc2tog over the next 2 free loops. Repeat from * across to the next corner. Work 2 more sc in the corner.
Working up the right side edge (be sure to crochet over the carried yarn tails to hide them), work 3 sc evenly across the edge of each stripe to the starting corner. Work 2 sc in the final corner. Sl st to the first sc to join. Do not turn.
Round 2: Ch 1. *Work 1 sc in each st across to the corner, work 3 sc in the corner st. Repeat from * two more times. Work 1 sc in each remaining st across to the final corner, work 2 sc in the corner st. Skip the beginning ch-1, sl st to the first true sc to join.
Finishing Details
Fasten off. Using your tapestry needle, weave in all remaining loose ends securely on the wrong side (the back) of the blanket. The side where you worked the border is the right side (front) of your blanket.
Styling Tips
Drape this chunky blanket over the back of a leather armchair or fold it neatly at the foot of a bed for an inviting, modern touch. The rich sage and cream tones pair beautifully with natural wood accents and earthy decor.


0 Comments