

Meet Balthazar: Your Next Favorite Amigurumi Sailor Elephant
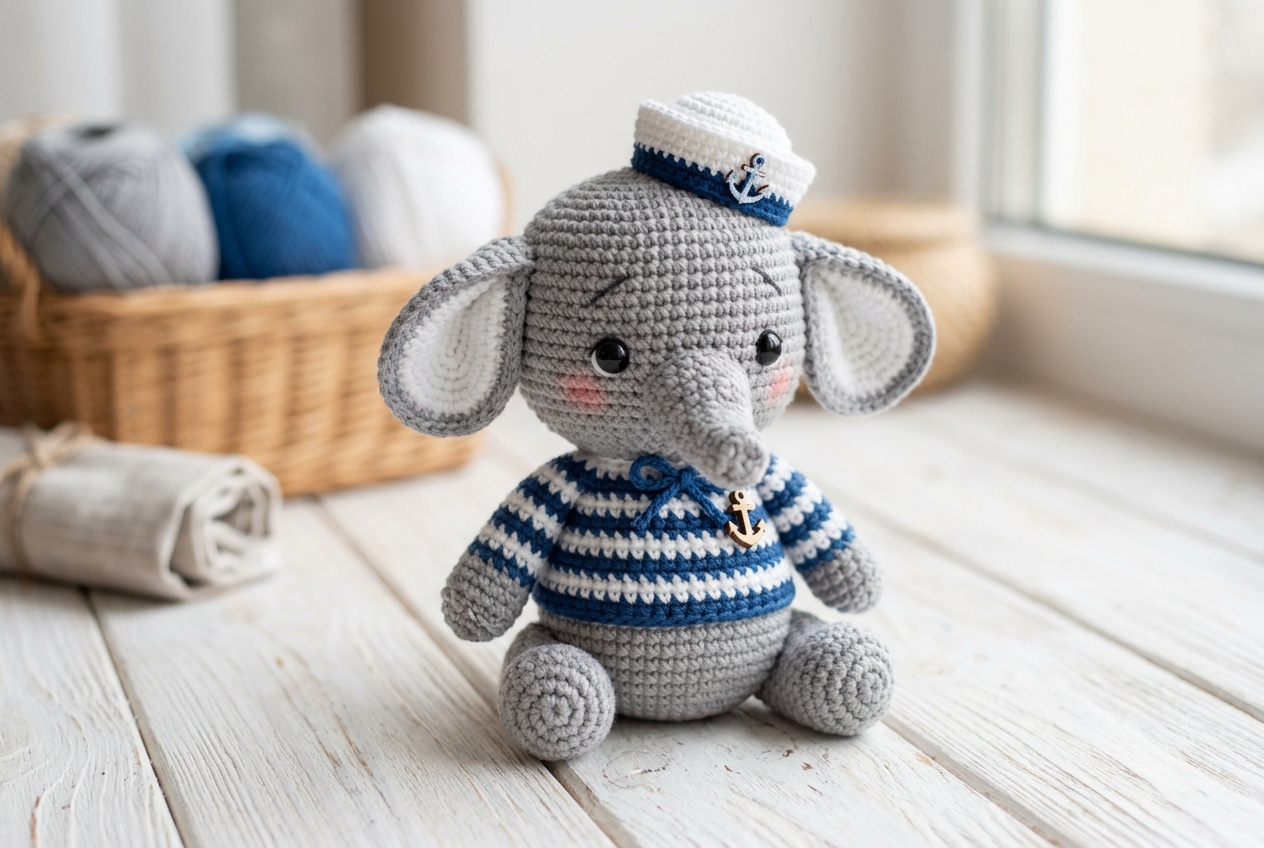
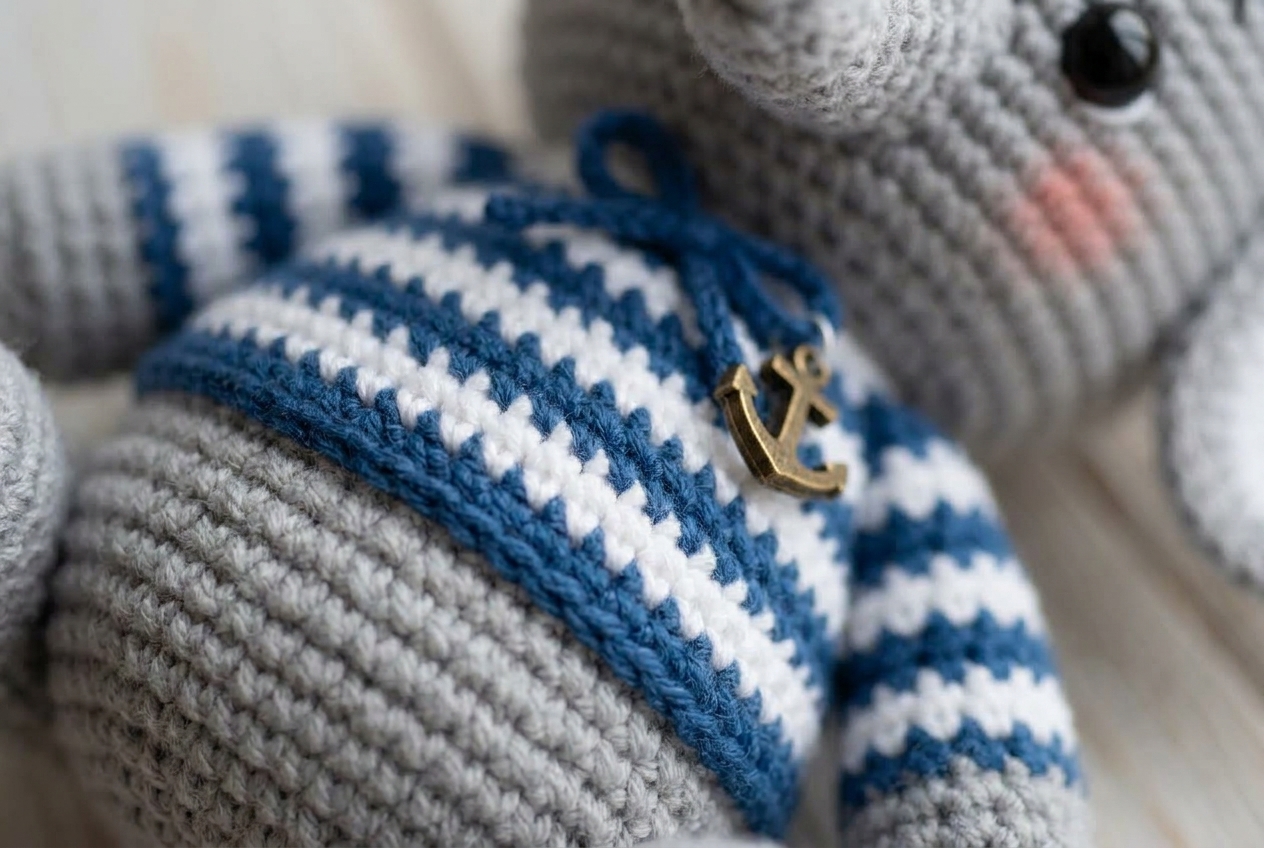
Is there anything cuter in the animal kingdom than a baby elephant? I certainly don’t think so! Today, I’m thrilled to introduce you to Balthazar the Sailor Elephant. With his adorable beret, striped sailor shirt, and a classic red-and-white lifebuoy, this little guy is ready to set sail straight into your heart.
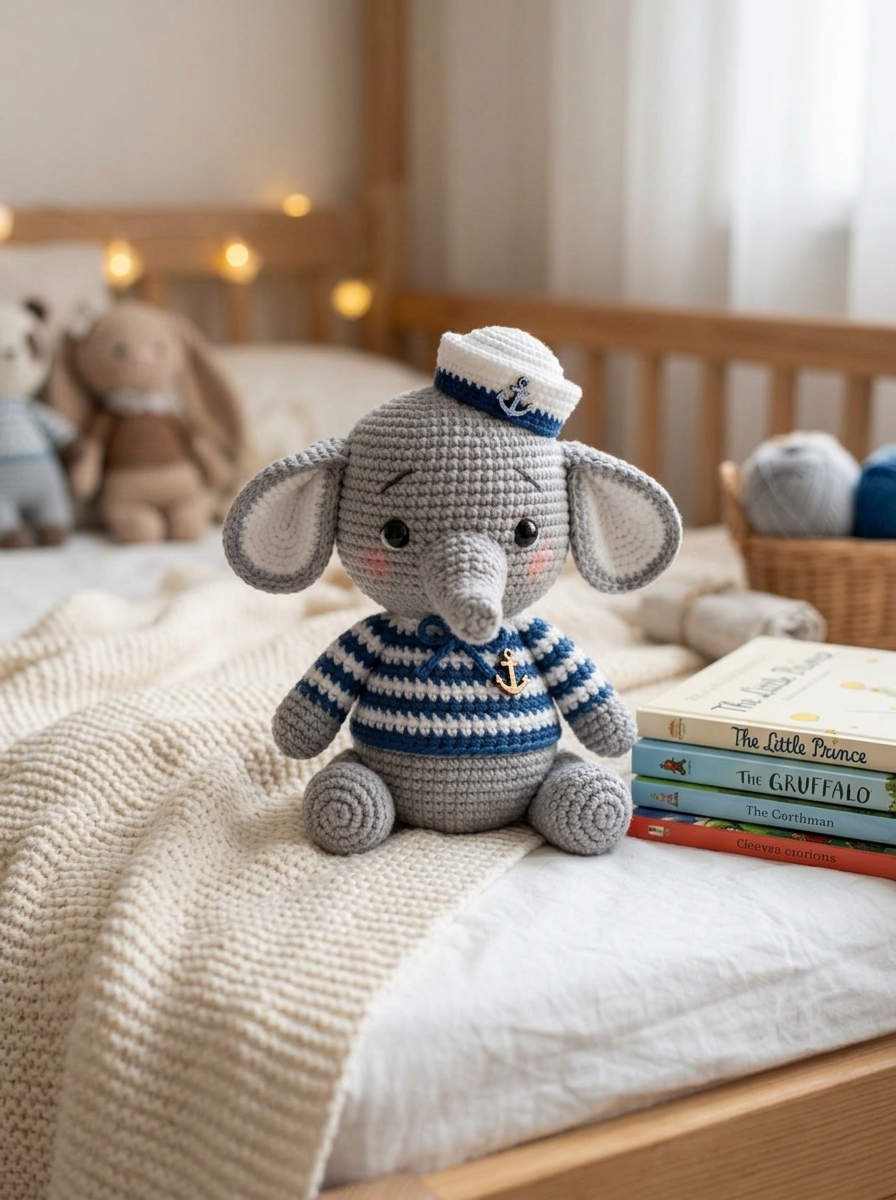
Balthazar makes for an unforgettable baby shower or newborn gift. He has serious “favorite doudou” (comfort object) potential! If you want to customize him, you can easily play with the colors of his stripes to match a nursery theme or create a completely unique look. Whether you’re an intermediate crocheter or an ambitious beginner, this pattern is packed with delightful details that will keep you engaged from start to finish.
Finished Size
When completed with the recommended yarn and hook, Balthazar measures approximately 7 inches (18 cm) tall.
Gauge
To ensure your elephant turns out the right size, your gauge should measure: A 5-round circle = 2 inches (5 cm).
Construction Overview
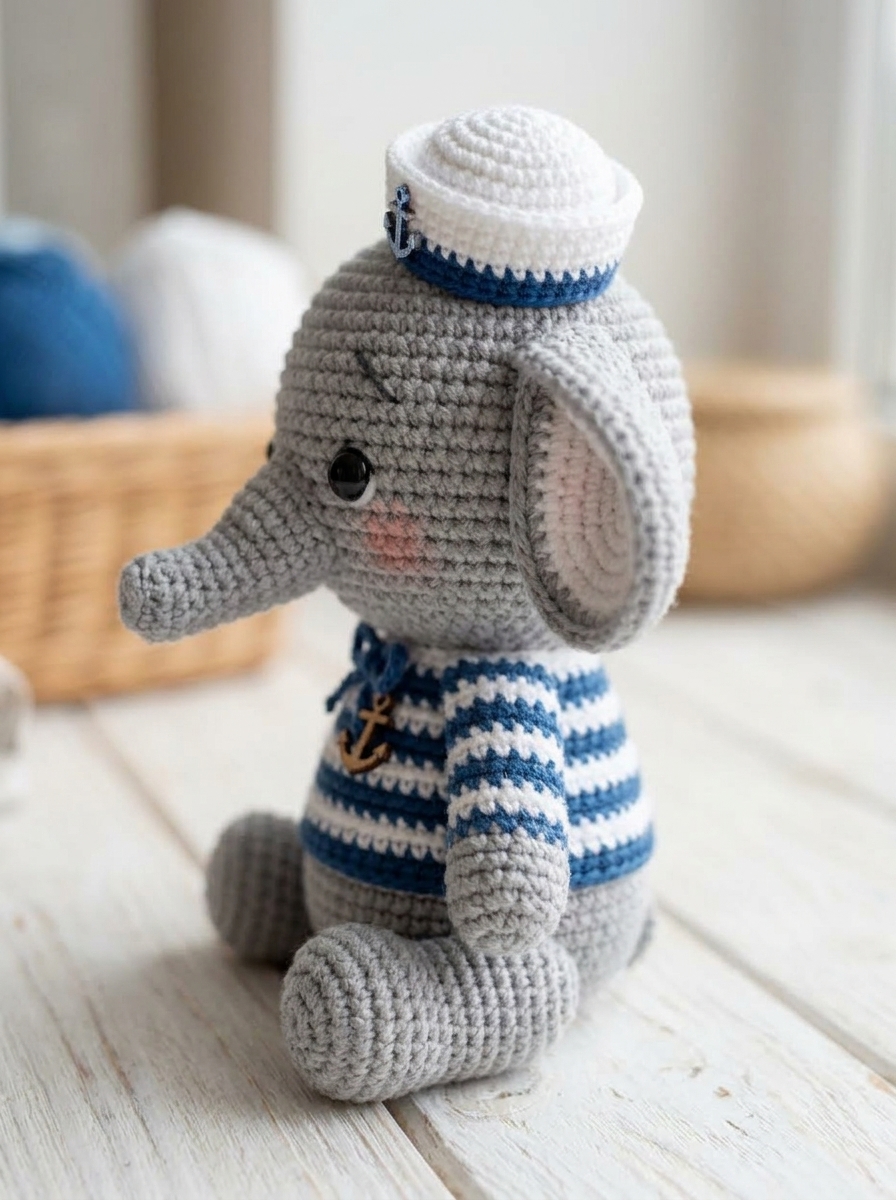
Balthazar is constructed by crocheting the legs and body together in one continuous piece, working from the bottom up. The head, arms, trunk, two ears, beret, and lifebuoy are all crocheted separately and sewn on during the assembly phase. Finally, simple embroidery adds character to his face and paws.
Supplies
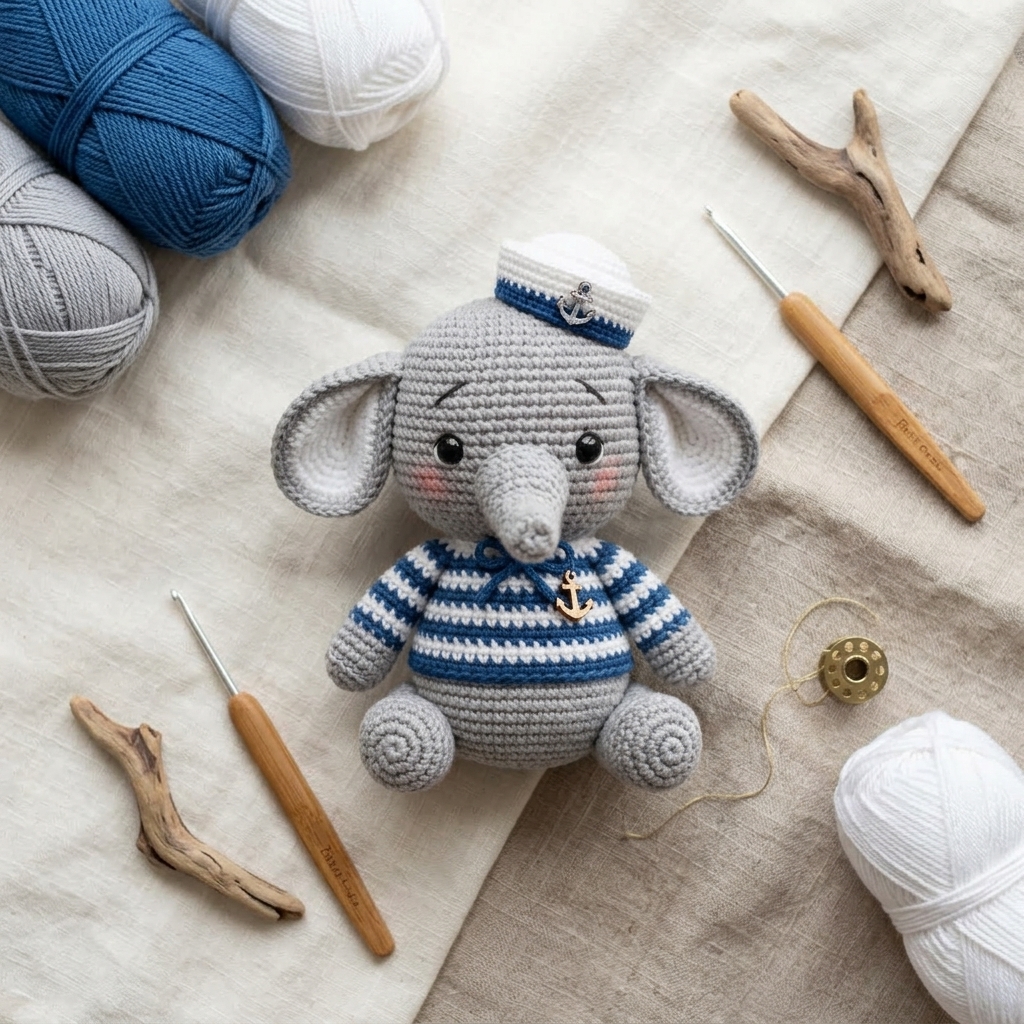
- Yarn: #3 / DK / light worsted yarn (8ply, e.g., 80% cotton / 20% Milk Fiber). You’ll need colors: Grey, Red, White, and Navy Blue.
- Hook: 3.5mm (US E-4) crochet hook.
- Embroidery Thread: DMC Cotton Perle N°8 in black for the eyebrows.
- Eyes: A pair of 8mm safety eyes.
- Notions & Hardware: Tapestry needle, stitch marker, fiberfill stuffing, and ball-point pins for assembly.
Stitches & Abbreviations (US Terms)
- st: stitch(es)
- sc: single crochet
- hdc: half double crochet
- sl st: slip stitch
- inc: single crochet increase (2 sc in the same st)
- dec: single crochet decrease (sc 2 together)
- [number]: total number of stitches in the round
- Rnd: round
- BLO: back loop only
- FLO: front loop only
- (…) x N: repeat the instructions between the parentheses N times
Special Stitches & Techniques
Invisible Decrease: Used throughout to prevent gaps. Insert your hook into the front loop of the next stitch, then immediately into the front loop of the following stitch. Yarn over and pull through the first two loops, yarn over and pull through the remaining two loops.
Invisible Color Change: When changing colors, finish the last step of the previous single crochet with the new color. To make a clean stripe join (as seen on the shirt), work the first stitch of the new color as a tight slip stitch, then chain 1 loosely, and single crochet around. The slip stitch and chain do not count as a stitch.
Pattern Instructions
The Legs and Body
Worked in continuous rounds, starting with grey yarn.
Rnd 1: Work 6 sc into a magic ring. [6]
Rnd 2: inc in each st around. [12]
Rnd 3: in BLO, sc around. [12]
Rnd 4: (4 sc, dec) x 2. [10]
Rnd 5: sc around. [10]
Rnd 6: (2 sc, inc) x 3, sc in last st. [13]
Fasten off the first leg and leave a tail (this is leg 1). Make a second leg (leg 2) but do not fasten off.
Rnd 7 (Joining): From leg 2, work 7 sc. Continue into the first stitch of leg 1, sc in all 13 stitches of leg 1. Continue back into leg 2, work 7 sc (place the first sc in the stitch that already has a sc in it). [27]
Rnd 8: sc around. [27]
Rnd 9: (3 sc, inc) x 6, 2 sc, inc. [34]
Tip: Use the tail from leg 1 to sew closed any gap between the legs.
Rnd 10: sc around. [34]
Rnd 11 (Change to White): sl st tight, ch 1 loose, sc around. [34]
Rnd 12: Skip the sl st, work your first sc in the ch, sc around. [34]
Stuff the legs with fiberfill.
Rnd 13 (Change to Navy Blue): sl st tight, ch 1 loose, 33 sc. [34]
Rnd 14: Skip sl st, 1 sc in the ch, 2 sc, dec, (3 sc, dec) x 5, sc in last 4 st. [28]
Rnd 15 (Change to White): sl st tight, ch 1 loose, 27 sc. [28]
Rnd 16: Skip sl st, 1 sc in the ch, 27 sc. [28]
Rnd 17 (Change to Navy Blue): sl st tight, ch 1 loose, 27 sc. [28]
Rnd 18: Skip sl st, 1 sc in the ch, sc, dec, (2 sc, dec) x 6. [21]
Start stuffing the body.
Rnd 19 (Change to White): sl st tight, ch 1 loose, 8 sc, dec, 8 sc, dec. [19]
Rnd 20: sc around. [19]
Fasten off, leave a long tail for sewing. Finish stuffing firmly.
The Head
With grey yarn.
Rnd 1: 6 sc into a magic ring. [6]
Rnd 2: inc in each st around. [12]
Rnd 3: (sc, inc) x 6. [18]
Rnd 4: (2 sc, inc) x 6. [24]
Rnd 5: sc around. [24]
Rnd 6: (3 sc, inc) x 6. [30]
Rnd 7: sc around. [30]
Rnd 8: (4 sc, inc) x 6. [36]
Rnd 9: sc around. [36]
Rnd 10: (5 sc, inc) x 6. [42]
Rnd 11-15: sc around. [42]
Insert 8mm safety eyes between rounds 12 and 13, spaced 8 stitches apart.
Rnd 16: (5 sc, dec) x 6. [36]
Rnd 17: (4 sc, dec) x 6. [30]
Rnd 18: (3 sc, dec) x 6. [24]
Rnd 19: (2 sc, dec) x 6. [18]
Stuff head firmly.
Rnd 20: (sc, dec) x 6. [12]
Rnd 21: 6 dec. [6]
Fasten off and sew closed.
The Arms (Make 2)
Start with grey yarn. Do not stuff.
Rnd 1: 5 sc into a magic ring. [5]
Rnd 2: inc in each st. [10]
Rnd 3: in BLO, sc around. [10]
Rnd 4: (3 sc, dec) x 2. [8]
Rnd 5: sc around. [8]
Rnd 6: 3 sc, dec, 3 sc. [7]
Rnd 7 (Change to White): sl st tight, ch 1 loose, 6 sc. [7]
Rnd 8: Skip sl st, 1 sc in ch, 6 sc. [7]
Rnd 9 (Change to Navy Blue): sl st tight, ch 1 loose, 6 sc. [7]
Rnd 10: Skip sl st, 1 sc in ch, 6 sc. [7]
Flatten the opening and close by single crocheting through both edges. Fasten off with a long tail.
The Trunk
With grey yarn.
Rnd 1: 4 sc into a magic ring. [4]
Rnd 2: inc in each st. [8]
Rnd 3-5: sc around. [8]
Rnd 6: 6 sc, dec. [7]
Rnd 7: (sc, inc) x 3, inc. [11]
Rnd 8: sc, inc, 9 sc. [12]
Rnd 9: (2 sc, inc) x 4. [16]
Rnd 10: sc around. [16]
Fasten off with a long tail for sewing.
The Ears (Make 2)
Ear 1:
With grey yarn.
Rnd 1: 6 sc into a magic ring. [6]
Rnd 2: inc in each st. [12]
Rnd 3: 2 inc, 8 sc, 2 inc. [16]
Rnd 4: 2 sc, (3 sc in next st) x 2, 3 sc, 2 inc, 3 sc, (3 sc in next st) x 2, 2 sc. [26]
Rnd 5: 3 sc, 4 sc in next st, 3 sc in next st, 7 sc, 2 inc, 7 sc, 3 sc in next st, 4 sc in next st, 3 sc. [38]
Rnd 6: 7 sc, (2 hdc in next st) x 3, 8 sc, 2 inc, 8 sc, (2 hdc in next st) x 3, 7 sc. [46]
Rnd 7: 8 sc, (2 hdc in next st) x 4, 3 hdc, 5 sc, inc, sc, 2 sl st (loose), sc, inc, 5 sc, 3 hdc, (2 hdc in next st) x 4, 8 sc. [56]
Rnd 8: 12 sc, 5 inc, 8 sc, inc, 4 sl st (loose), inc, 8 sc, 5 inc, 12 sc. [68]
Rnd 9: Fold the piece in half and single crochet both edges together. Fasten off with a long tail.
Ear 2:
Work Rnds 1-8 identically. Fold the ear in half. Bring the yarn tail inside the fold and out the opposite side. Hold the ear upside down, insert hook through both edges (capturing the tail) and single crochet both edges together from bottom to top. This ensures the neat border faces correctly on both sides! Fasten off with a long tail.
The Tail
With grey yarn, leave a 6″ tail, make a slip knot, chain 4. Fasten off, leaving another 6″ tail. Cut two 8″ strands of grey yarn, pull them through the last chain. Gather all tails on one side, tie a tight double knot, and trim short to form a tassel.
The Lifebuoy
Alternate 6 rounds in Red, 4 rounds in White. Sl st color changes do not count as stitches. Stuff lightly as you go.
Rnd 1 (Red): 6 sc into a magic ring. [6]
Rnds 2-6 (Red): sc around. [6]
Rnd 7 (White): sl st tight, ch 1 loose, 5 sc. [6]
Rnd 8 (White): skip sl st, 1 sc in ch, 5 sc. [6]
Rnds 9-10 (White): sc around. [6]
Rnd 11 (Red): sl st tight, ch 1 loose, 5 sc. [6]
Rnd 12 (Red): skip sl st, 1 sc in ch, 5 sc. [6]
Rnds 13-16 (Red): sc around. [6]
Rnd 17 (White): sl st tight, ch 1 loose, 5 sc. [6]
Rnd 18 (White): skip sl st, 1 sc in ch, 5 sc. [6]
Rnds 19-20 (White): sc around. [6]
Rnd 21 (Red): sl st tight, ch 1 loose, 5 sc. [6]
Rnd 22 (Red): skip sl st, 1 sc in ch, 5 sc. [6]
Rnds 23-26 (Red): sc around. [6]
Rnd 27 (White): sl st tight, ch 1 loose, 5 sc. [6]
Rnd 28 (White): skip sl st, 1 sc in ch, 5 sc. [6]
Rnds 29-30 (White): sc around. [6]
Rnd 31 (Red): sl st tight, ch 1 loose, 5 sc. [6]
Rnd 32 (Red): skip sl st, 1 sc in ch, 5 sc. [6]
Rnds 33-36 (Red): sc around. [6]
Rnd 37 (White): sl st tight, ch 1 loose, 5 sc. [6]
Rnd 38 (White): skip sl st, 1 sc in ch, 5 sc. [6]
Rnds 39-40 (White): sc around. [6]
Fasten off, shape into a ring, and sew Rnd 40 to Rnd 1.
The Beret
Start with White yarn.
Rnd 1: 6 sc into a magic ring. [6]
Rnd 2: inc in each st. [12]
Rnd 3: (sc, inc) x 6. [18]
Rnd 4: (2 sc, inc) x 6. [24]
Rnd 5: in BLO, (2 sc, dec) x 6. [18]
Rnd 6 (Change to Navy Blue): sl st tight, ch 1 loose, (sc, dec) x 5, 2 sc. [13]
Rnd 7: in FLO, sc around. [13]
Fasten off with a long tail. Top it off with a tiny handmade red pom-pom!
Assembly & Finishing
- Pin and sew the trunk to the center of the head below the eyes.
- Attach the head securely to the body.
- Pin the ears symmetrically to the sides of the head and sew securely in place.
- Sew the flattened arms to the sides of the body, between rounds 18 and 19 (aligning the navy stripes).
- Position the beret at a jaunty angle on the head and sew it down.
- Embroider small, expressive eyebrows above the eyes using the black thread.
- Using white yarn, embroider 2-3 small vertical lines on the tips of the arms and legs to represent nails.
- Sew the tail to the lower back, just below the first white stripe of the shirt.
- Don’t forget to slide the lifebuoy over Balthazar’s body!
- Optional but cute: Add a small touch of real blush makeup beneath his eyes for rosy cheeks.
Styling Tips
Balthazar looks fantastic perched on a nursery shelf alongside nautical decor, or tucked into a Moses basket for a picture-perfect newborn gift. If you want to make him even more personalized, try embroidering an initial onto his sailor shirt or the lifebuoy!
Quick Reference Notes
- Keep your tension tight to prevent stuffing from showing.
- Always double-check the placement with pins before sewing any pieces permanently.
- If the lifebuoy feels tight, gently stretch it over the legs before securing the arms.
Happy hooking, and may Balthazar bring a wave of joy to whoever receives him!


0 Comments