

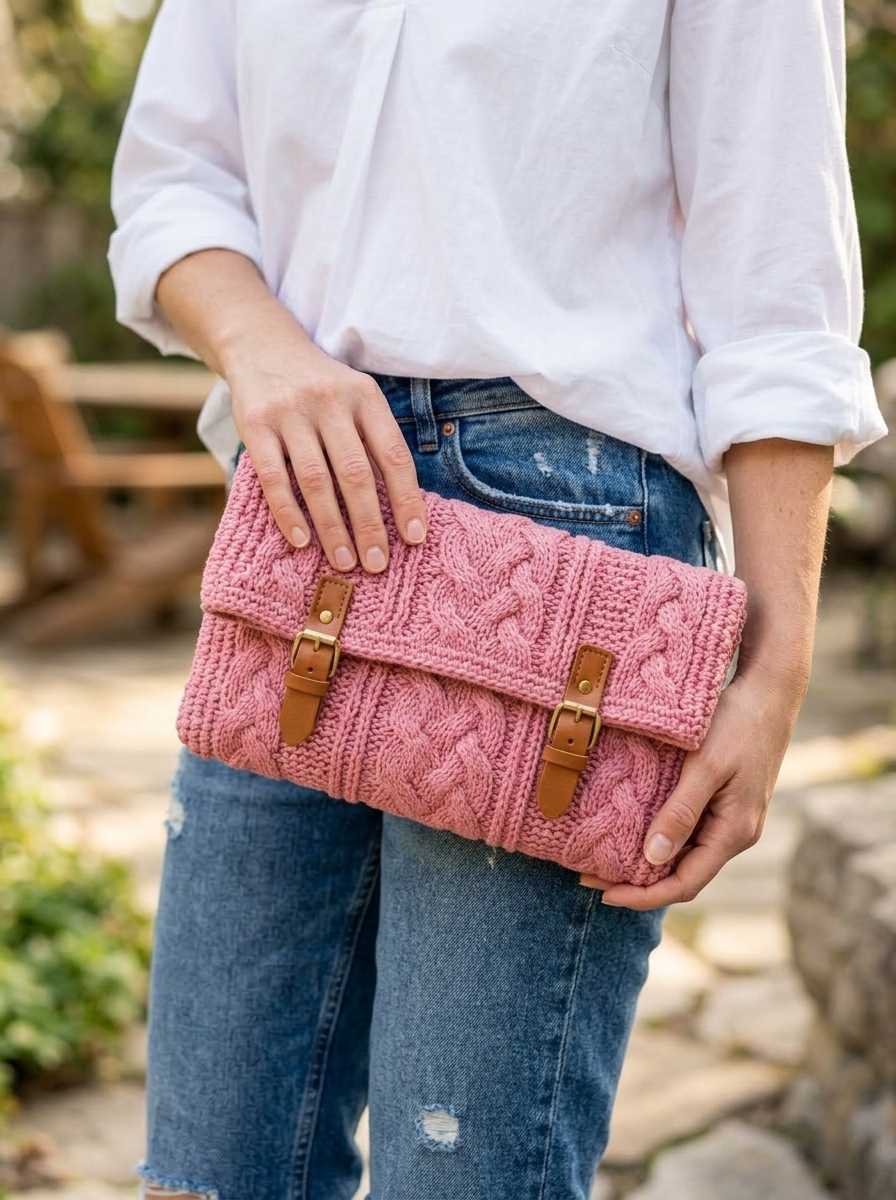
If you’ve been on the lookout for a stylish, modern, and sturdy accessory that works up in no time, you’re in the right place! This crochet clutch bag is the perfect blend of elegance and simplicity. With its beautiful textured stitches, it easily passes as a boutique-bought item, but carries the charm of being handmade.
There’s something deeply satisfying about creating your own accessories. Whether you want to pair it with jeans for a casual afternoon or use it as an evening purse, this pattern is highly adaptable. Plus, adding leather clasps gives it a polished, professional finish that makes it a true showstopper!
Finished Size
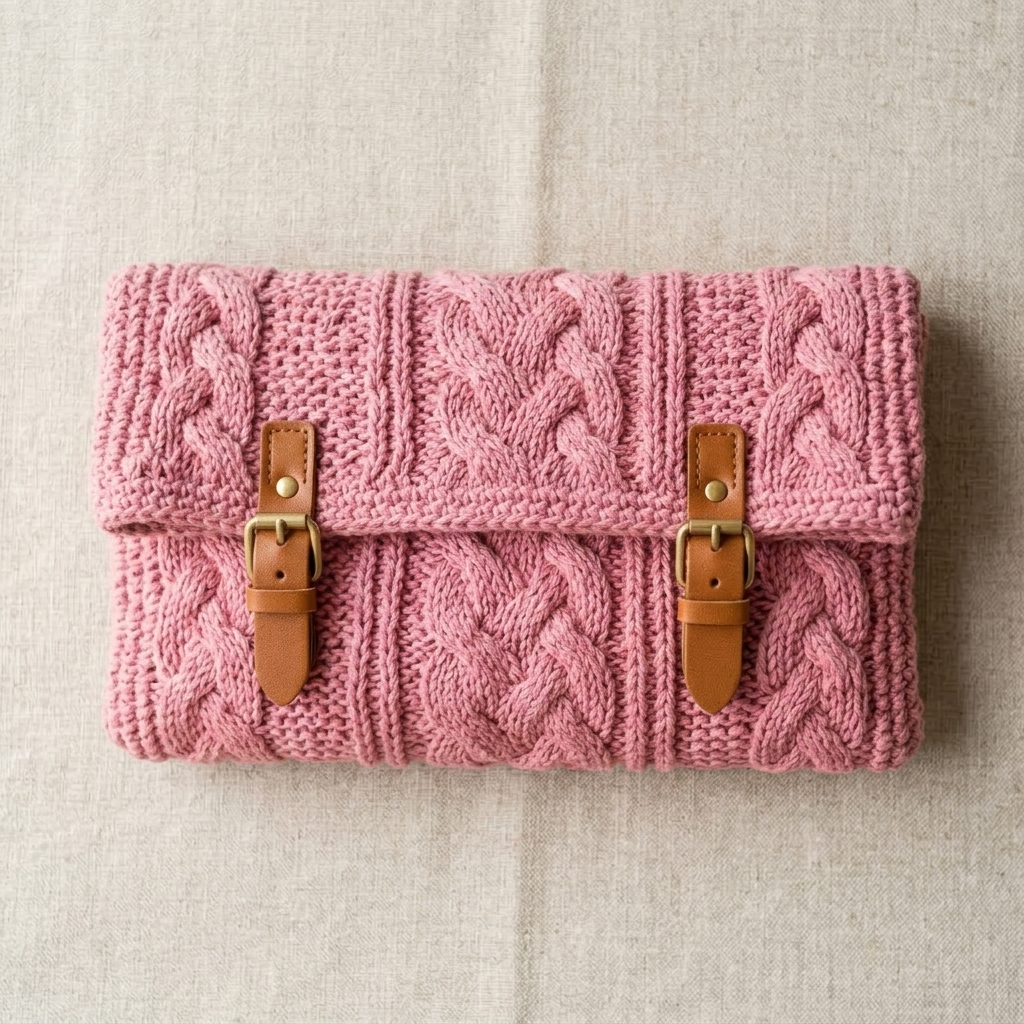
This small and practical crochet purse will measure approximately 8.5 inches wide by 6 inches tall (21.5cm x 15cm) once finished and folded.
Gauge
Meeting the gauge is essential to ensure your bag matches the expected size and has the right stiffness to hold its shape.
Gauge: 13 sts and 6 rows = 4″ by 4″ (10 cm x 10 cm) in the pattern stitch.
Tip: Make a gauge swatch! Adjust your hook size up or down until your swatch matches these measurements.
Construction Overview
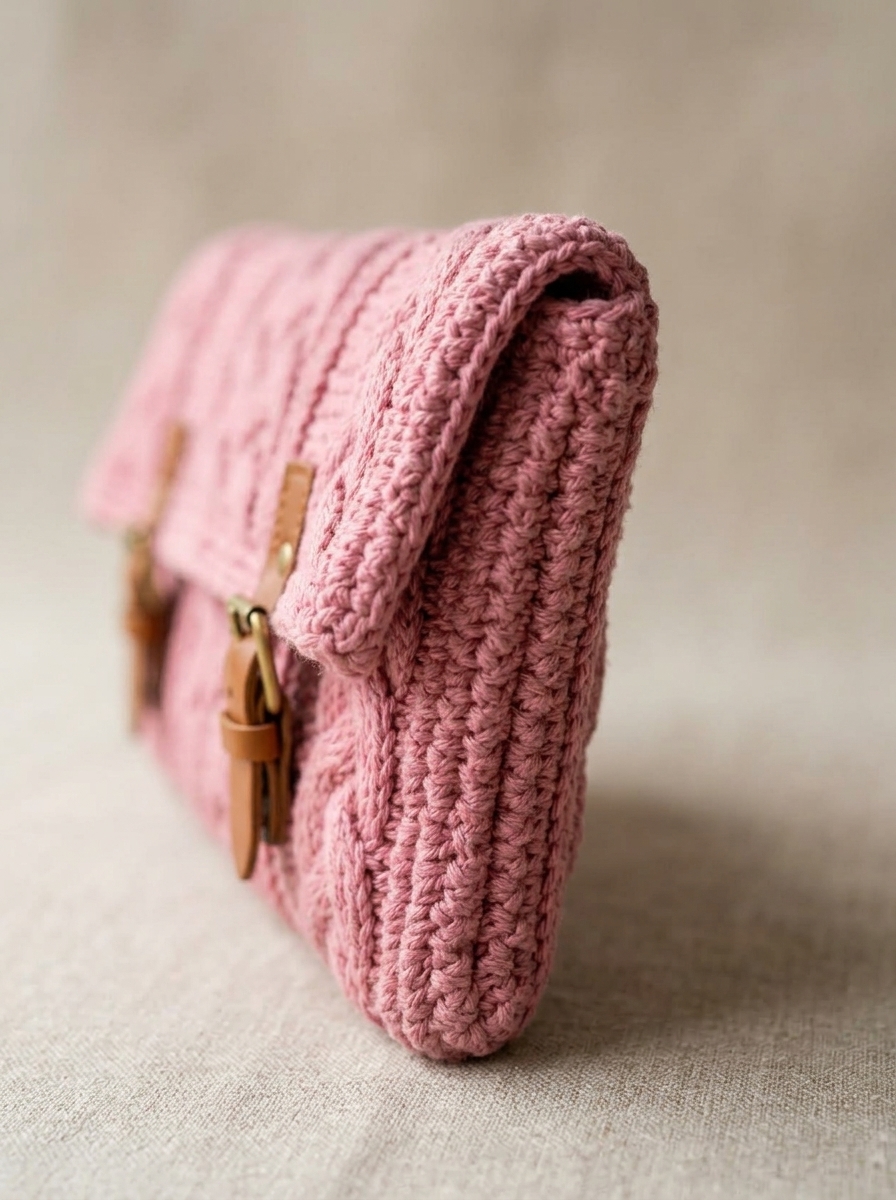
This bag is crocheted in one continuous piece, worked from the bottom up in joined rounds. We start with a foundation chain to form the base, then work our way up using a beautifully textured crossover stitch for the body. Finally, the top is left open and simply folded over to create the clutch flap before adding hardware.
Supplies
- Yarn: Worsted weight (Category 4) cotton yarn. 100% cotton is highly recommended as it provides the sturdiness needed for a bag. You will need approximately 275 metres / 300 yards (roughly 2 balls of standard worsted cotton).
- Hook: 5.5mm (I) crochet hook, or whichever size is needed to meet gauge.
- Notions: Scissors, tapestry needle, stitch markers.
- Hardware: 2 small leather bag clasps (buckles or magnetic snaps work well too!).
Stitches & Abbreviations (US Terms)
- ch(s): chain(s)
- sc: single crochet
- dc: double crochet
- blo: back loop only
- st(s): stitch(es)
- ss / sl st: slip stitch
- RS: right side
- Rep: repeat
Special Stitches
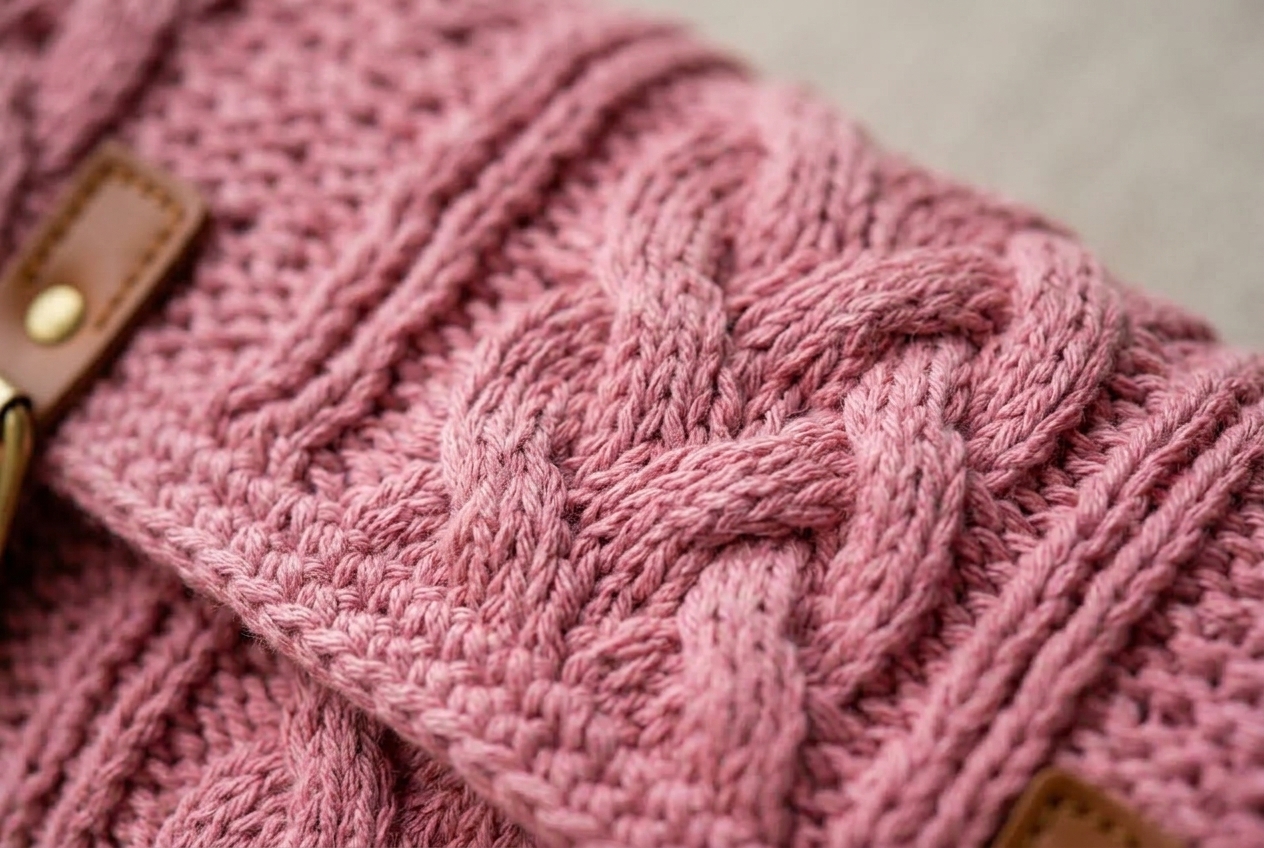
Crossover Stitch (Dc in skipped stitch):
When the pattern calls for a dc in a skipped stitch, you will work the double crochet around the 3 double crochet stitches you just made, placing your hook into the stitch that you skipped before those 3 dc. This creates the unique “crossed” or woven texture.
Note for working across the first set of 3dc: The first stitch of the round moves backwards every other round of the main set pattern as we work into the last stitch of the round in the first stitch repeat. Just keep track of your first stitch!
Pattern Instructions
The Base
Foundation chain: Holding your yarn doubled (using two strands at once for extra sturdiness at the base), ch 27.
Round 1 (RS): 5dc in the 4th ch from the hook, dc in the next 22 sts, 6dc in the next st. Now, rotate your work to crochet along the unworked (opposite) side of the foundation chain. dc in the next 22 sts, ss in the 1st st to join. [56 sts]
Note: Drop the second strand of yarn now; the rest of the bag is worked with a single strand.
The Bag Body
Round 2: Stacked dc (or ch 3) in the blo of the first st, dc in the blo of each st around, ss in the 1st st to join.
Round 3: Stacked dc (or ch 3) in the first st, dc in the next 2 sts. Working around the 3 sts just made, work a dc in the st before them (this is the last st of the previous round). *Skip the next st, dc in the next 3 sts. Working around the 3 sts just made, work a dc in the skipped st before them; rep from * around, ss in the 1st st to join.
Round 4: Stacked dc (or ch 3) in the first st, dc in each st around, ss in the 1st st to join.
Rounds 3 and 4 create the Main Set Pattern.
Rounds 5-14: Repeat the Main Set Pattern (Rounds 3 and 4).
Customization tip: If you want a taller bag, simply continue repeating Rounds 3 and 4 until you reach your desired height before moving to the final round.
Round 15: sc in each st around, ss in the 1st st to join.
Break yarn and fasten off.
Assembly & Finishing
- Weave in Ends: Use a tapestry needle to weave in all loose ends securely on the inside (wrong side) of your bag.
- Fold the Flap: Lay the bag flat. Fold the top section down toward the front. You can adjust how much you fold it over depending on how deep you want the clutch to be.
Hardware & Closures
To finish the bag with a professional look, attach two leather clasps evenly to the front of the bag, securing the folded flap to the main body. Sew them securely using strong thread or matching yarn.
Alternatives: If leather clasps aren’t your style, you can sew in a zipper along the top edge of Round 15, or attach magnetic snap closures to the inside of the flap!
Styling Tips
This clutch looks amazing when paired with a breezy summer dress or casual denim shorts and a white blouse. The dense texture speaks for itself, so let the bag be the focal point of a neutral-toned outfit!
Quick Reference Notes
- Always count your stitches at the end of the foundation round to ensure the crossover pattern aligns correctly.
- Using cotton yarn is key to preventing the bag from stretching out over time.
- Make sure to hold the yarn doubled only for the foundation chain to give the bottom extra stability.
Grab your hook and enjoy stitching up this gorgeous modern accessory. Happy crocheting!


0 Comments