

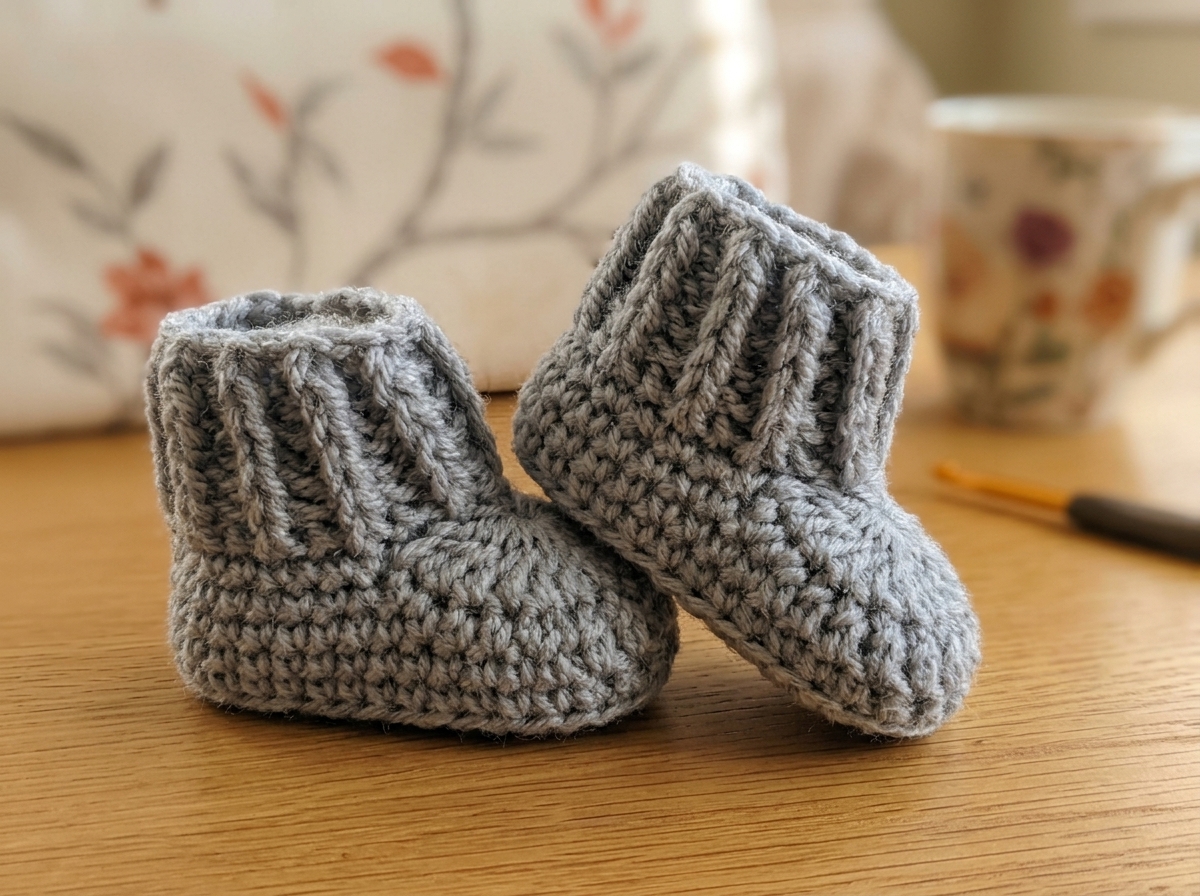
Looking for a quick handmade gift that’s both adorable and practical? These easy crochet baby booties are the perfect answer. With a simple construction that relies on basic half double crochet stitches and a cozy ribbed cuff, you can whip up a pair in as little as 15 to 20 minutes once you get the hang of the toe shaping.
Whether you’re preparing for a baby shower, welcoming a new arrival, or simply love making tiny things with yarn, this free crochet baby booties pattern is designed to be beginner-friendly while still producing a polished, professional-looking result. The stretchy ribbed cuff keeps the booties snug on little feet, and the gathered toe gives them that classic bootie shape everyone loves.
Why You’ll Love This Pattern
This isn’t your average slow-and-complicated bootie pattern. Here’s what makes it special:
- Quick to make – Once familiar with the toe decrease, a single bootie takes under 10 minutes
- Beginner-friendly – Uses only half double crochet, front post, and back post stitches
- Stretchy ribbed cuff – Keeps booties securely on baby’s feet
- Perfect gift item – Pair with a matching hat for an adorable baby set
- Minimal yarn needed – Great for using up leftover baby yarn from other projects
Pattern Details at a Glance
- Skill Level: Easy / Confident Beginner
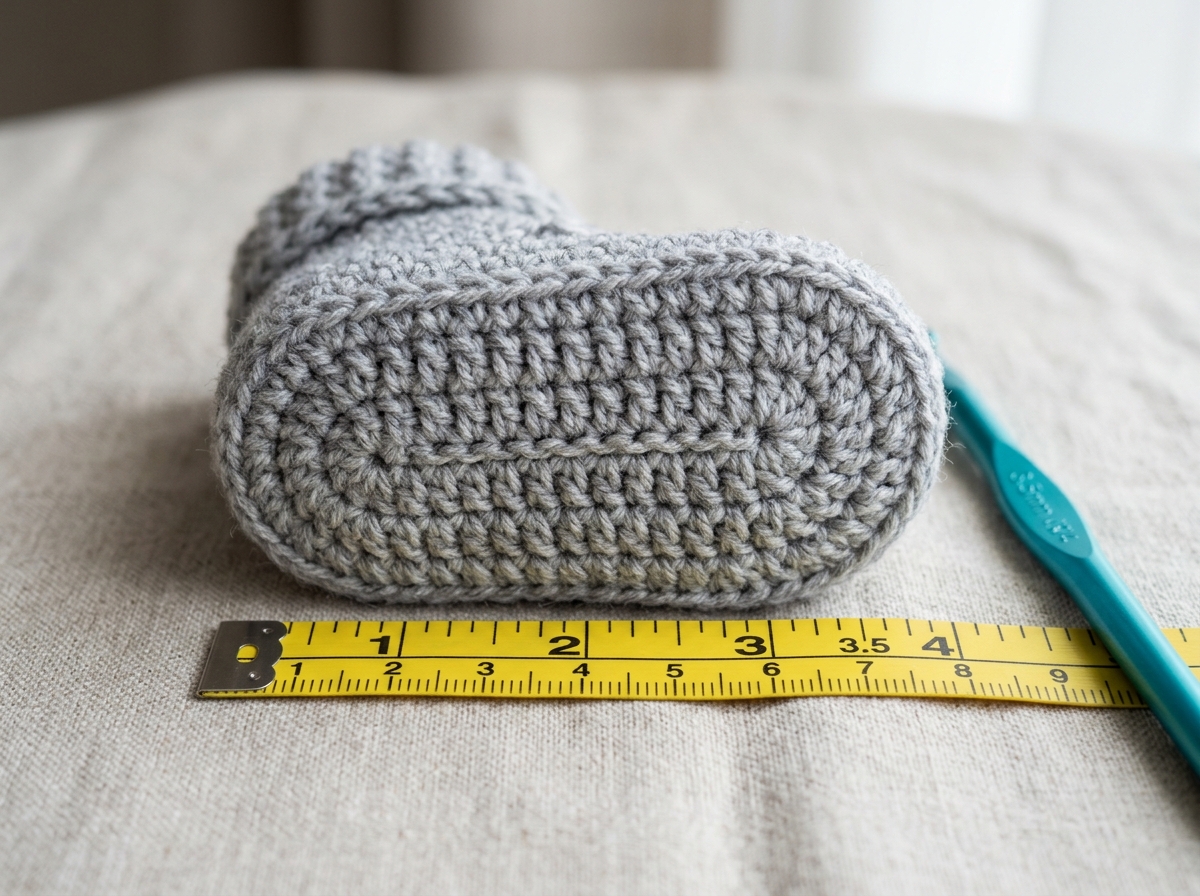
- Finished Size: Newborn (sole approx. 3.5 inches)
- Yarn: Baby aran weight
- Hook: 3.5 mm (newborn) or 4.0 mm (slightly larger fit for babies over 10 lbs)
- Construction: Worked in continuous rounds from the sole up
- Special Technique: 16-stitch partial double crochet toe decrease
What You’ll Need
- Baby aran weight yarn in your chosen color
- 3.5 mm crochet hook (or 4.0 mm for a larger size)
- A small extra piece of matching yarn for the toe section
- Stitch markers
- Tapestry needle
- Scissors
Abbreviations
- ch – chain
- st/sts – stitch/stitches
- sl st – slip stitch
- hdc – half double crochet
- dc – double crochet
- FPHDC – front post half double crochet
- BPHDC – back post half double crochet
Before You Begin: Understanding the Toe Decrease
The only slightly tricky part of this pattern is the toe shaping, which uses a 16-stitch partial double crochet decrease. Don’t let this scare you — once you understand the concept, it’s quite straightforward.
Here’s how each partial stitch works:
- Yarn over
- Insert your hook into the next stitch
- Yarn over and pull up a loop
- Yarn over and pull through only 2 loops
- Stop — leave the remaining loop on your hook
Repeat this across all 16 toe stitches. You’ll have a lot of loops sitting on your hook, and that’s exactly right. When you’re done, yarn over one final time and pull through every loop at once. That closes the entire toe in one smooth motion.
Tip: Keep your tension relaxed during this section. If you crochet too tightly, pulling through all those loops at the end becomes much harder than it needs to be.
Crochet Baby Booties Pattern Instructions
The Sole (Rounds 1–2)
Round 1: Ch 10. Work 2 hdc in the 3rd chain from your hook, then 1 hdc in each of the next 6 chains, followed by 6 hdc in the last chain. Continue working down the opposite side of the foundation chain: 1 hdc in each of the next 6 chains, then 3 hdc in the final chain. Sl st to join. (23 stitches)
Round 2: Ch 2. Work 1 hdc in the base of the ch-2, then 2 hdc in each of the next 2 stitches, 1 hdc in the next 7 stitches, 2 hdc in each of the next 5 stitches, 1 hdc in the next 6 stitches, 2 hdc in each of the next 2 stitches. Sl st to join. (32 stitches)
Building the Sides (Rounds 3–5)
Round 3: Ch 2. Working in back loops only, work 1 hdc in the base of the ch-2 and in each stitch around. Sl st to join. (32 stitches)
This back-loop-only round is what creates the visible ridge at the base of the bootie, giving it that defined sole edge.
Rounds 4–5: Ch 2. Work 1 hdc in each stitch around. Sl st to join. (32 stitches each round)
Do not fasten off after Round 5.
Shaping the Toe
Fold your bootie flat lengthwise to find the center front. Count back 8 stitches from the center on both sides and place stitch markers — you’ll be working across these 16 stitches.
Toe Row: Using a separate piece of the same yarn, join at your first marker. Ch 2 (this counts as your first partial dc). Work 1 partial dc in each of the next 15 stitches, leaving the final loop of every stitch on your hook. Yarn over and pull through all loops on the hook. Fasten off.
The Ribbed Cuff (Rounds 1–5)
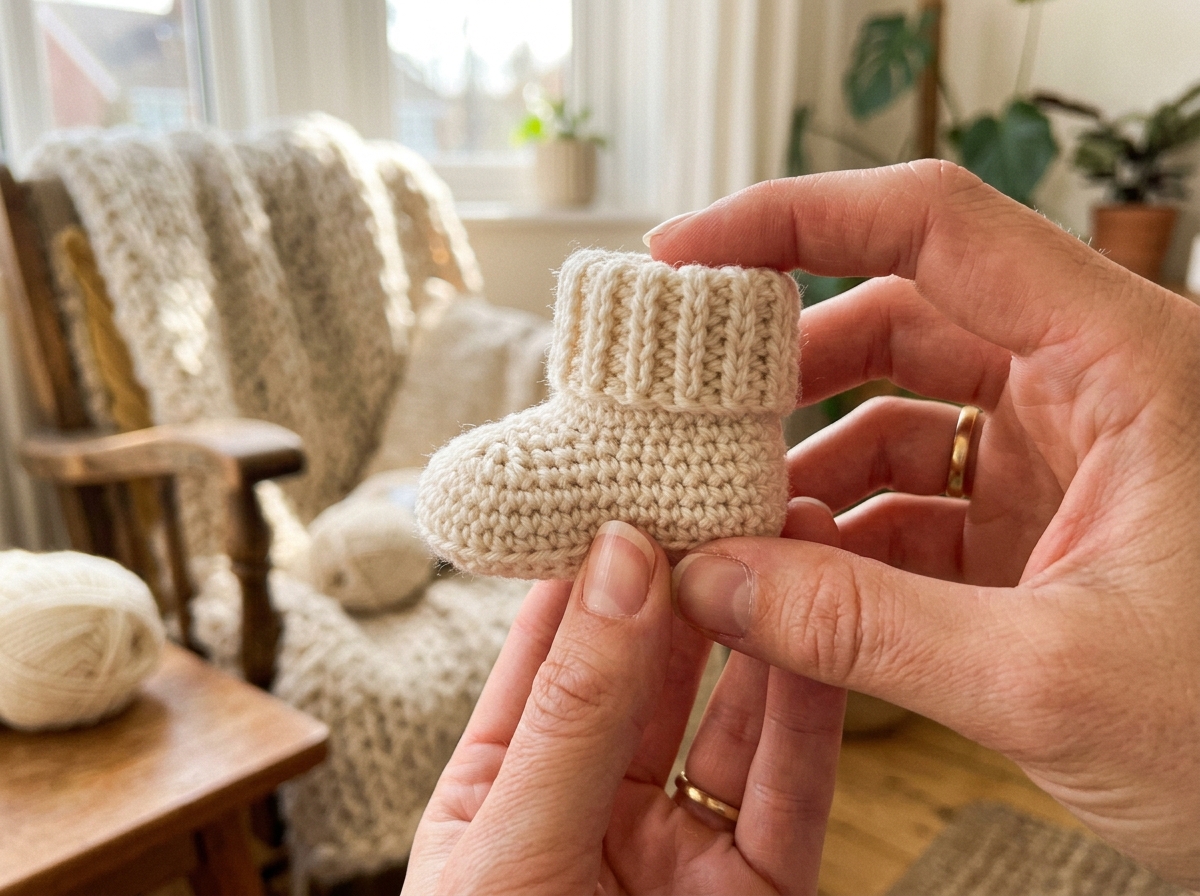
Cuff Round 1: Join your yarn at the back opening. Ch 2. Work 1 hdc in the base of the ch-2, then hdc evenly around the opening, picking up approximately 5 stitches across the toe decrease section. Sl st to join.
Cuff Rounds 2–5: Ch 2. *FPHDC around next stitch, BPHDC around next stitch* — repeat from * to * around. Sl st to join.
After Round 5, fasten off and weave in all your ends. That’s your first bootie done! Make a second one to complete the pair.
Sizing Guide
Getting the right fit is straightforward:
- Newborn: Use a 3.5 mm hook — sole measures approximately 3.5 inches
- 0–3 months: Use a 4.0 mm hook — sole measures approximately 4 inches
The ribbed cuff has a good amount of natural stretch, which helps the booties stay on even over those little one-piece outfits with built-in feet. It’s one of the features that makes this design so practical for everyday use.
Tips for a Perfect Finish
- Use stitch markers generously — especially when placing the toe section. Precision here makes a big difference in how symmetrical your booties look
- Block lightly after finishing — a quick steam or wet block helps the stitches settle and gives the booties a more polished appearance
- Weave ends securely — baby items get washed frequently, so make sure your yarn tails are well-secured
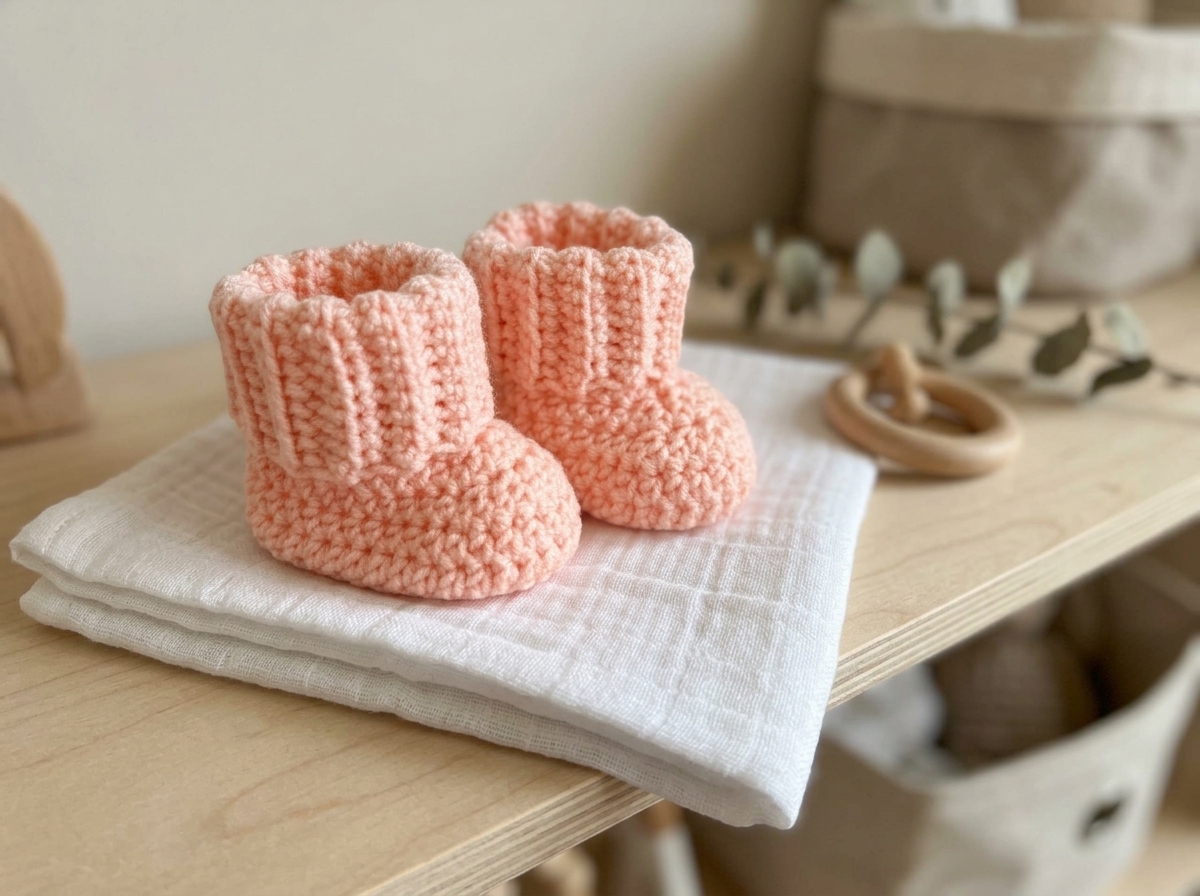
- Try different colors — this pattern looks beautiful in neutrals like gray and cream, or in pastels like blush pink, mint, and soft lavender
Pairing Ideas
These booties look gorgeous on their own, but they’re even better as part of a matching set. Try pairing them with:
- A simple ribbed baby beanie using the same post-stitch technique
- An earflap baby hat for a cozy winter set
- A lightweight baby cardigan for the ultimate handmade gift bundle
Using matching yarn across all the pieces creates a cohesive, polished look that’s perfect for gifting or for keepsake photos.
Happy crocheting — and enjoy watching those tiny booties come together in record time!


0 Comments