

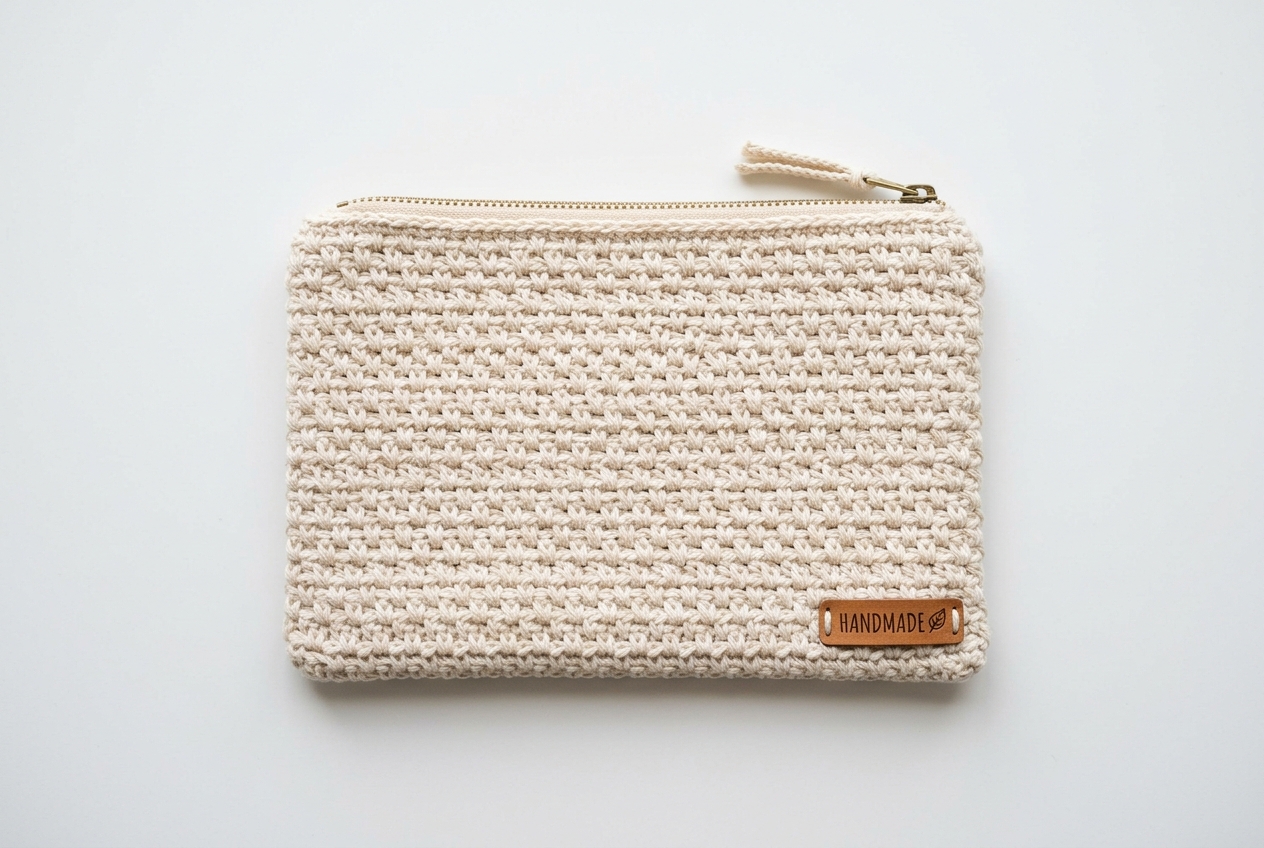
Never Lose Your Crochet Notions Again!
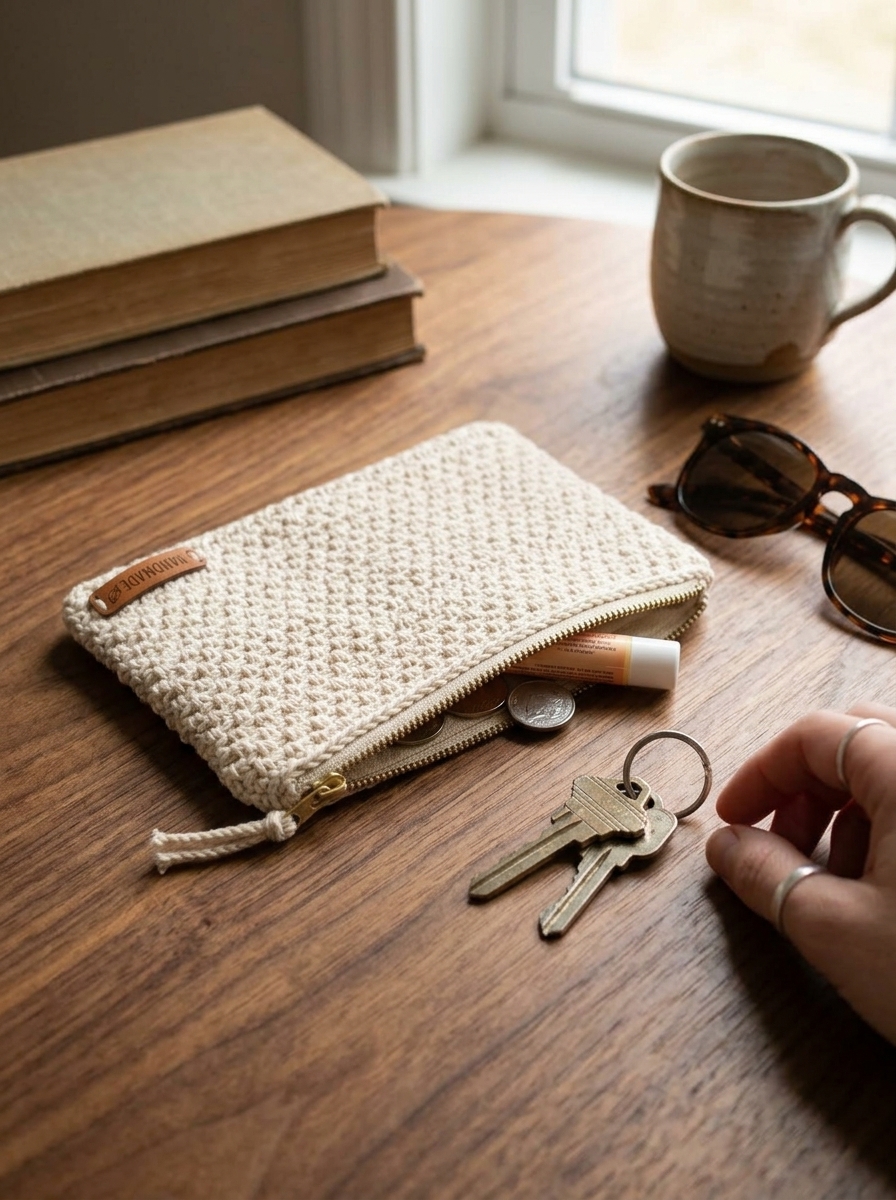
Are you constantly misplacing your stitch markers or searching for that tapestry needle when it’s time to weave in ends? We’ve all been there! To solve this common maker problem, I designed this beautiful and incredibly simple crochet zipper pouch using the classic moss stitch.
This quick little stash-buster is perfect for holding all your tiny crochet tools. It works up incredibly fast, makes a fantastic gift for fellow crafters, and is completely customizable to match your unique style. Let’s dive into the pattern!
Finished Size
The finished pouch cover measures approximately 7 inches by 5 inches (17.8 cm x 12.7 cm) when laid flat.
Gauge
9 sc stitches and 21 rows = 4″ x 4″ (10 cm x 10 cm) worked in the Moss Stitch.
Construction Overview
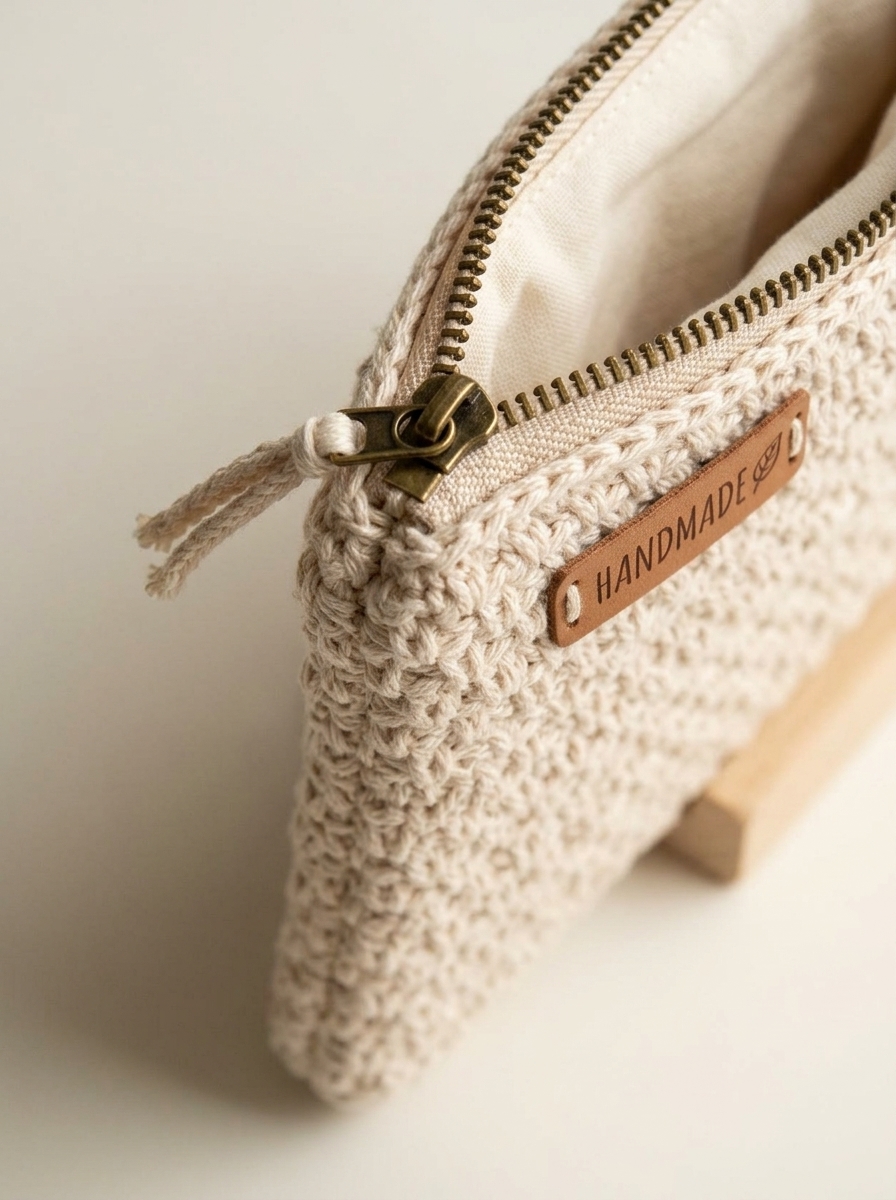
This pouch cover is worked seamlessly in the round from the bottom up. We start by crocheting along both sides of a foundation chain to create a flat oval base, then continue working in continuous rounds of moss stitch to build the height. Finally, the finished crochet piece is easily secured to a pre-made canvas zipper pouch using hot glue—no sewing required!
Supplies Needed
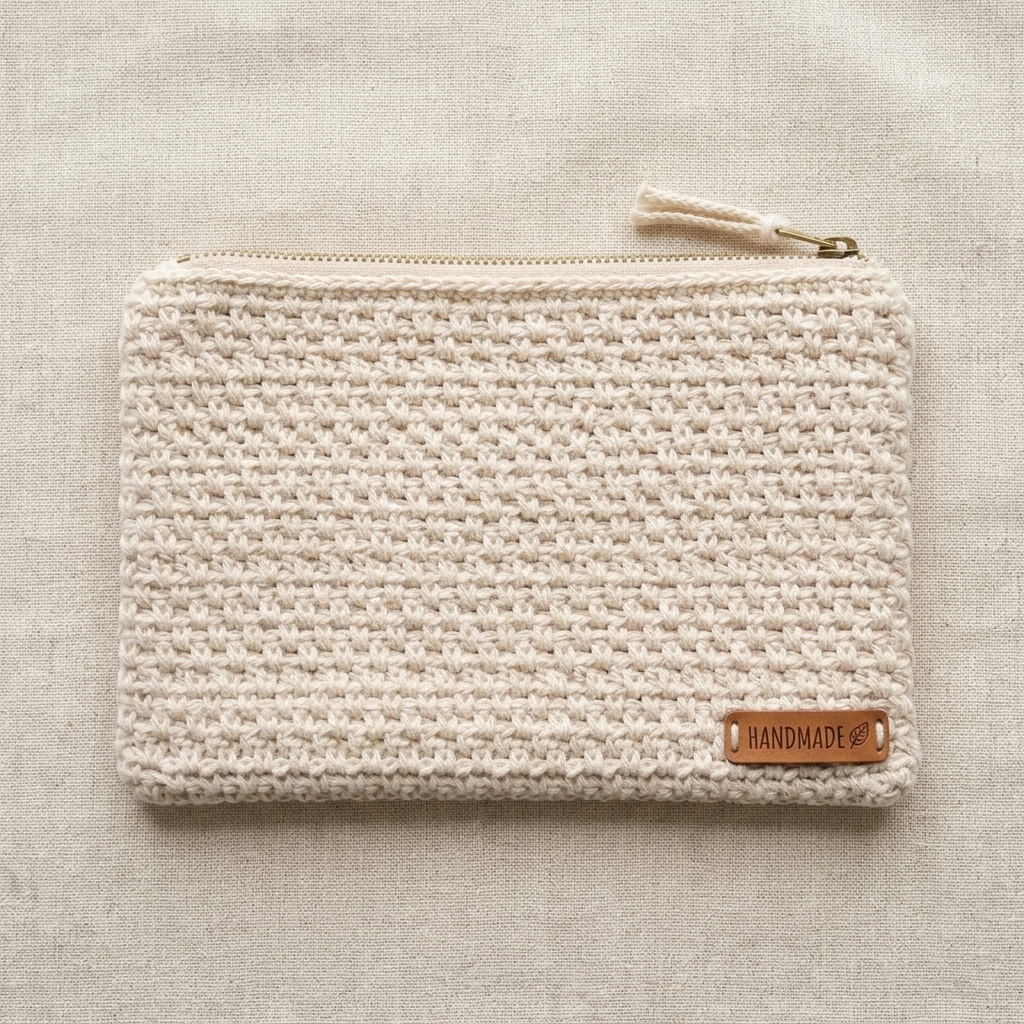
- Yarn: Medium (4) Worsted weight acrylic yarn (approx. 45 yards total). If using three colors like the sample, you will need about 15 yards of each. (Sample uses Furls Wander Acrylic in Dragonfruit, Aurora, and Snow)
- Hook: Size G / 4.0mm crochet hook
- Notions: Yarn needle and scissors
- Hardware: One 6.5″ x 4.5″ canvas zipper pouch (or a 6.5″ zipper if you prefer to line it yourself)
- Other: Fabric hot glue gun
Stitches & Abbreviations (US Terms)
- ch – Chain
- sc – Single Crochet
- sl st – Slip Stitch
- sk – Skip
- st(s) – Stitch(es)
- sp – Space
Special Stitches & Techniques
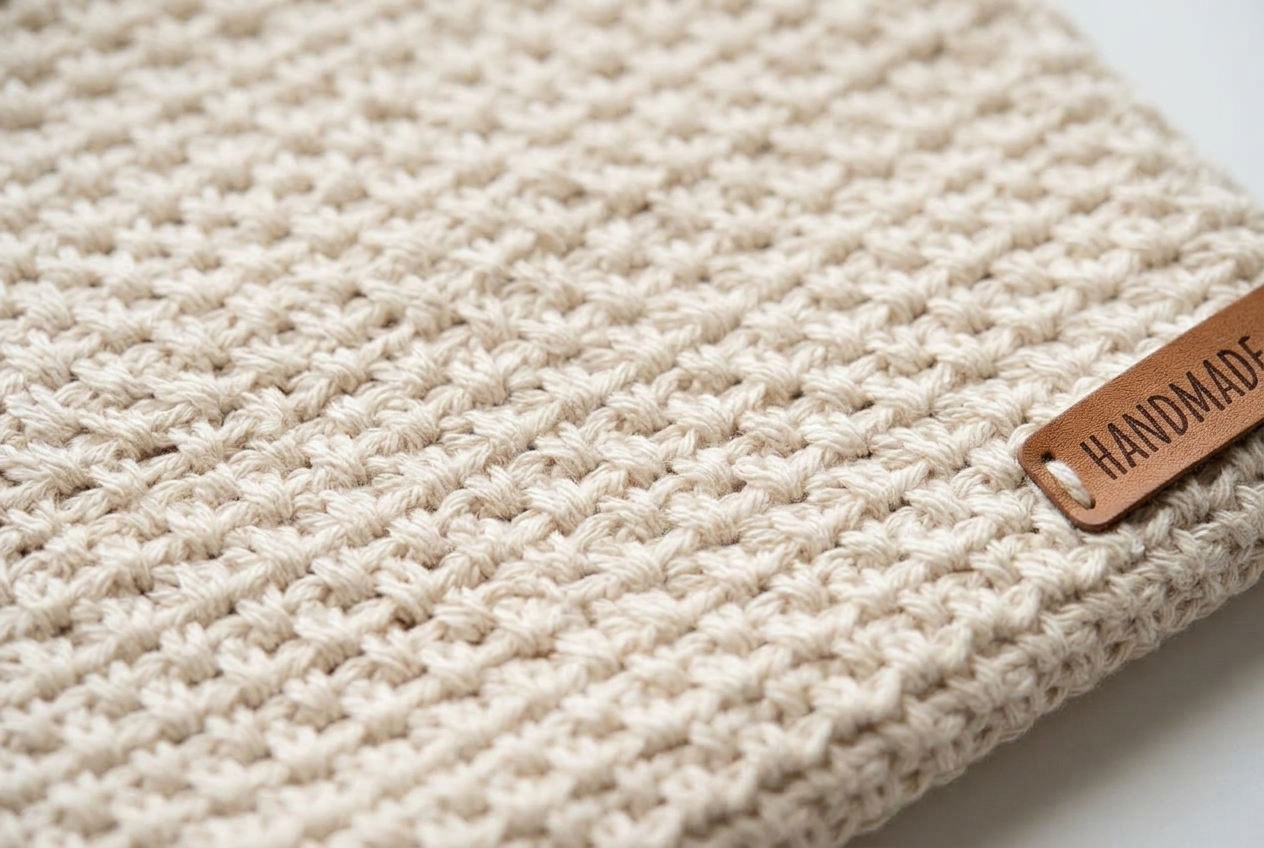
Moss Stitch: This beautifully textured stitch is created by simply working a single crochet (sc) into the chain-1 space (ch-1 sp) of the previous row, then chaining 1 and skipping the next sc. It creates a dense but flexible fabric perfect for bags.
Color Changes: To achieve clean stripes, change colors at the end of the round. Before finishing the final sc, drop the current yarn, pick up the new color, and yarn over to pull through the last two loops on the hook.
Pattern Instructions
The Base
With Color A, ch 28.
Round 1: Turn and work 1 sc into the 2nd ch from your hook. sc in each ch across until the last ch. Work 3 sc into the final ch. Turn your work 180 degrees to work along the underside of the foundation chain. sc in the remaining loop of each ch across. Work 2 sc in the final ch, then ch 1. (This completes the oval base)
The Body
Round 2: Switch to Color B. sc into the 1st sc of the round, *ch 1, sk the next st, sc in the next st. Repeat from * all the way around, placing your final sc in the ch-1 sp from the end of Round 1.
Round 3: Switch to Color C. ch 1, sc into the 1st ch-1 sp, *ch 1, sk the next sc, sc in the next ch-1 sp. Repeat from * around.
Rounds 4 – 25: Continue repeating Round 3, changing colors every round (or as desired) to build the striped pattern.
Finishing the Crochet Cover
To finish the top edge, sl st into the first st of the last round. Fasten off and weave in all ends securely.
Assembly & Hardware
Step 1: Slide the pre-made canvas zipper pouch inside your finished crochet cover.
Step 2: Using your fabric hot glue gun, carefully run a line of glue along the top inside edge of the crochet cover.
Step 3: Press the glued edge firmly against the canvas pouch, just below the zipper teeth. Work in small sections around the perimeter until the entire cover is securely attached.
Alternative: If you prefer not to use a canvas pouch, you can hand-sew a 6.5″ zipper directly to the top edge of the crochet fabric using a needle and coordinating thread.
Styling & Customization Tips
- Size it up: You can easily adjust the width of this pouch to fit any zipper size. Simply chain any even number of stitches to match the length of your zipper, then follow the pattern as written.
- Height adjustments: Want a deeper pouch for holding taller items? Just add more repeat rounds before fastening off!
- Color play: This pattern looks stunning in solid colors, variegated yarns, or color-blocked sections. It’s the ultimate stash-busting project!
Quick Reference Notes
- Skill Level: Beginner
- Hooks required: 4.0mm
- Total Yardage: 45 yards of worsted weight yarn
- Construction: Bottom-up, in the round


0 Comments