

Meet the Adorabilis: Your Next Favorite Amigurumi Octopus
If you love adorable sea creatures and satisfying crochet projects, you’re in for a treat! Inspired by the real-life deep-sea octopus named Opisthoteuthis Adorabilis, this squishy, coral-colored amigurumi is the perfect make for your next weekend project. With its cute little “horns” (which are actually fins!) and short, curly tentacles, this little guy is packed with personality.
This is a beginner-friendly pattern that works up incredibly fast—expect to finish it in about two hours. Whether you want to turn it into a charming keychain, a backpack charm, or just a cute desk buddy to keep you company while you work, this pattern has got you covered.
Let’s dive right into the details so you can start hooking up your own deep-sea cutie!
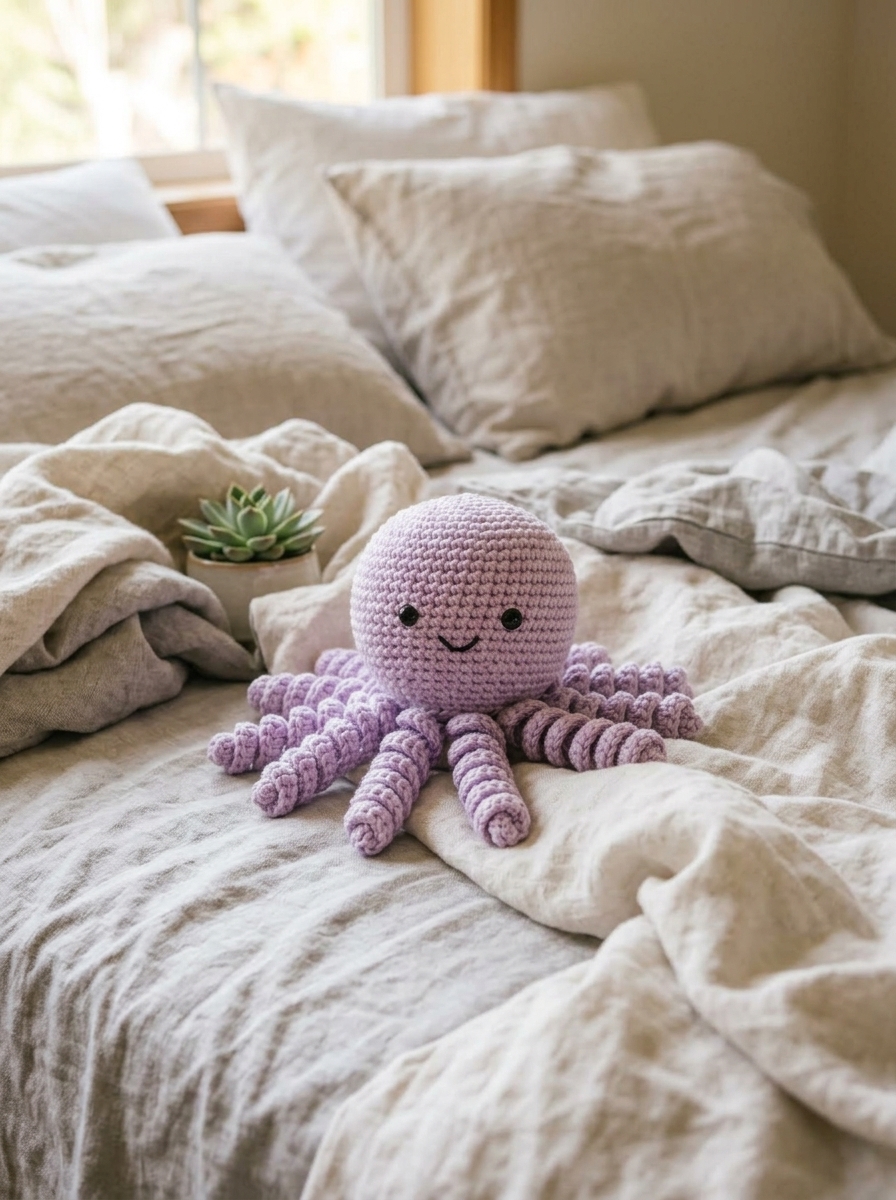
Finished Size
When made with worsted weight yarn and a 4mm hook, this octopus measures approximately 3 inches (7.5 cm) tall and 4 inches (10 cm) wide across the tentacles.
Gauge
5 sc and 5 rows = 1 inch (2.5 cm). Gauge is not critical for this pattern; just ensure your stitches are tight enough so the fiberfill stuffing doesn’t show through.
Construction Overview
This pattern is constructed in three main parts: the Body (worked from the top down to the base), the Tentacles (worked into spaces created at the bottom edge of the body), and the Bottom/Underside (worked separately as a flat circle). The bottom is then sewn to the body to close it up. The tiny fins (horns) are added directly onto the top sides of the head.
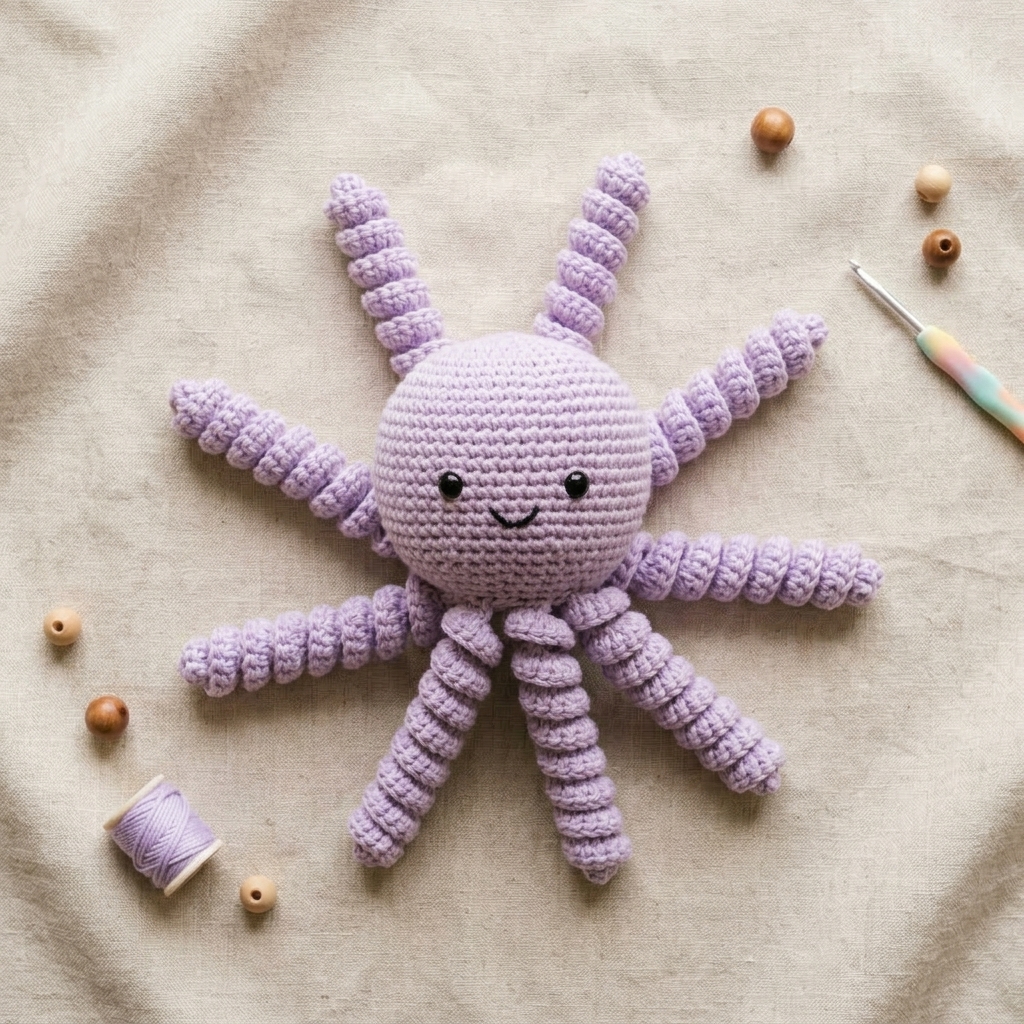
Supplies
- Yarn: Worsted weight (Category 4) yarn in Coral Pink (approx. 50 yards).
- Hook: Size G/6 (4.0 mm) crochet hook.
- Eyes: One pair of 12mm black amigurumi safety eyes.
- Stuffing: Polyester fiberfill.
- Notions: Tapestry needle, stitch marker, scissors.
- Hardware (Optional): Keychain ring if making a bag charm.
Stitches & Abbreviations (US Terms)
- mr: magic ring
- ch: chain
- sc: single crochet
- dc: double crochet
- tr: treble (triple) crochet
- sl st: slip stitch
- inc: increase (2 sc in the same stitch)
- st(s): stitch(es)
- rnd: round
Special Stitches
Picot Stitch: Chain 2, then insert your hook into the second chain from the hook and make a single crochet. This creates the little pointed tip for the tentacles.
Pattern Instructions
Body
Worked in continuous rounds. Place a stitch marker at the beginning of each round.
Rnd 1: 6 sc in a magic ring. (6 sts)
Rnd 2: 2 sc in each st around. (12 sts)
Rnd 3: [Inc, sc in next st] around. (18 sts)
Rnd 4: [Inc, sc in next 2 sts] around. (24 sts)
Rnd 5: [Inc, sc in next 3 sts] around. (30 sts)
Rnd 6: [Inc, sc in next 4 sts] around. (36 sts)
Rnd 7: [Inc, sc in next 5 sts] around. (42 sts)
Rnds 8-16: Sc in each st around. (42 sts)
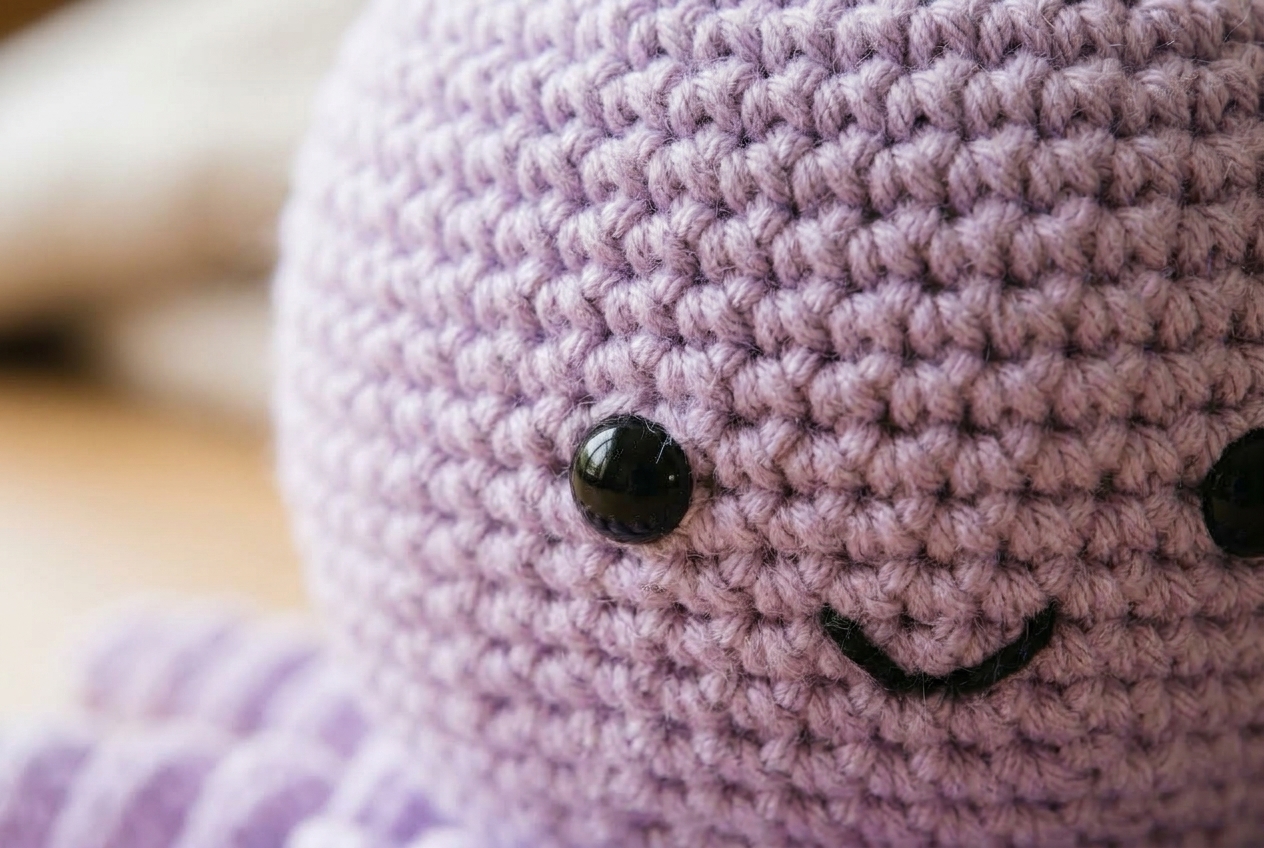
Install the 12mm safety eyes between rounds 12 and 13, spaced about 7 stitches apart.
Tentacles
The tentacles are worked directly onto the bottom edge of the body. We’ll start by making a foundation of chain spaces, then we will work the actual tentacles into those spaces.
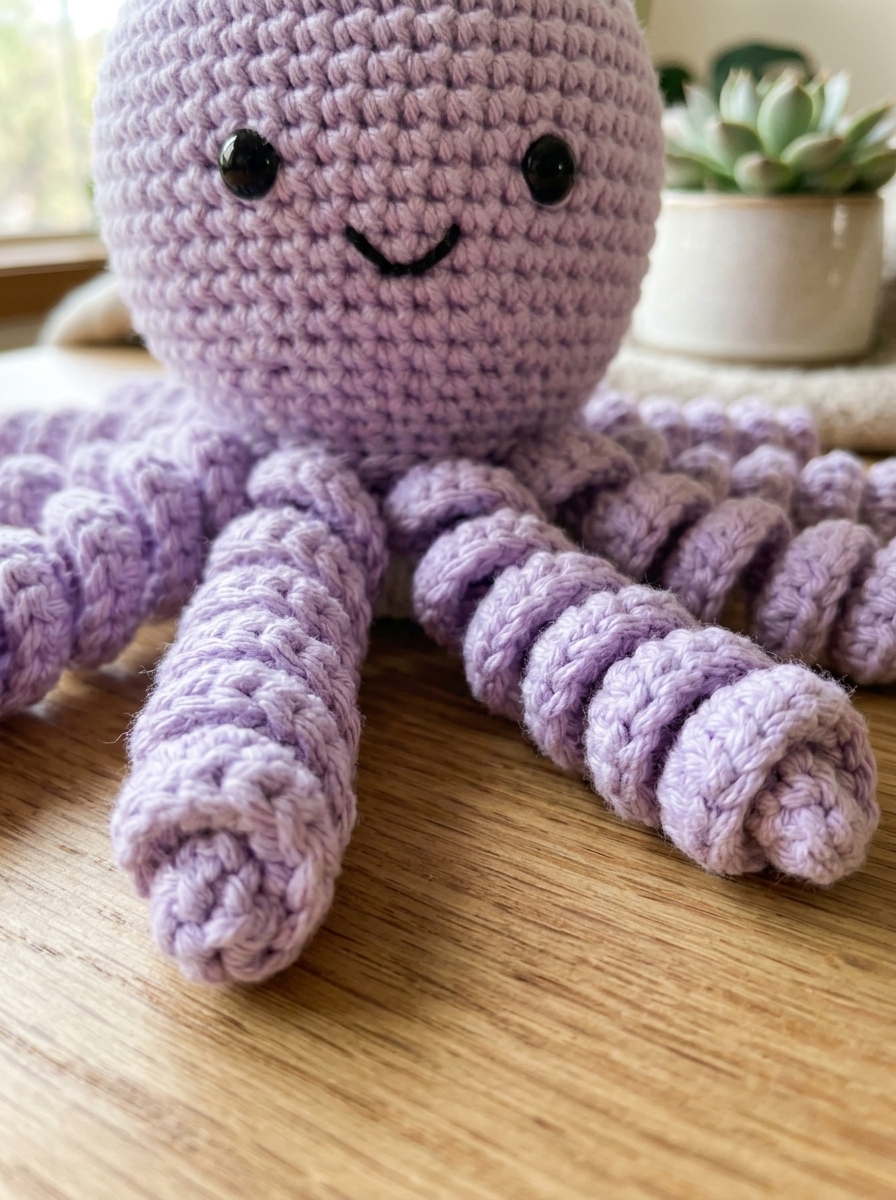
Foundation Round: [Ch 3, skip 2 sts, sl st in next st] around. You should have 14 ch-3 spaces.
Tentacle Round: Work the following sequence into each ch-3 space around: [3 dc, ch 2, sc in 2nd ch from hook (picot made), 3 dc, sl st].
Fasten off and weave in the end. You should have 14 adorable little tentacles!
Fins (“Horns”)
Make 2. Work these directly onto the sides of the head around Round 6, positioned above the eyes.
Join yarn to the side of the head.
Row 1: Ch 4, work 4 tr in the same space, sc in the next st.
Fasten off and weave in the ends securely. Repeat for the second fin on the opposite side.
Bottom (Underside)
Worked in joined rounds to create a flat circle.
Rnd 1: 6 sc in a magic ring, ch 1. (6 sts)
Rnd 2: 2 sc in each st around, ch 1. (12 sts)
Rnd 3: [Inc, sc in next st] around, ch 1. (18 sts)
Rnd 4: [Inc, sc in next 2 sts] around, ch 1. (24 sts)
Rnd 5: [Inc, sc in next 3 sts] around, ch 1. (30 sts)
Rnd 6: [Inc, sc in next 4 sts] around, ch 1. (36 sts)
Rnd 7: [Inc, sc in next 5 sts] around. (42 sts)
Fasten off, leaving a very long tail for sewing.
Assembly & Finishing
- Firmly stuff the body of the octopus with fiberfill. Ensure the top has a nice round shape.
- Pin the bottom piece to the underside of the body (just behind the tentacle row).
- Using your tapestry needle and the long yarn tail left from the bottom piece, whip stitch the bottom completely to the body. Add a little extra stuffing just before you finish closing the gap if needed.
- Tie a knot, hide the yarn end inside the body, and trim the excess.
Hardware & Closures
If you’d like to turn your octopus into a keychain, simply attach a metal jump ring to the top center of the head (the magic ring from Round 1), and connect a keychain clasp.
Styling Tips
This little guy looks fantastic in bright, tropical colors like mint green, pastel yellow, or classic seafoam! Group a few together in a decorative bowl or hang them as a charming mobile for a nursery.
Quick Reference Notes
- Make sure to count your stitches on the increase rounds to ensure you end up with 42 stitches before starting the tentacles.
- The picot stitch in the tentacles is what gives them that cute, slightly pointy curl at the end!
- Don’t overstuff the body, or the bottom piece might bulge outwards instead of sitting flat.


0 Comments