

The Cutest Amigurumi Mushroom: Your New Favorite Crochet Project
Hello, fellow crochet lovers! Today, I’m absolutely thrilled to share a pattern that has completely stolen my heart. There’s something magical about woodland-themed projects, and this charming amigurumi mushroom is no exception. Whether you’re looking to decorate a nursery, create a sweet keychain, or simply expand your collection of crocheted plushies, this little toadstool fits the bill perfectly.
This project is wonderfully straightforward, making it an excellent choice for beginners looking to practice their continuous spiral technique, as well as seasoned crafters wanting a quick and satisfying make. The classic red cap with white dots gives it that iconic fairy-tale vibe we all know and love.
Grab your favorite cotton yarn, put on a cozy podcast, and let’s dive into crocheting this adorable little woodland friend together. I promise you won’t be able to stop at just making one!
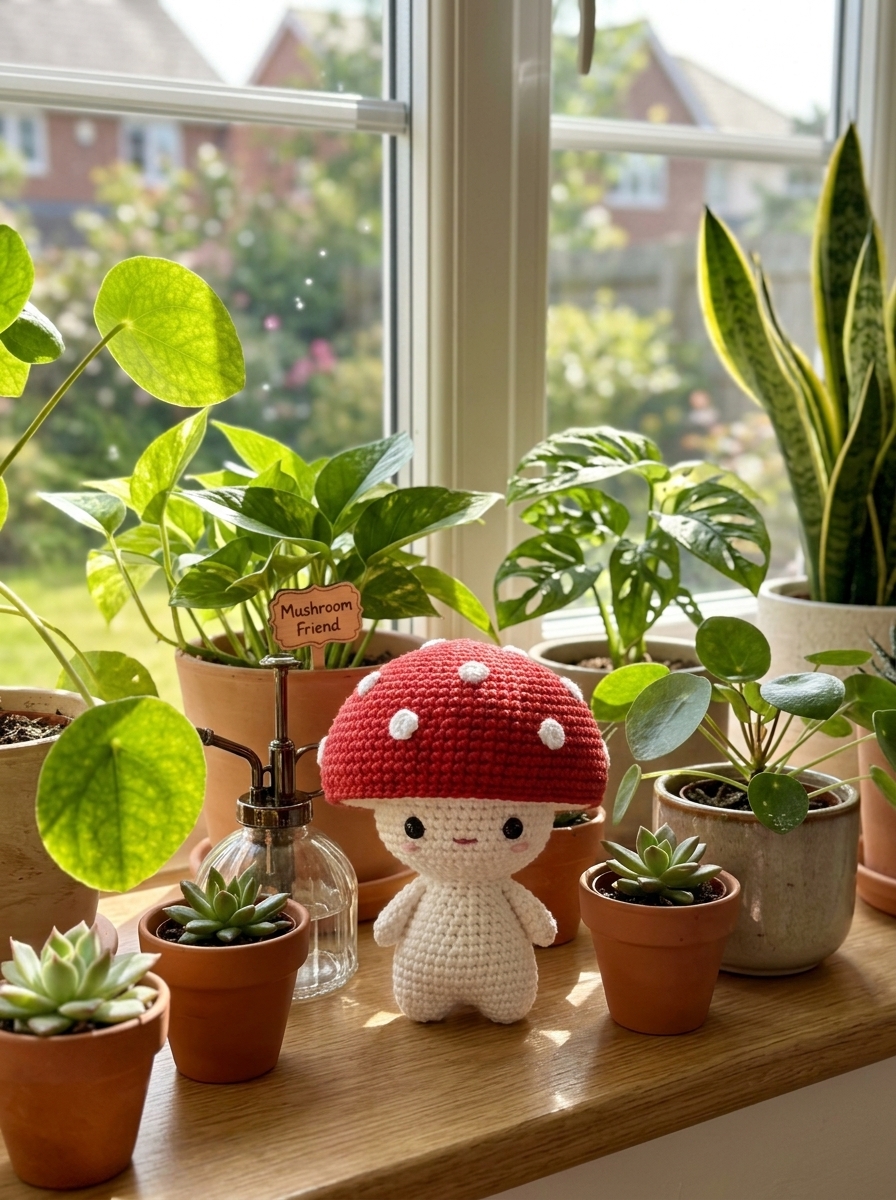
Finished Size
When made with the recommended sport/DK weight cotton yarn and a 3.50 mm hook, the finished mushroom measures approximately 3 inches (7.5 cm) tall and 2.5 inches (6.5 cm) wide at the cap. Remember that your personal tension will affect the final size!
Gauge
20 single crochet stitches and 20 rows = 4 inches (10 cm) square. While exact gauge isn’t critical for amigurumi, you want to ensure your stitches are tight enough that the stuffing won’t peek through.
Construction Overview
This project consists of two separate pieces: the Hat (cap) and the Foot (stem). Both pieces are crocheted in a continuous spiral without joining at the end of each round. Finally, the two pieces are sewn together, stuffing the cap firmly just before closing the seam.
Supplies Needed
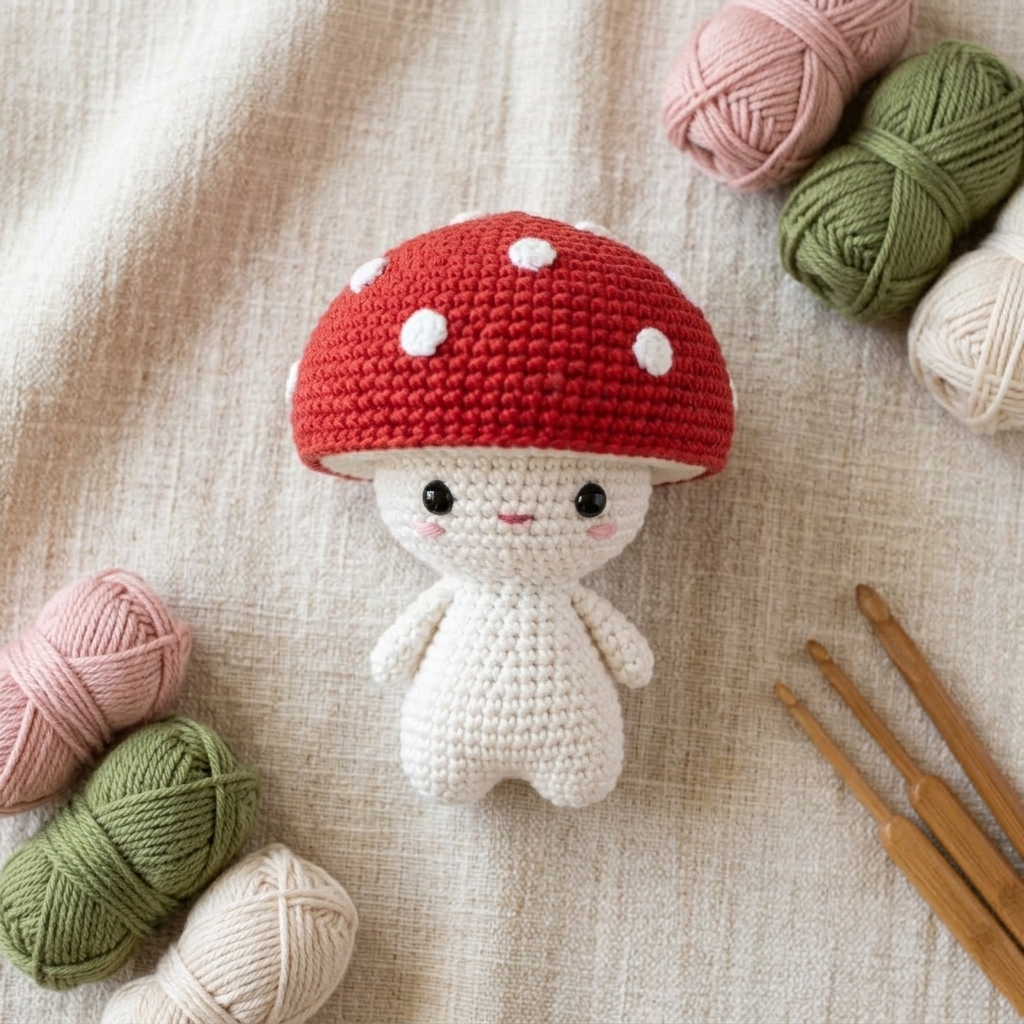
- Yarn: Sport or DK weight cotton yarn (50g = 105m). You will need two colors: Red (Color A) and White (Color B).
- Hook: 3.50 mm crochet hook
- Stuffing: Fiberfill or your preferred toy stuffing
- Notions: Tapestry needle for sewing, stitch markers, and scissors
Stitches & Abbreviations (US Terms)
- r – round/row
- st – stitch
- ch – chain
- sl st – slip stitch
- sc – single crochet
- inc – increase (2 sc in the same stitch)
- dec – decrease (sc 2 stitches together)
- […]x… – repeat instructions in the brackets the indicated number of times
- (…) – the total number of stitches at the end of the round
Special Stitches
Magic Circle (Alternative): If you prefer the standard magic ring technique over the “ch 2, work in 2nd ch from hook” method specified in the pattern, feel free to substitute it! Just create a magic ring, work 6 sc into it, and pull tight.
Pattern Instructions
The Hat
Worked in continuous spirals using Red (Color A) yarn.
r 1: 2 ch, 6 sc in the second ch from the hook. (6) Alternatively, use a magic circle.
r 2: [inc] x 6. (12)
r 3: [1 sc, inc] x 6. (18)
r 4: [2 sc, inc] x 6. (24)
r 5: [3 sc, inc] x 6. (30)
r 6: [4 sc, inc] x 6. (36)
r 7-8: 36 sc. (36) (2 rounds in total)
Fasten off the red yarn and weave in the end securely on the inside of the hat.
The Foot
Worked in continuous spirals. Start with White (Color B) yarn.
r 1: 2 ch, 6 sc in the second ch from the hook. (6) Alternatively, use a magic circle.
r 2: [inc] x 6. (12)
r 3: [1 sc, inc] x 6. (18)
r 4-5: 18 sc. (18) (2 rounds in total)
r 6: [7 sc, dec] x 2. (16)
r 7-8: 16 sc. (16) (2 rounds in total)
r 9: [6 sc, dec] x 2. (14)
r 10-11: 14 sc. (14) (2 rounds in total)
r 12: [6 sc, inc] x 2. (16)
r 13: [1 sc, inc] x 8. (24)
r 14: [2 sc, inc] x 8. (32)
Color change to Red (Color A) yarn for the final round.
r 15: [7 sc, inc] x 4. (36)
Fasten off, leaving a long tail (approximately 30 cm / 12 inches) for sewing.
Assembly & Finishing
1. Prepare to Sew: Align the Foot with the open bottom of the Hat. Both the final round of the Hat and the final round of the Foot have exactly 36 stitches, which makes lining them up an absolute breeze!
2. Sewing: Using your tapestry needle and the long red yarn tail from the Foot, begin whip-stitching the two pieces together, matching stitch for stitch.
3. Stuffing: Stop when you have about a 1.5-inch opening left. Firmly stuff the mushroom. Use small bits of stuffing at a time to ensure it distributes evenly, paying special attention to filling out the wide part of the cap and creating a sturdy stem.
4. Closing: Finish sewing the remaining gap closed. Tie a knot securely and hide the yarn tail inside the mushroom.
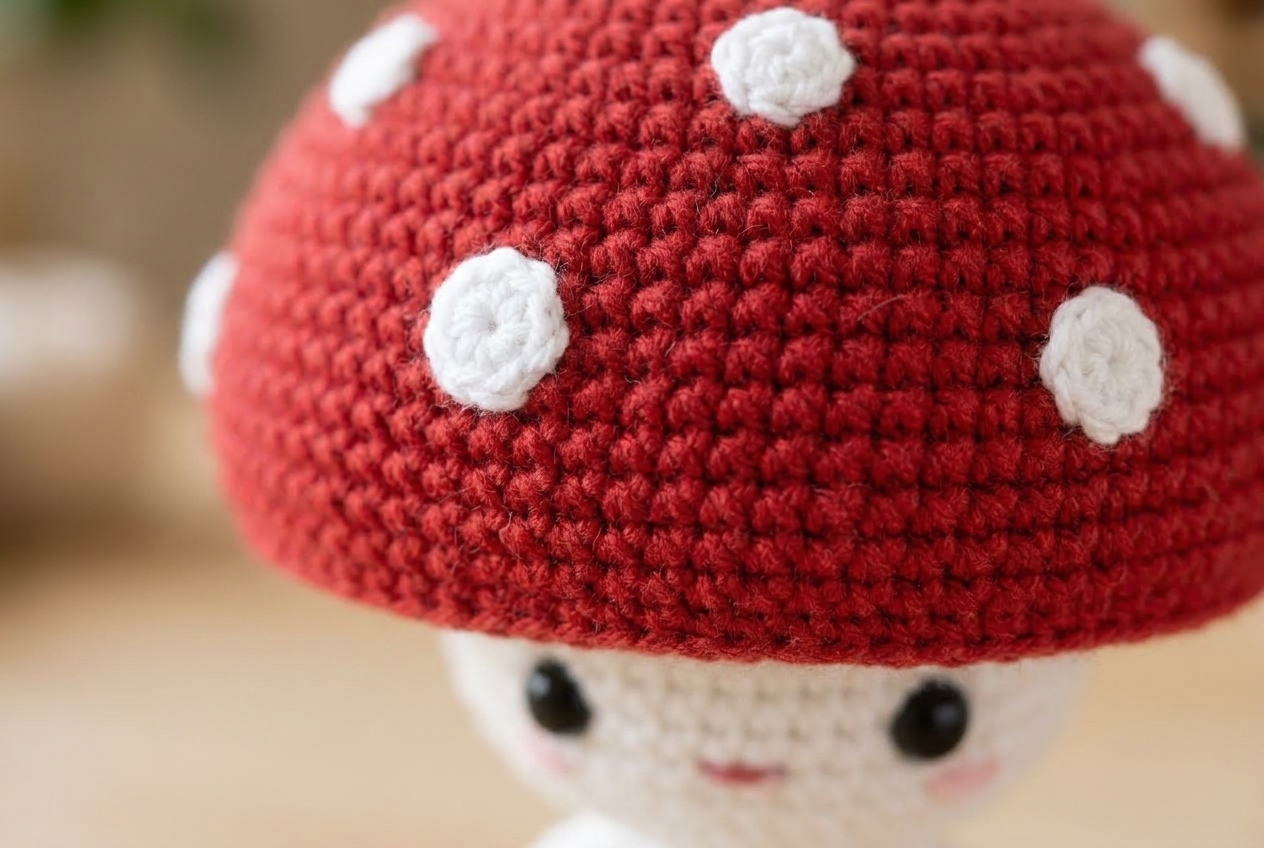
5. The Dots: Using a scrap of white yarn, embroider small French knots or simple straight stitches randomly around the red cap to create the classic toadstool spots. Hide all remaining ends inside the piece.
Styling Tips
This little mushroom looks fantastic displayed on a bookshelf nestled among some faux moss or house plants. If you’re feeling adventurous, attach a keyring to the top center of the cap to make a charming accessory for your bag or keys. You could even string several together on a long chain to make a woodland garland for a child’s room!
Quick Reference Notes
- Always use a stitch marker to mark the first stitch of your round, as continuous spirals can be tricky to keep track of.
- If your stitches feel too loose and you can see stuffing, try dropping down a hook size.
- Embroidering the white spots can be done before or after assembly, depending on what you find easier!


0 Comments