

Welcome to the Little Turtle Amigurumi Pattern!
There’s nothing quite like the joy of crocheting your very own tiny plush companion. Today, I’m thrilled to share this adorable amigurumi turtle pattern with you. It works up incredibly quickly—in about 20 minutes—and requires minimal sewing! It’s perfect for craft fairs, quick gifts, or simply adding a splash of kawaii charm to your desk.
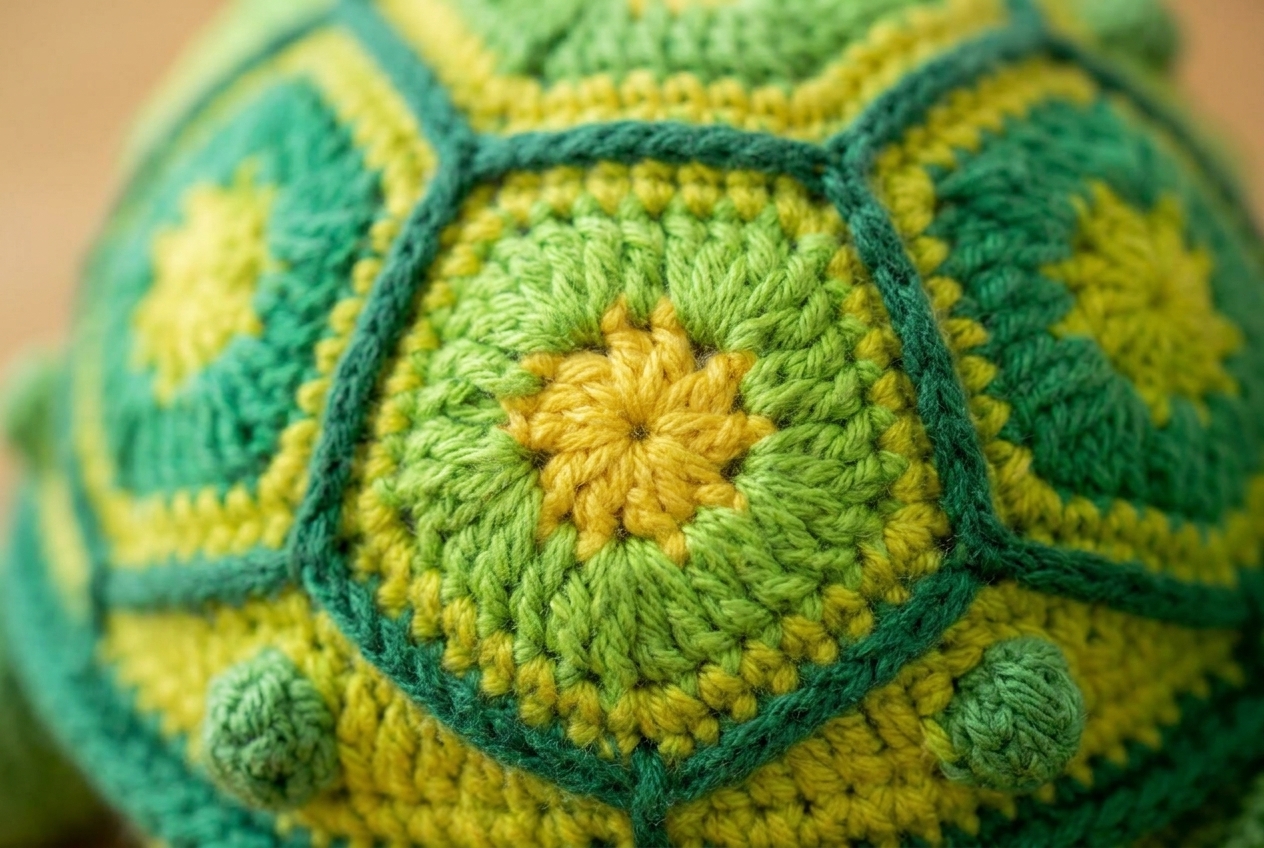
We designed this pattern to have a slightly curved shell and a realistic crawling posture, making it uniquely charming. Whether you’re a seasoned amigurumi artist or a complete beginner looking for a fun evening project, this little sea turtle is exactly what you need.
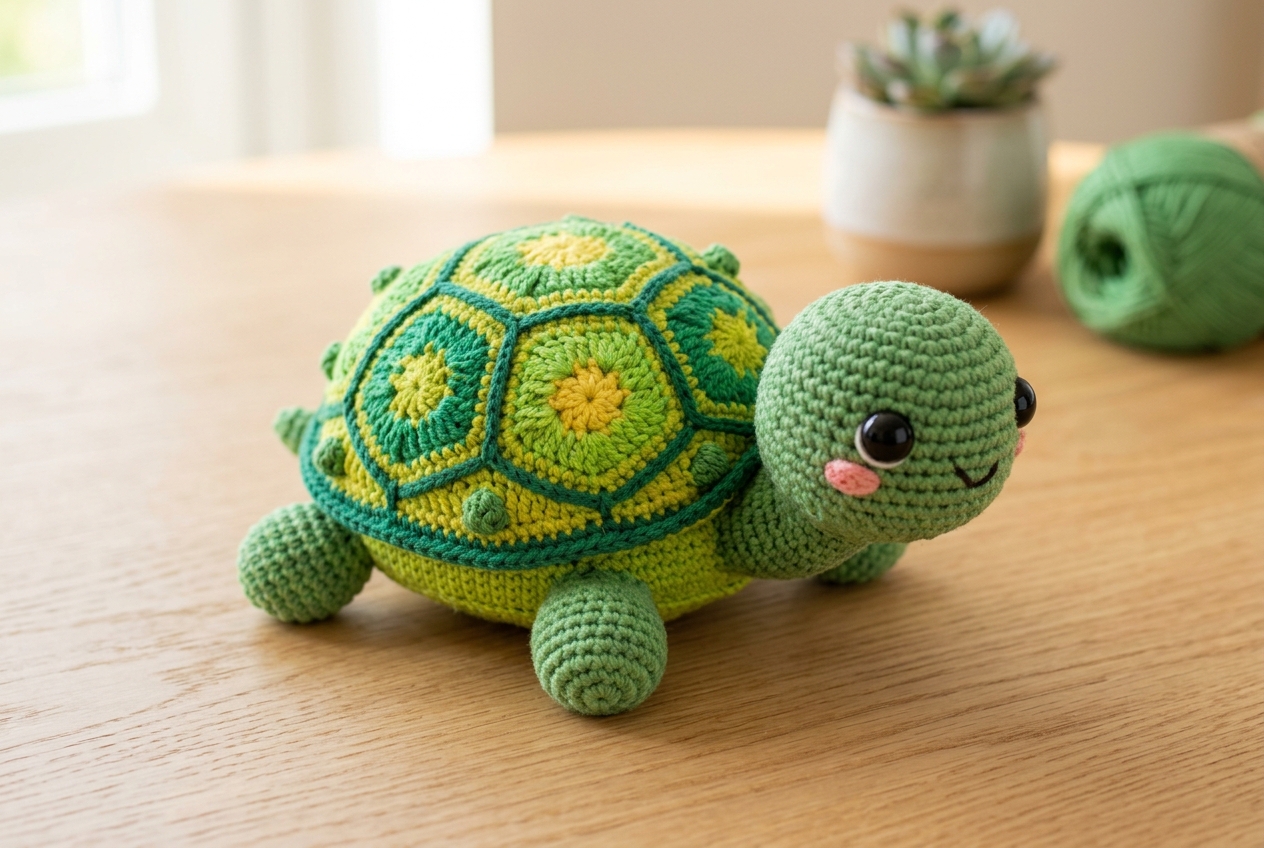
Finished Size
The finished turtle measures approximately 3.5 inches (9 cm) from nose to tail, and 2.5 inches (6.5 cm) across the shell.
Gauge
Exact gauge is not critical for this project, but aim for a tight tension so the polyfil stuffing doesn’t show through. Typically, 5 sc and 5 rows = 1 inch (2.5 cm).
Construction Overview
This turtle is made in three parts: the shell, the body (which includes the legs and tail worked continuously), and the head. The shell and body are joined together at the end, and the head is sewn onto the front.
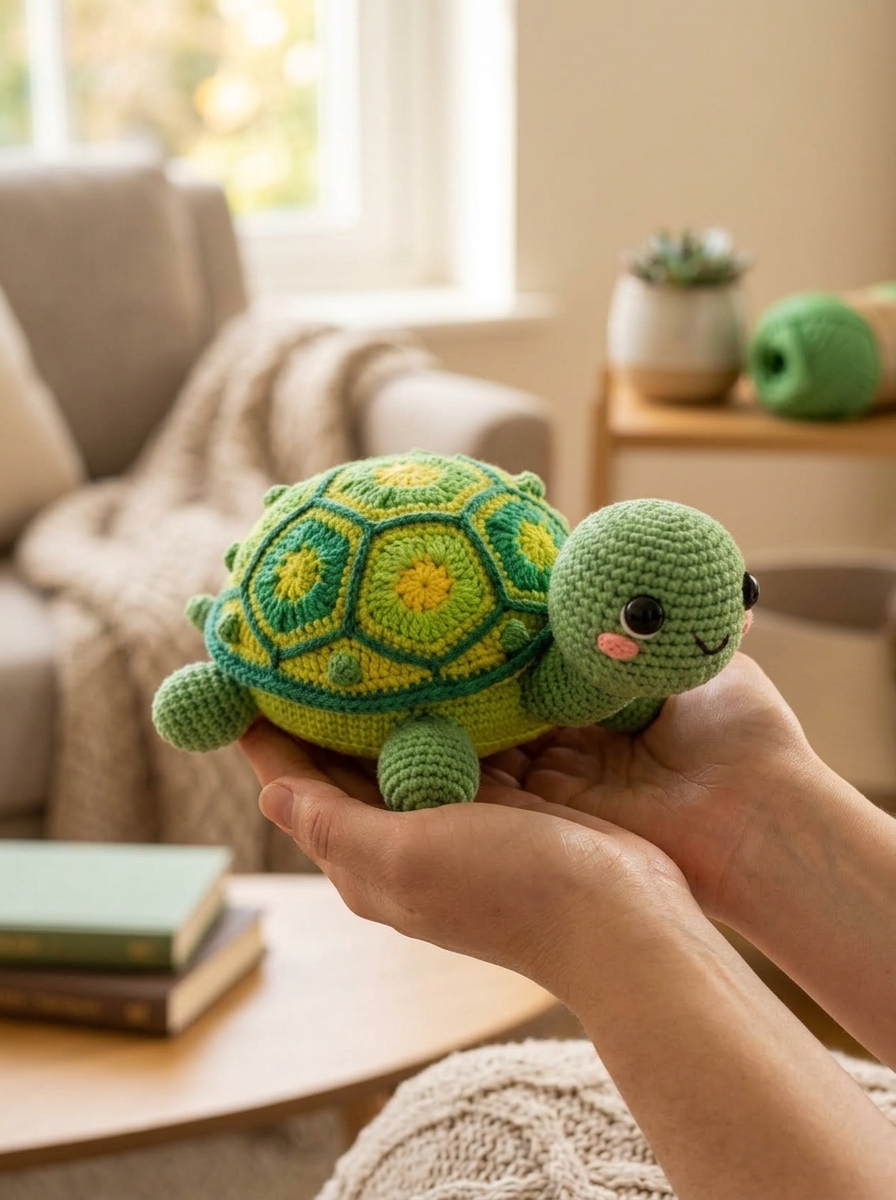
Supplies
- Yarn: Worsted weight (CYC 4) acrylic or cotton yarn in two colors (Color A for the Shell, Color B for the Body and Head).
- Hook: 3.50 mm (Size E) crochet hook.
- Notions: Scissors, a curved tapestry needle (makes sewing the head much easier!), polyfil stuffing.
- Hardware: One pair of 6 mm safety eyes (or black yarn for embroidering eyes).
Stitches & Abbreviations
- ch – Chain
- sc – Single Crochet
- hdc – Half Double Crochet
- dc – Double Crochet
- sc2tog – Single Crochet Two Together (invisible decrease recommended)
- slst – Slip Stitch
- blo – Back Loop Only
- flo – Front Loop Only
- st(s) – Stitch(es)
- R – Round
Special Stitches
Invisible Decrease (sc2tog): Insert hook into the front loop of the first stitch, then into the front loop of the second stitch. Yarn over, pull through both front loops. Yarn over, pull through the remaining two loops on hook.
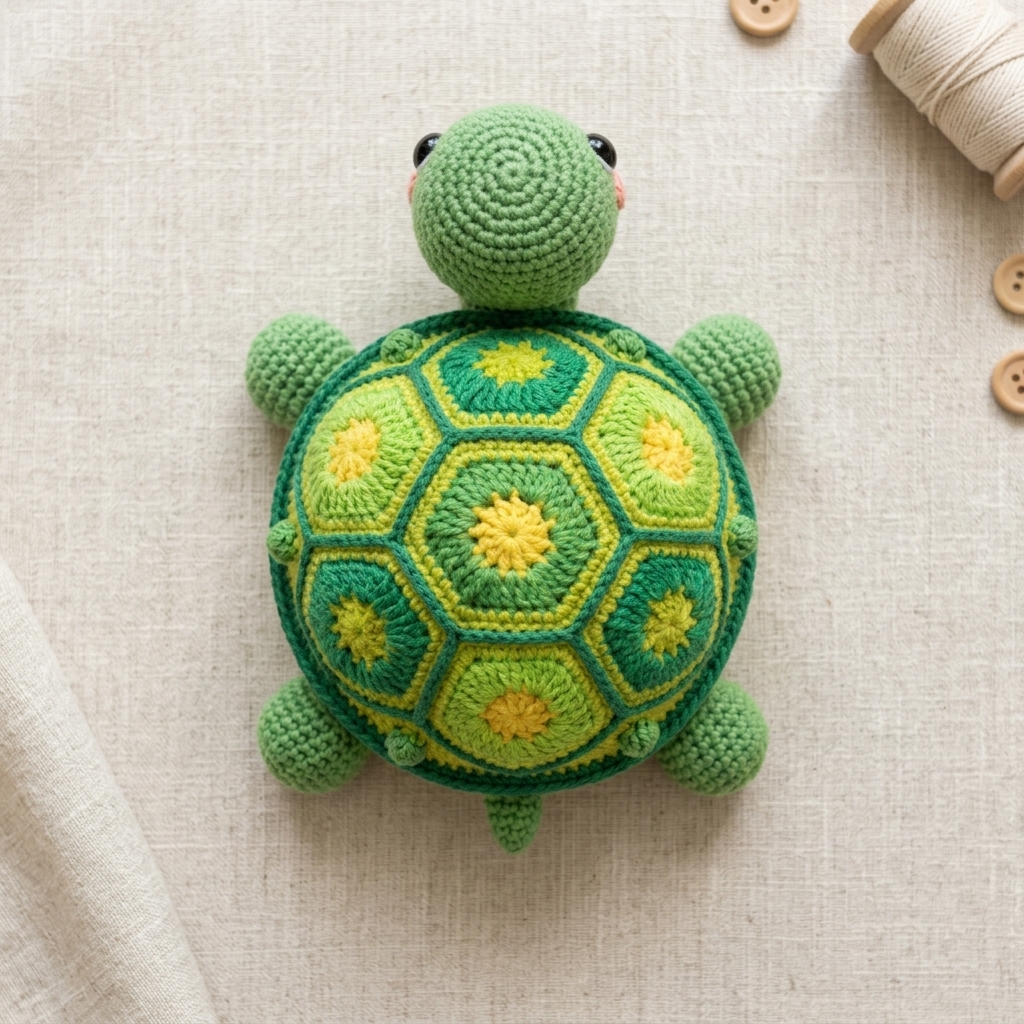
Pattern Instructions
The Shell
Using Color A (Shell color). Work in continuous rounds or join with a slst at the end of each round as preferred; the original uses a joined round.
R1: Start with a magic ring. Ch 1, work 6 sc into the ring. Slst to the first sc to join. (6 sts)
R2: Ch 1, 2 sc in each st around. Slst to join. (12 sts)
R3: Ch 1, *1 sc in next st, 2 sc in next st; repeat from * around. Slst to join. (18 sts)
R4: Ch 1, *1 sc in next st, 1 sc in next st, 2 sc in next st; repeat from * around. Slst to join. (24 sts)
R5: Ch 1, sc in each st around. Slst to join. (24 sts)
R6: Ch 1, working in the FLO (front loops only), sc in each st around. Slst to join. (24 sts)
R7: Ch 1, working in both loops, sc in each st around. Slst to join. (24 sts)
Fasten off and weave the tail towards the inside center of the shell.
The Body (Legs & Tail)
Join Color B (Body color) to the exposed back loops left behind from R6 of the shell.
R1: Ch 1, sc in the same back loop. Sc in each back loop around. Slst to join. (24 sts) Tip: Flip the green shell brim up so you can access these stitches easily.
R2: Ch 1, sc in each st around. Slst to join. (24 sts)
R3 (Making Legs & Tail): Ch 1, sc in next 2 sts.
First Leg: In the FLO of the next st work a sc. Then ch 4, dc in the 3rd ch from the hook, hdc in the 4th ch from the hook. Sc in the FLO of the same base st.
Sc in the next 3 sts.
Second Leg: In the FLO of the next st work a sc. Ch 4, dc in the 3rd ch from the hook, hdc in the 4th ch from the hook. Sc in the FLO of the same base st.
Sc in the next 5 sts, sc in the next 3 sts.
Third Leg: In the FLO of the next st work a sc. Ch 4, dc in the 3rd ch from the hook, hdc in the 4th ch from the hook. Sc in the FLO of the same base st.
Sc in the next 2 sts.
Tail: 3 hdc in the FLO of the last st. Slst to join.
R4: Ch 1, sc in next 2 sts, sc in the back loop behind the first leg, sc in next 3 sts, sc in the back loop behind the second leg, sc in next 5 sts, sc in the back loop behind the third leg, sc in next 3 sts, sc in the back loop behind the fourth leg (gap). Sc in the back loop only of the tail. Slst to join. (24 sts)
R5: Ch 1, *sc in next 2 sts, sc2tog; repeat from * around. Slst to join. (18 sts)
R6: Ch 1, *sc in next st, sc2tog; repeat from * around. Slst to join. (12 sts)
Stuff the shell firmly with polyfil.
R7: Ch 1, *sc2tog; repeat from * around. (6 sts)
Fasten off. Use the yarn tail to weave through the front loops of the remaining 6 stitches and pull tight to close the hole. Weave in the end.
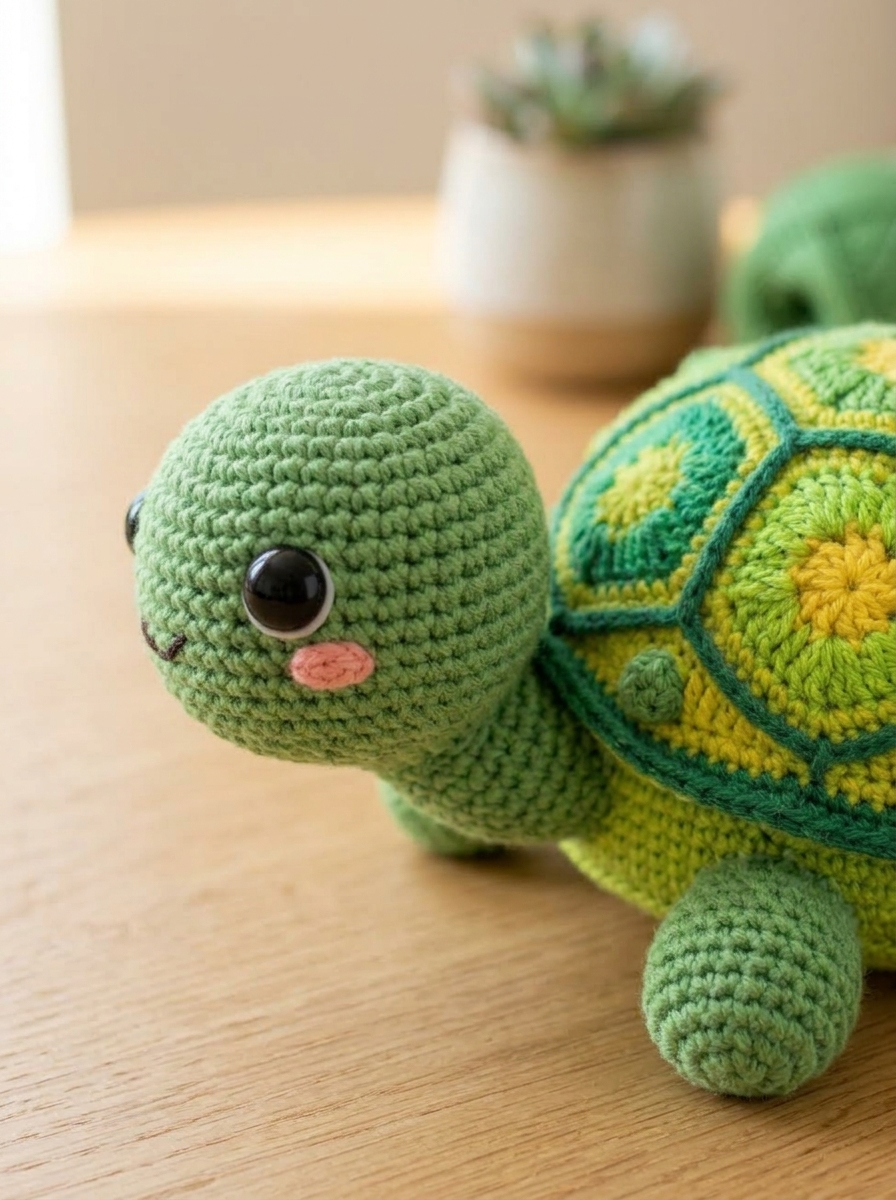
The Head
Using Color B.
R1: Start with a magic ring. Ch 1, work 6 sc into the ring. Slst to join. (6 sts)
R2: Ch 1, 2 sc in each st around. Slst to join. (12 sts)
R3 – R5: Ch 1, sc in each st around. Slst to join. (12 sts)
Insert 6 mm safety eyes between R3 and R4, spacing them slightly apart. Stuff the head with polyfil.
R6: Ch 1, *sc in next st, sc2tog; repeat from * around. Slst to join. (8 sts)
Fasten off, leaving a long tail for sewing.
Assembly/Finishing
- Pin the head to the front of the body, right between the two front flippers.
- Using your curved tapestry needle, whip stitch the head to the body. A curved needle makes it much easier to catch the stitches without squishing the stuffed pieces.
- Secure the yarn with a hidden knot and weave the tail completely into the body.
Styling Tips
These little turtles look fantastic as desk companions, but they also make wonderful keychains! Just attach a split ring and short chain to the top of the shell before stuffing. Experiment with cotton yarn for a smoother, high-end finish that really highlights the adorable shell brim.
Quick Reference Notes
- Always work tightly so stuffing doesn’t peak through.
- Keep a curved needle handy—it’s an amigurumi game changer!
- To make a bigger turtle, use chenille or blanket yarn with a 6.00 mm hook.


0 Comments