

This granny square blanket is worked as one continuous square rather than as separate motifs joined at the end, so there is no seaming and only one set of ends to weave in. That makes it endlessly resizable: stop at a lapghan, or keep going to a king. Yarn amounts for four finished sizes are listed below.
If you’re searching for a project that’s both classic and endlessly customizable, look no further than the continuous granny square blanket. This beautiful design is an absolute joy to stitch up, whether you’re making a sweet baby blanket or a cozy throw for your living room couch. The magic of this pattern lies in its simplicity—once you get past the first few rounds, the rhythm takes over, making it the perfect relaxing weekend project.
I originally made this exact blanket when I was pregnant with my first daughter. It became her favorite snuggle blanket, and eventually, it was passed down to my second daughter! It’s one of those timeless pieces that can be cherished for years.
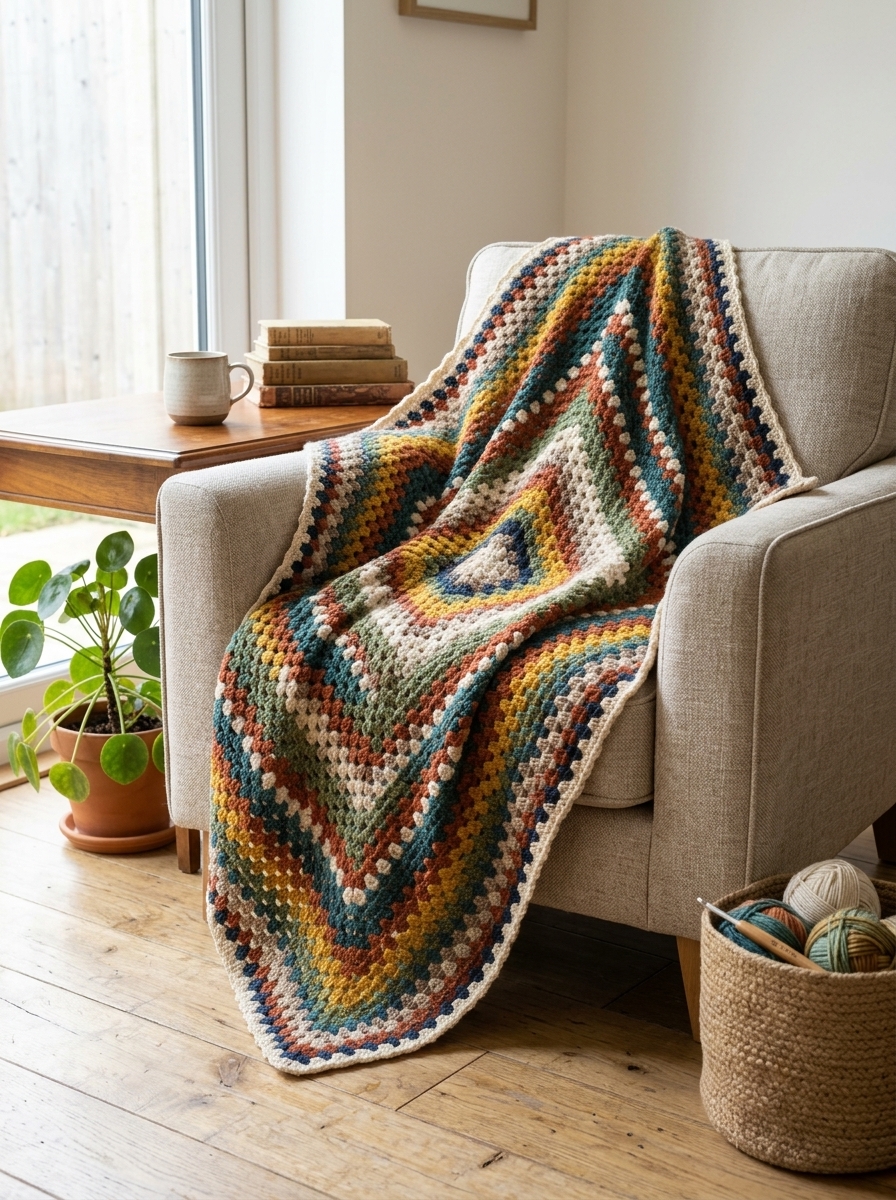
Finished Size
Depending on the yarn weight you choose, your final blanket size will vary:
- With Size 3 (Light) Yarn: Approximately 30″ x 30″ (76 cm x 76 cm) with the border, or 27″ x 27″ (68.5 cm x 68.5 cm) without the border.
- With Size 4 (Medium) Yarn: Approximately 33″ x 33″ (84 cm x 84 cm) with the border, or 29″ x 29″ (73.5 cm x 73.5 cm) without the border.
Gauge
Because this is a continuous granny square, precise gauge is not strictly necessary. The square will naturally grow as you add rounds. Just be sure to crochet your chain stitches somewhat loosely on your final round before the border, as you’ll be working into them later.
Construction Overview
This blanket is constructed as a single, continuous granny square worked from the center outward. It is worked entirely in rounds. We’ll be changing colors every two rounds to create a gorgeous striped effect. Finally, a beautifully simple shell border is added to finish off the edges neatly.
Supplies
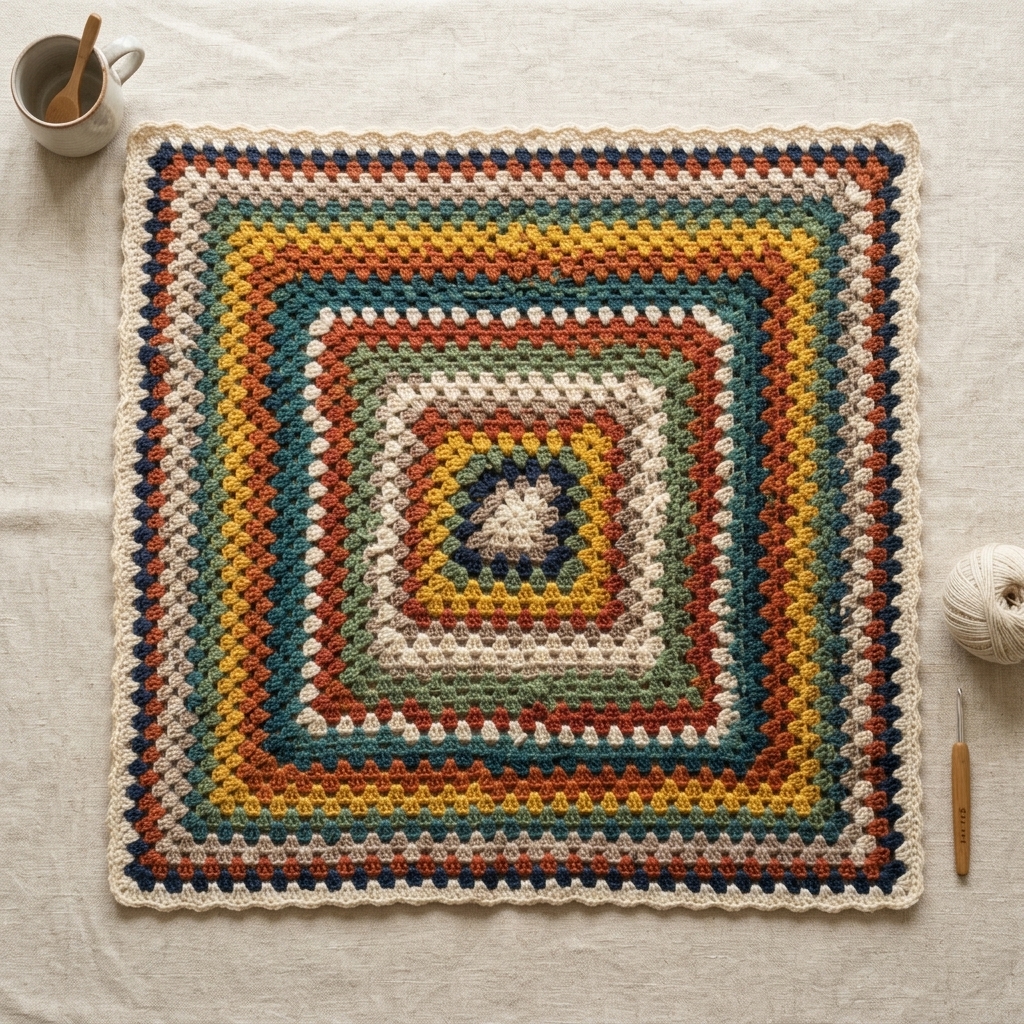
- Yarn: About 750 yards total. For a lighter baby blanket, use a Size 3 (Light) yarn (e.g., 3 colors, ~330 yds of Color A, 200 yds of Color B, 220 yds of Color C). For a warmer lapghan, use a Size 4 (Medium) yarn.
- Hook: Size H/8 (5.00 mm) for Size 3 yarn, OR Size I/9 (5.50 mm) for Size 4 yarn.
- Notions: Yarn needle for weaving in ends, scissors, and a measuring tape.
Stitches & Abbreviations (US Terms)
- ch: chain
- sc: single crochet
- dc: double crochet
- sl st: slip stitch
- sp: space
- st(s): stitch(es)
- Magic Circle: A technique to start in the round (adjustable loop).
Special Stitches
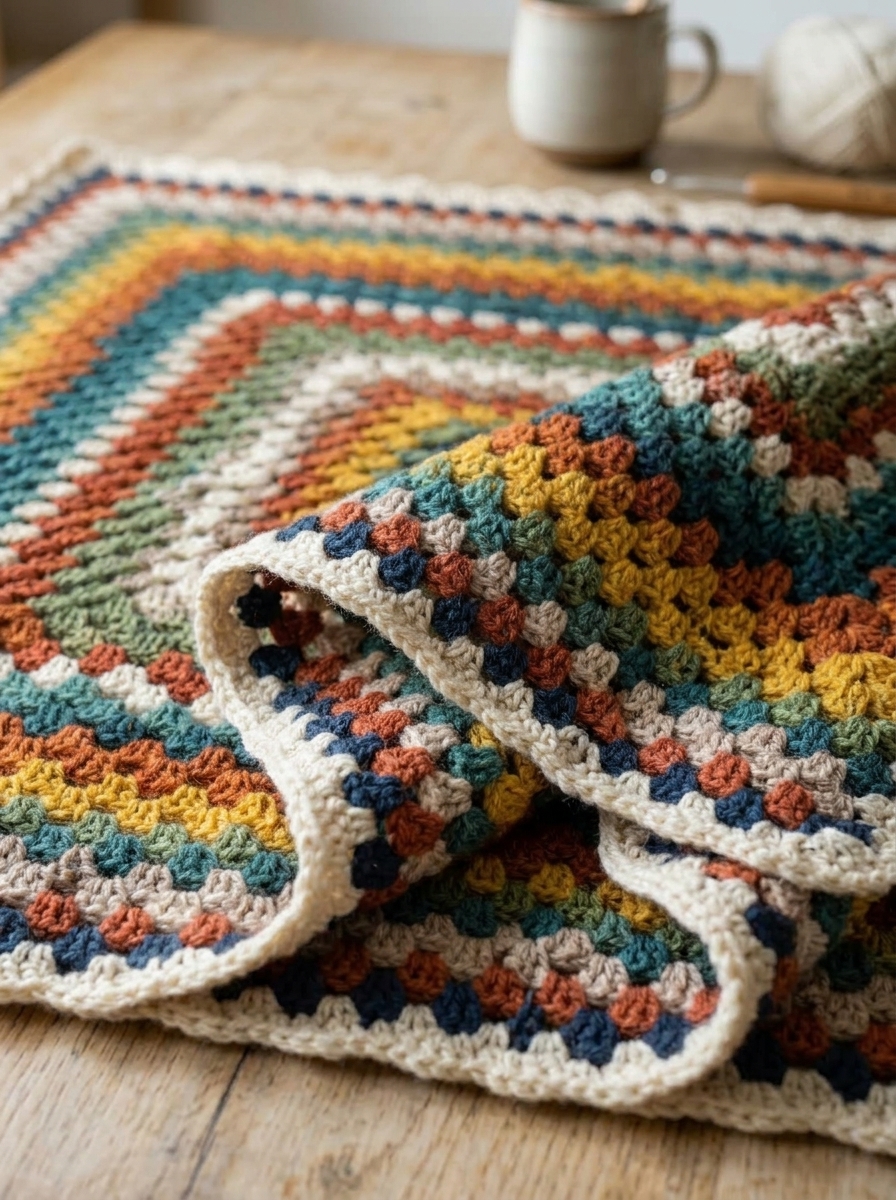
Shell: A shell stitch in this border consists of making 4 single crochets (sc) all into the exact same stitch. It creates a small, delicate scallop effect along the edge.
Pattern Instructions
The Blanket Body
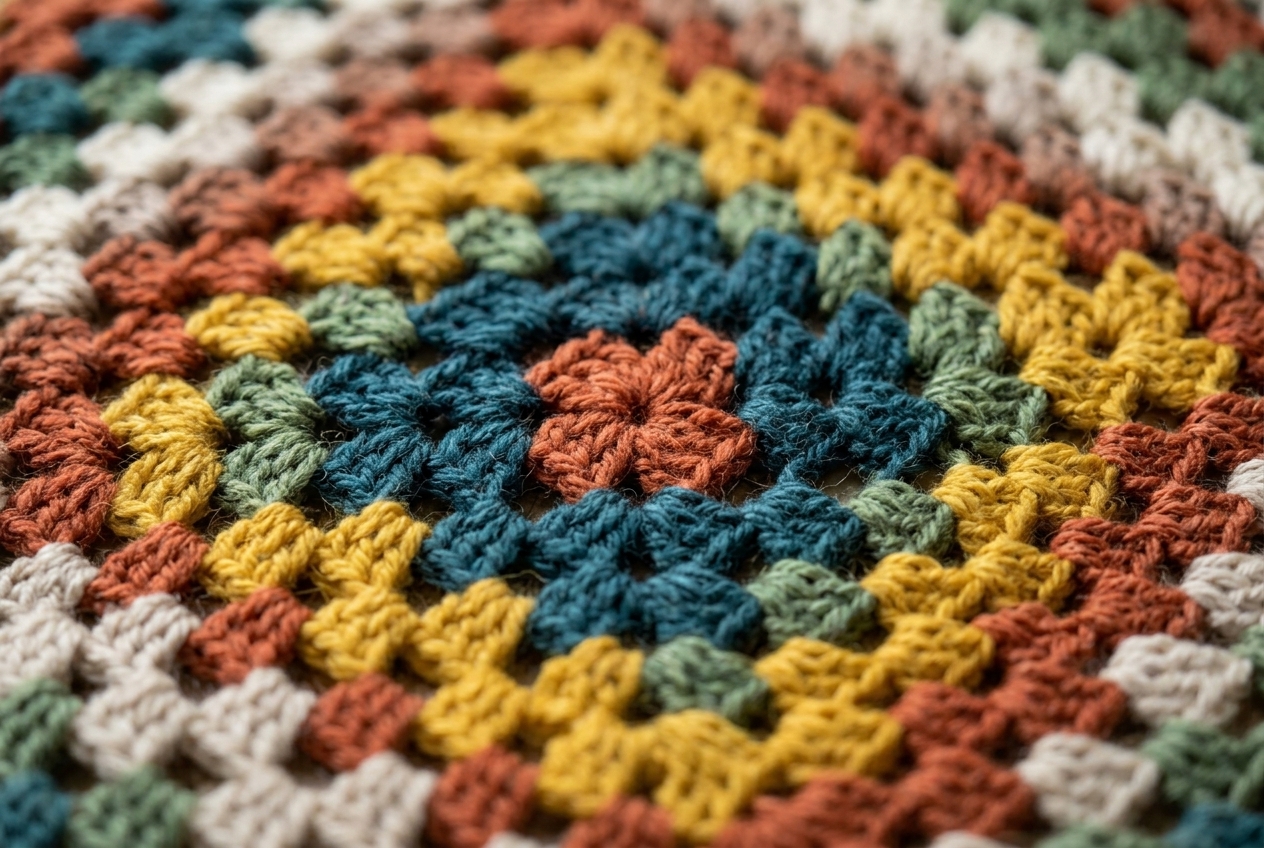
Round 1: Ch 1. Make 2 dc in Magic Circle. Ch 2. [3 dc in Magic Circle. Ch 2.] x 3 (meaning to complete the instructions in brackets a total of 3 times). Pull Magic Circle tight to close. Sl st into top of first dc to join. (4 clusters made).
Round 2: Turn. Sl st in the ch-2 sp below. Ch 2. Make 2 dc in the same ch-2 sp below. [Ch 1. In next ch-2 sp, (3 dc, ch 2, 3 dc) in same sp.] x 3. Ch 1. In next ch-2 sp (the starting corner), make 3 dc. Ch 2. Sl st into top of first dc to join. (8 clusters made).
Round 3: Change colors (always fasten off the old color). Turn. Sl st in the ch-2 sp below. Ch 2. Make 2 dc in same ch-2 sp below. [Ch 1. In next ch-1 sp, make 3 dc. Ch 1. In next ch-2 sp (the corner), (3 dc, ch 2, 3 dc) in same sp.] x 3. Ch 1. In next ch-1 sp, 3 dc. Ch 1. In next ch-2 sp (the starting corner), 3 dc. Ch 2. Sl st into top of first dc to join. (12 clusters made).
Round 4: Turn. Sl st in the ch-2 sp below. Ch 2. Make 2 dc in the same ch-2 sp below. [Ch 1. In next ch-1 sp, make 3 dc. Ch 1. In the next ch-1 sp, make 3 dc. Ch 1. In next ch-2 sp (the corner), (3 dc, ch 2, 3 dc) in same sp.] x 3. Ch 1. In next ch-1 sp, 3 dc. Ch 1. In the next ch-1 sp, 3 dc. Ch 1. In next ch-2 sp (the starting corner), 3 dc. Ch 2. Sl st into top of first dc to join. (16 clusters made).
Round 5: Turn. Sl st in the ch-2 sp below. Ch 2. Make 2 dc in the same ch-2 sp below. [*Ch 1. In next ch-1 sp, make 3 dc.* Repeat from * to * across until corner. Ch 1. In next ch-2 sp (the corner), (3 dc, ch 2, 3 dc) in same sp.] x 3. *Ch 1. In next ch-1 sp, 3 dc.* Repeat across until corner. Ch 1. In next ch-2 sp (the starting corner), 3 dc. Ch 2. Sl st into top of first dc to join.
Rounds 6 – 24: Repeat Round 5, continuing to grow the blanket. Remember to change colors every 2 rounds, or follow your preferred striping pattern.
The Border
Round 1: Do not turn. Ch 1. Sc in each st around (working into the tops of dc sts and under the top two loops of chain sts). Sl st into the top of the first sc st to join.
Round 2: Ch 1 and turn. Sc in each st around, making 3 sc in the corner stitch for all 4 corners. Sl st into the top of the first sc to join.
Round 3: Ch 1 and turn. Sc in each st around, making 3 sc in the corner stitch for all 4 corners (this is the middle st of the 3 sc made in the corner from the previous round). Sl st to join.
Round 4: Ch 2. Do not turn. Dc in each st around, making 3 dc in the corner stitch for all 4 corners. Sl st into the top of the first dc to join.
Round 5: Ch 1. Do not turn. Ch 1. Skip the 1st st (the st attached to the chain). *Sl st into the next st. Make 4 sc into the next st (your shell is created!). Skip the next st.* Repeat from * to * around. Nothing special happens at the corners. Fasten off.
Assembly & Finishing
Once you’ve completed your border, simply weave in all loose ends securely with your yarn needle. For the best drape, you can lightly steam block the blanket, taking care not to melt the acrylic yarn if using it.
Styling Tips
This blanket looks incredibly chic casually draped over the back of a rocking chair or folded neatly at the foot of a baby’s crib. Choose pastel combinations for a soothing nursery vibe, or bold, earthy tones for a modern living space.
Quick Reference Notes
- Remember to turn your work at the start of most rounds to keep the square straight and prevent it from skewing.
- When changing colors, it’s best to fasten off the old color and join the new one to avoid bulky floats.
- Make sure to ch loosely on your last round before the border!


0 Comments