

Introduction
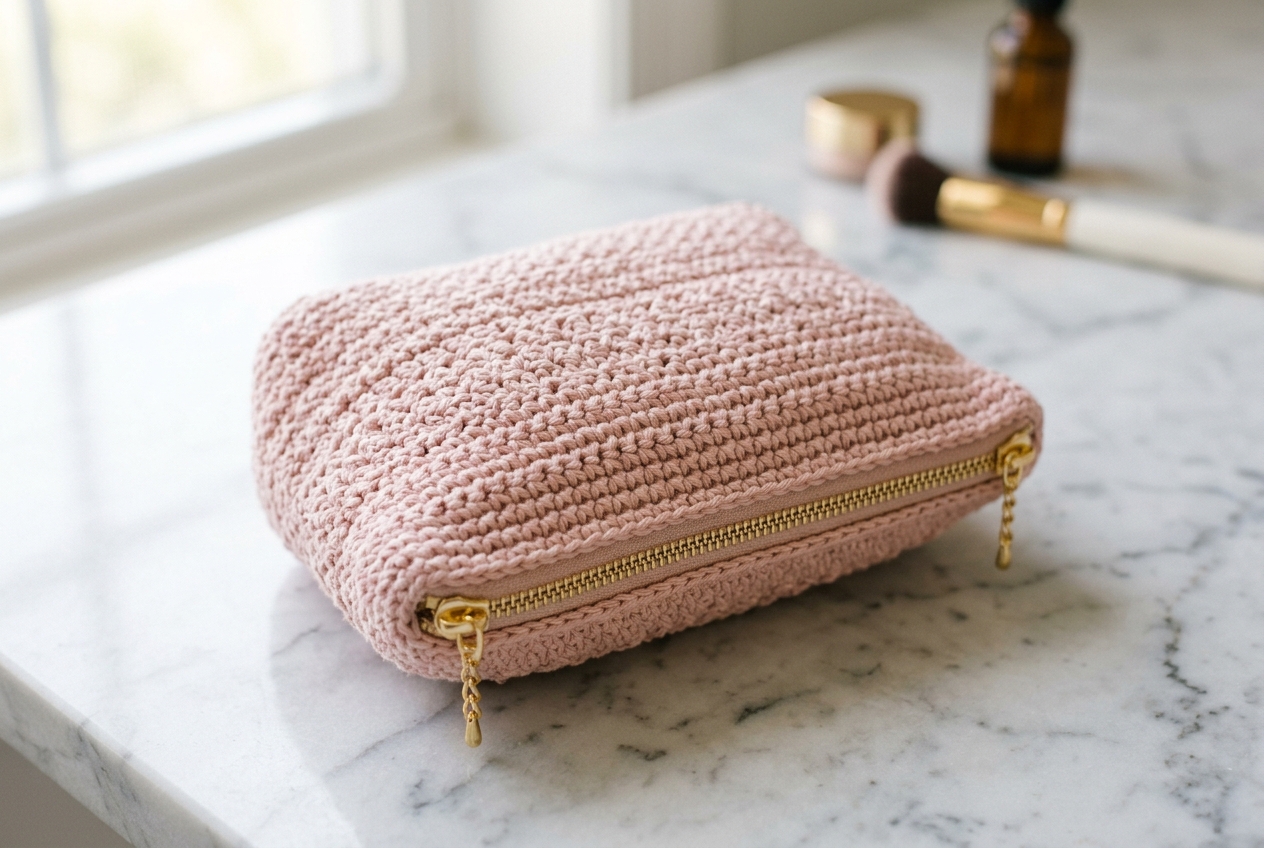
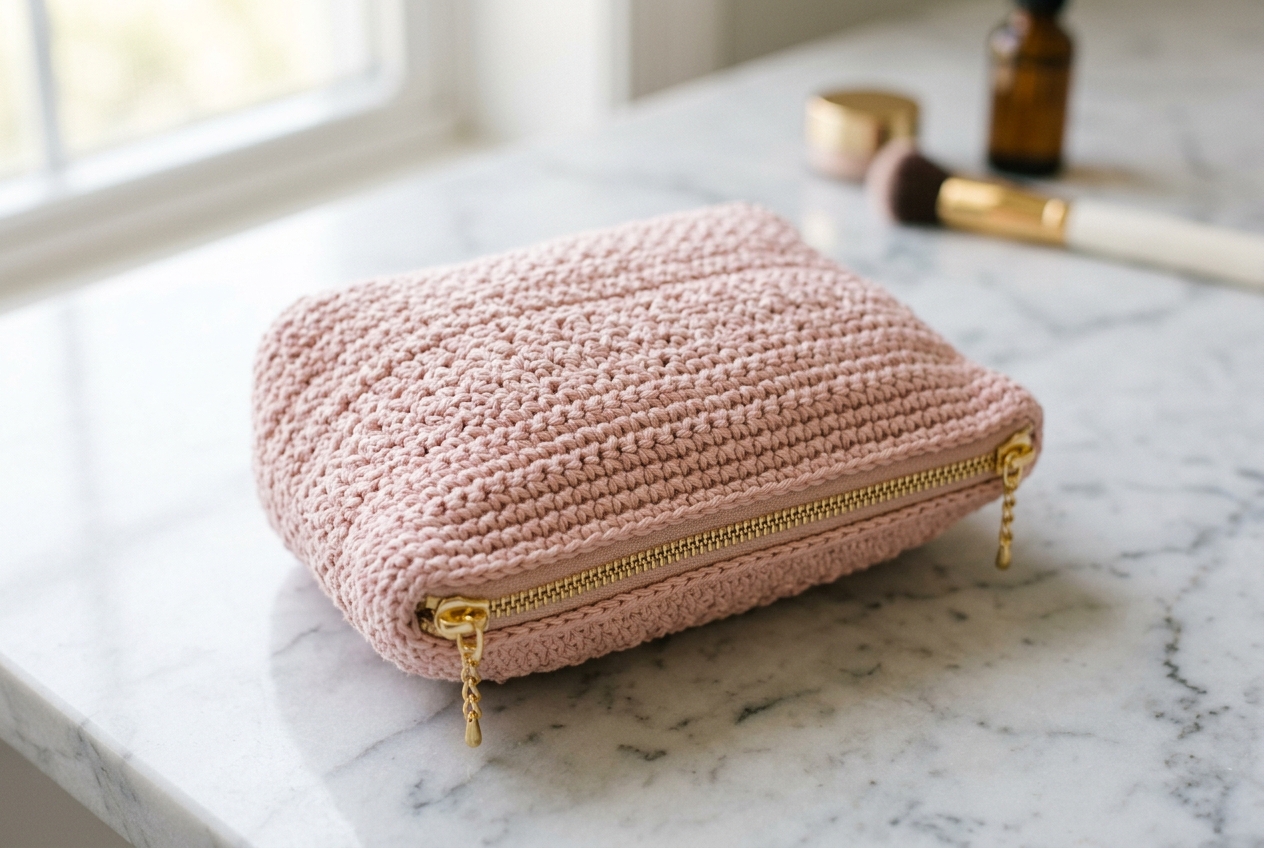
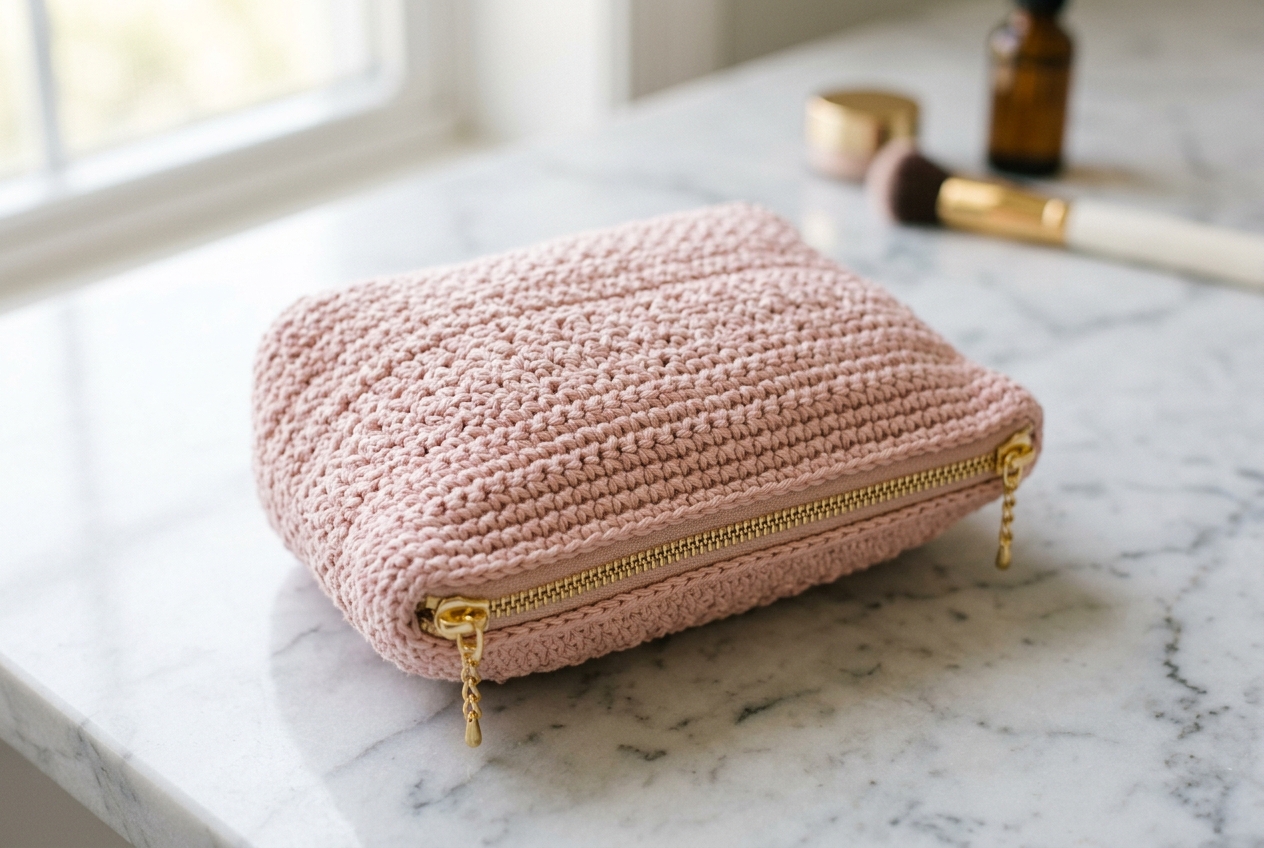
There’s nothing quite as satisfying as making something beautiful and practical with your own two hands. This charming crochet makeup bag is the perfect quick project—often taking less than an hour! Whether you’re organizing your favorite lipsticks or creating a heartfelt handmade gift for a friend, this zip-up pouch will not disappoint. It’s constructed from a simple flat rectangular piece that gets cleverly folded and seamed, keeping things delightfully easy while looking professionally made.
With its soft, chunky texture and elegant zip closure, this cosmetic bag is both sturdy enough to protect your compacts and stylish enough to show off. Choose a blush pink shade like we did, or pick a color that matches your bathroom vanity!
Finished Size
The finished makeup bag measures approximately 8.5 inches (21.5 cm) wide and 6.5 inches (16.5 cm) tall.
Gauge
Gauge is not crucial for this pattern, so don’t stress over matching it perfectly! Just aim for a moderately tight tension to prevent your cosmetics from poking through.
Construction Overview
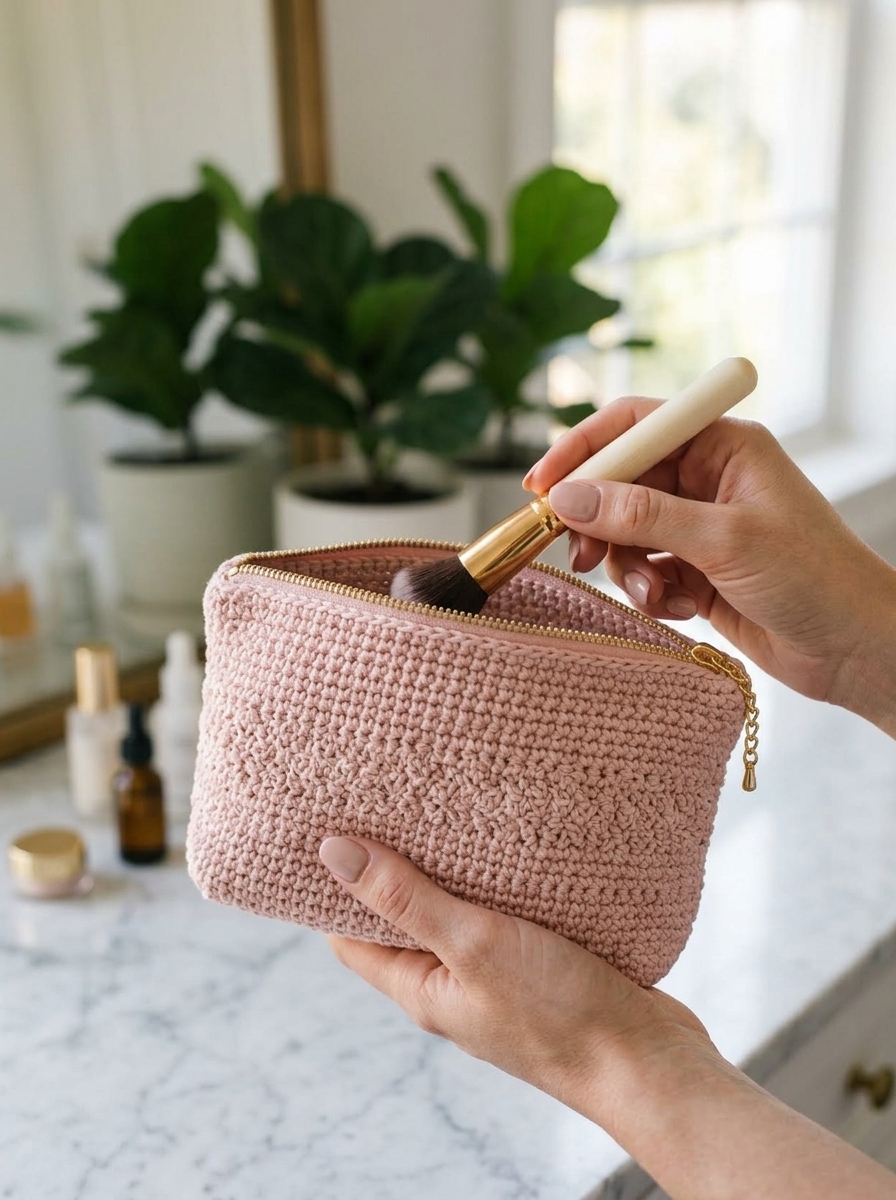
This bag is incredibly fun to construct. You’ll begin by crocheting one continuous flat piece with a unique stepped shape. Once completed, you simply fold the sides together, attach a zipper down the center, and seam up the edges to form a chic boxy pouch.
Supplies
- Yarn: About 150 yards of Super Chunky (Weight 6) yarn. We recommend Bernat Blanket yarn (Lotus or Almond colors were used here).
- Hook: Size K (6.5 mm) crochet hook.
- Hardware: One 16-inch zipper.
- Notions: Tapestry needle for weaving in ends, plus a matching sewing needle and thread to attach the zipper.
Stitches & Abbreviations
- ch: Chain
- sc: Single Crochet
- sl st: Slip Stitch
- sk: Skip
- RS: Right Side
Pattern Instructions
Part 1
Note: Cut a 2-yard strand of yarn and set it aside for later. With your remaining working yarn, ch 37.
Row 1: 1 sc in 2nd ch from hook and each ch across to end, turn. (36 sc)
Row 2: Ch 1 (does not count as a st here and throughout), 1 sc in 1st st and each st across to end, turn. (36 sc)
Row 3: Ch 1, 1 sc in 1st st and each st across to end. Place a stitch marker on this side of the fabric to indicate the Right Side (RS). Fasten off and turn. (36 sc)
Part 2
Row 4: Sk the first 7 sts, sl st to the next st. 1 sc in the same st, 1 sc in the next 21 sts. Leave the remaining 7 sts unworked, turn. (22 sts)
Row 5: Ch 1, 1 sc in 1st st and each st across to end, turn. (22 sc)
Repeat Row 5 until you have a total of 16 rows from the very beginning, or until this narrower middle section measures 6 inches tall. This section determines the final height of your bag.
Part 3
After your last row, turn, but do not fasten off your working yarn. Remove your hook from the active loop. Take the 2-yard strand of yarn you set aside earlier, sl st it to the last st on the opposite top corner, tighten the sl st, ch 7, and fasten off. You have now added extra chain extensions to that end of the row.
Row 17: Return your hook to your working yarn. Ch 8 at the corner, 1 sc in the 2nd ch from the hook and next 6 chs, 1 sc in the next 22 sts across the top of the panel, 1 sc in the next 7 chs of the extension you just added, turn. (36 sts)
Row 18: Ch 1, 1 sc in 1st st and each st across to end, turn. (36 sc)
Repeat Row 18 six more times, then fasten off. You should have 8 rows in this section.
Part 4
Row 25: Sk the first 7 sts, sl st to the next st. 1 sc in the same st, 1 sc in the next 21 sts. Leave the remaining 7 sts unworked, turn. (22 sts)
Row 26: Ch 1, 1 sc in 1st st and each st across to end, turn. (22 sc)
Repeat Row 26 until you have 13 rows in this section. It should match the height of Part 2.
Part 5
This part mirrors Part 3. After your last row, turn, but do not fasten off. Remove your hook. Use another scrap strand of yarn to sl st to the last st on the opposite top corner, ch 7, and fasten off to create another chain extension.
Row 38: Return to your working yarn. Ch 8 at the corner, 1 sc in the 2nd ch from the hook and next 6 chs, 1 sc in the next 22 sts across the top, 1 sc in the next 7 chs of the extension, turn. (36 sts)
Row 39: Ch 1, 1 sc in 1st st and each st across to end, turn. (36 sc)
Repeat Row 39 one more time, then fasten off. This final section has a total of 3 rows.
Assembly & Finishing
Adding the Zipper
Lay the crochet fabric flat with the Right Side (the side with the marker) facing down. Place your zipper face up in the middle of your piece. Fold the two wide ends of your fabric down to meet in the center over the zipper. Ensure there is extra zipper tape hanging off both sides. Using your needle and sewing thread, sew the edges of the crochet fabric securely to the zipper tape.
Closing the Sides and Corners
Turn the bag inside out. Make sure your zipper pull is inside the pouch area! Single crochet the left and right side openings shut to create the sides of the pouch.
Reach your hand inside one of the corner gaps and unzip the bag. To box the corners, pull the inner corners of the gap apart to straighten the opening, flattening it so the seams align. Slip stitch the two layers together to seal each corner.
Final Steps
Secure the ends of the zipper by sewing them down to the inside of the bag with a needle and thread. Weave in all remaining yarn tails. Turn your bag right side out, push out the corners, and enjoy your beautiful new makeup pouch!
Styling Tips
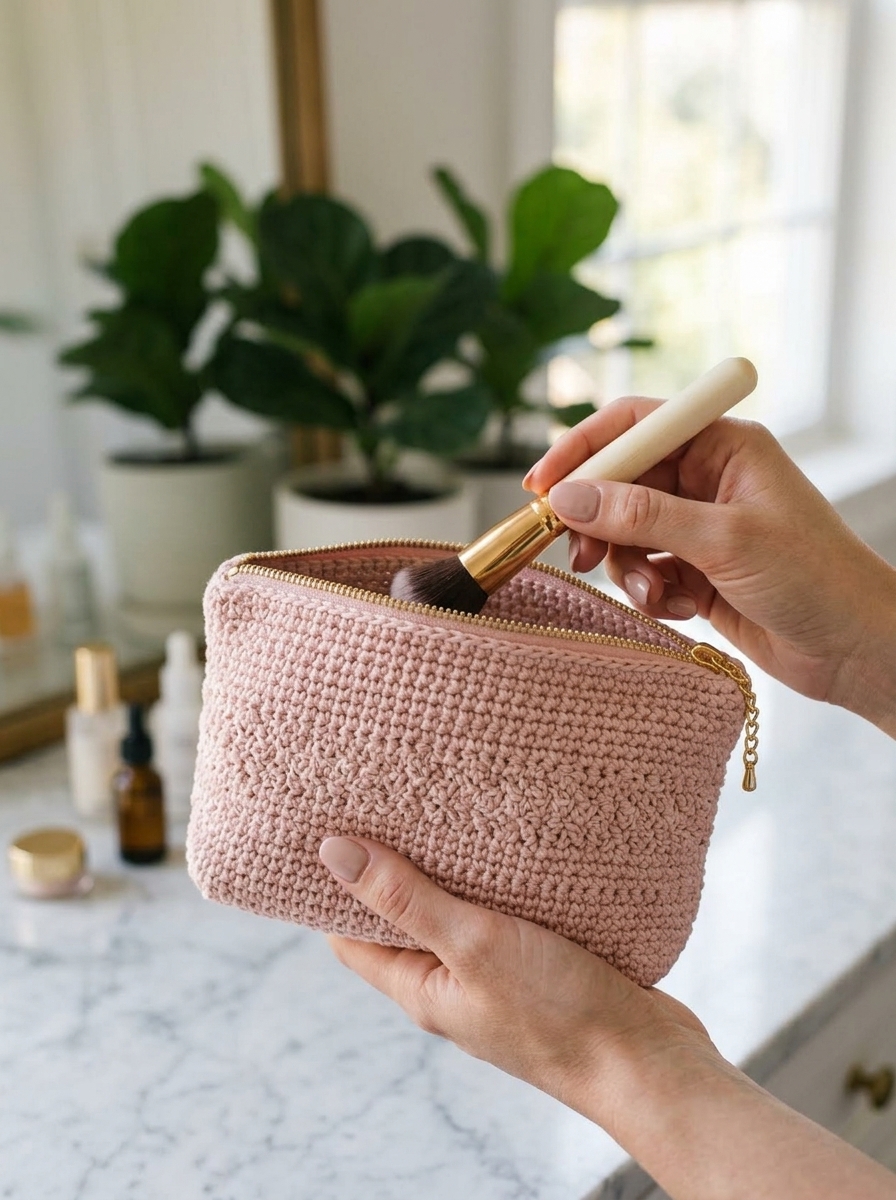
Add a fun tassel or a personalized charm to the zipper pull for an extra touch of flair. This bag also doubles as a fabulous pencil case or electronics organizer!
Quick Reference Notes
- Work tightly if your tension is naturally loose, or consider dropping down half a hook size.
- Don’t forget to push the zipper pull into the middle section before seaming the sides closed!


0 Comments