

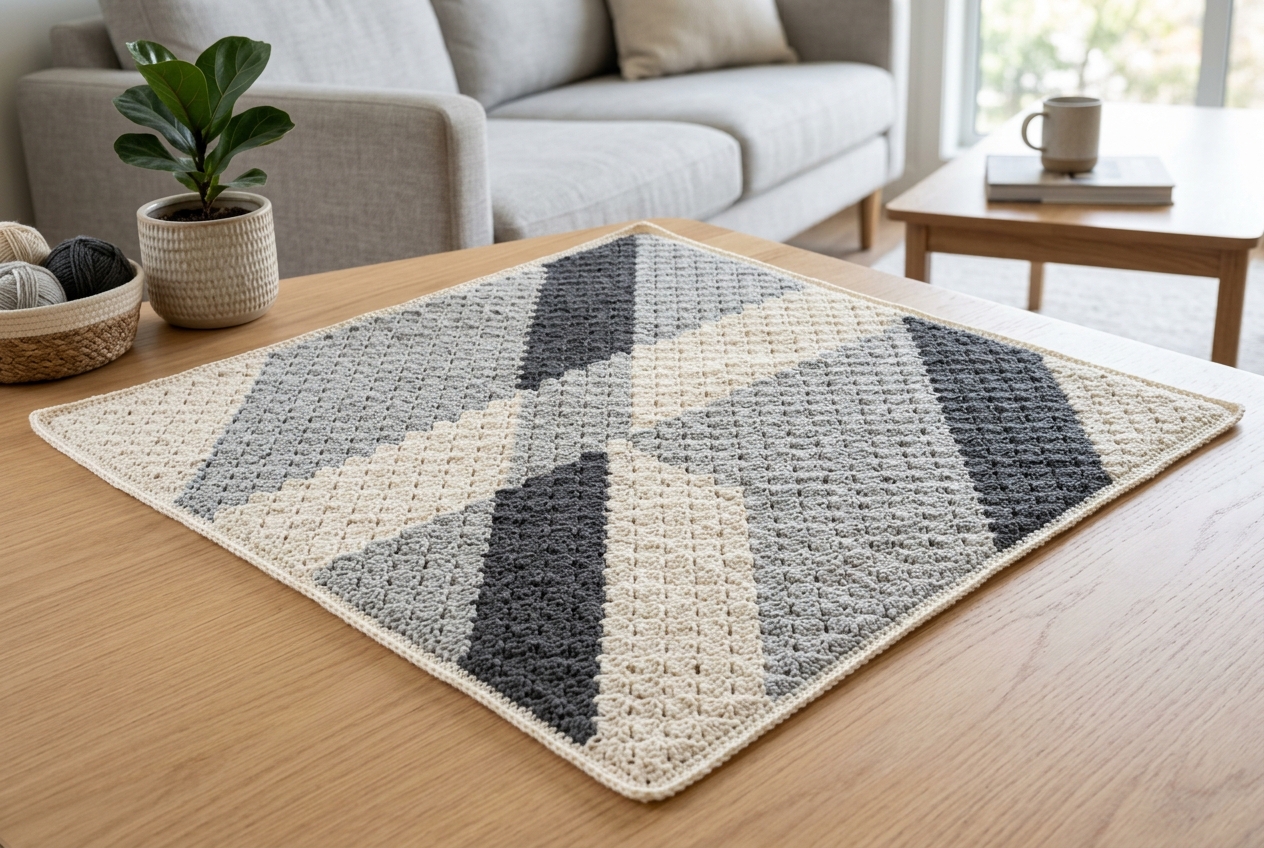
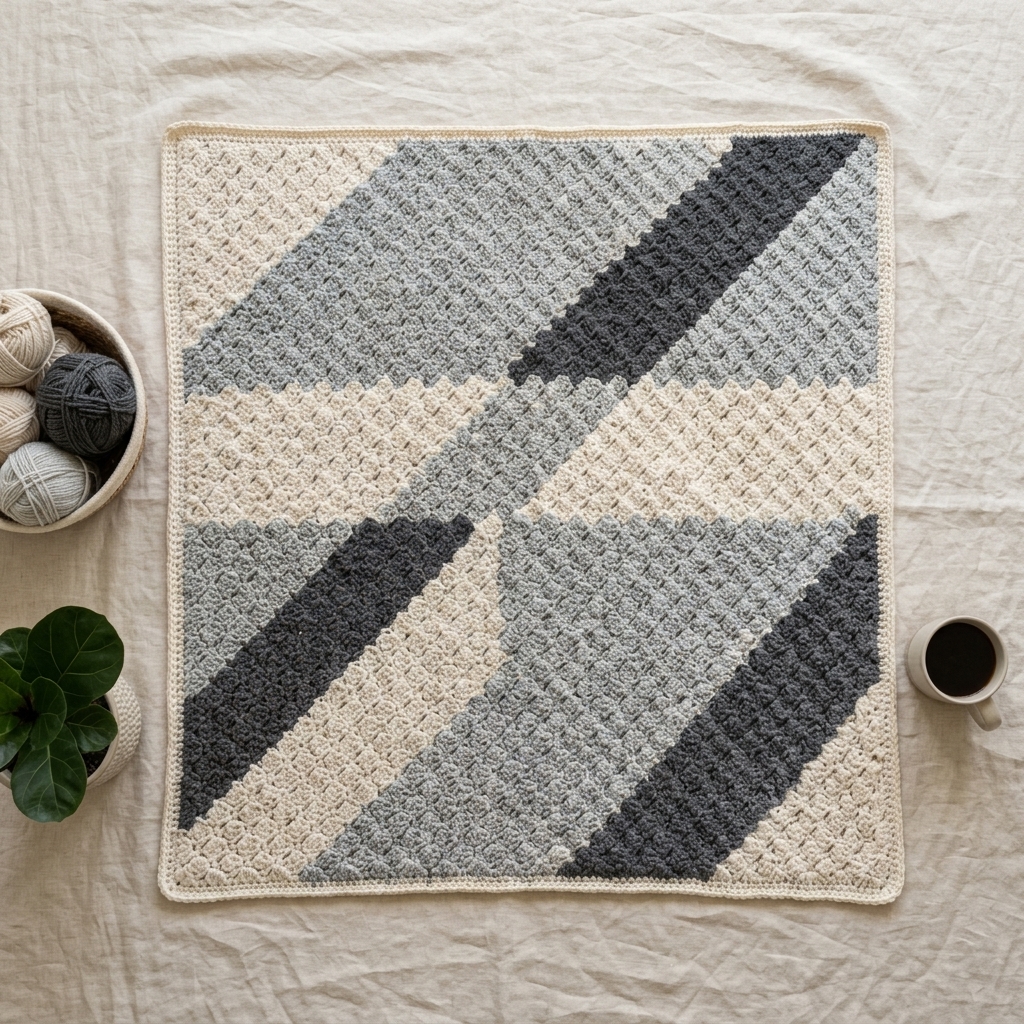
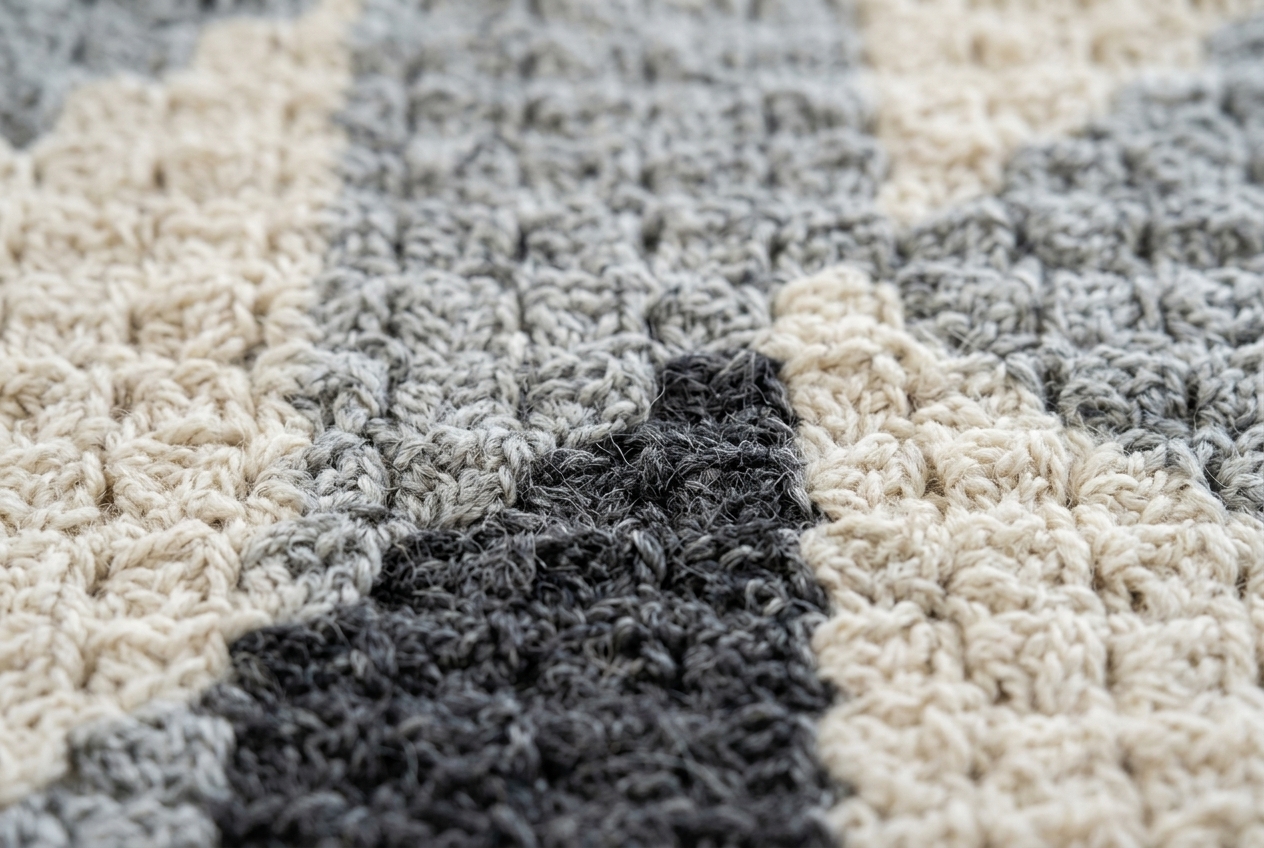
This C2C crochet baby blanket is worked corner to corner in diagonal rows, so the row length grows and then shrinks and there is no counting stitches across a long row. It takes about 750 m of DK yarn and finishes at roughly 90 x 90 cm. Confident beginners can manage it comfortably.
Finished Size
The finished blanket measures exactly 24 inches (61 cm) in width and 24 inches (61 cm) in length.
Gauge
The gauge is 11 rows = 4 inches (10 cm) on each side (measured vertically and horizontally).
Construction Overview
This blanket is made in one continuous piece starting from the corner. It is worked diagonally in two sections: first, increasing rows until the desired width is reached, and then decreasing rows to form a perfect square. Finally, a simple white border is added around the edges.
Supplies
- Yarn A (Main Color): Any #3 / DK / light worsted weight yarn. Used here: 1 ball of Sirdar Snuggly Pattercake in Sweet Dreams (754) [5.3oz / 545 yds]. Alternative: Lionbrand Mandala Baby.
- Yarn B (Border): Any #3 / DK yarn. Used here: 1 ball of Stylecraft Special DK in White (1001) [3.5oz / 323 yds].
- Crochet Hook: Size H (5.0 mm).
- Notions: Yarn needle, scissors, and optional stitch markers.
Stitches & Abbreviations (US Terms)
- beg – beginning
- ch – chain
- dc – double crochet
- hdc – half double crochet
- sc – single crochet
- sc2tog – single crochet two together (decrease)
- sl st – slip stitch
- st(s) – stitch(es)
Special Stitches
sc2tog: Insert hook into first stitch, yarn over and pull up a loop (2 loops on hook). Insert hook into next stitch, yarn over and pull up a loop (3 loops on hook). Yarn over and pull through all 3 loops.
Pattern Instructions
Section One: Increase Rows
Note: The ch1 at the start of each row does not count as a stitch.
Using Yarn A, chain 2.
Row 1: Work 2 sc in the 2nd ch from the hook. Turn. [2 sts]
Row 2: Ch 1, work (1 sc, 1 dc) in the first st, work (1 sc, 1 dc) in the last st. Turn. [4 sts]
Row 3: Ch 1, work (1 sc, 1 dc) in the first st, 1 sc in the next st, 1 dc in the next st, (1 sc, 1 dc) in the last st. Turn. [6 sts]
Row 4: Ch 1, work (1 sc, 1 dc) in the first st, *1 sc in the next st, 1 dc in the next st*, repeat from * to * across until the last st. Work (1 sc, 1 dc) in the last st. Turn. [8 sts]
Repeat Row 4 until the side of the blanket measures 21 inches (53 cm) along the edge. The blanket will look like a large triangle.
Section Two: Decrease Rows
We will now turn the triangle into a square by decreasing at the ends.
Next Row: Ch 1, sc2tog over first 2 sts, *1 dc in next st, 1 sc in next st*, repeat from * to * across until 2 sts remain. Sc2tog over the last 2 sts. Turn.
Repeat the Next Row until only 4 sts remain.
Last Row: Sc2tog twice. [2 sts]
Cut yarn and fasten off. Weave in ends.
Assembly & Finishing
The Border
Using Yarn B (White), attach yarn to any corner space.
Round 1: Ch 1, work (2 sc, ch 2, 2 sc) in the corner space. Sc evenly along the edges of all four sides, making sure to work (2 sc, ch 2, 2 sc) into each of the remaining three corners. Sl st to the first sc to join. Do not turn.
Rounds 2-4: Ch 1, 1 hdc in the first st, 1 hdc in each st around, working (2 hdc, ch 2, 2 hdc) in every ch-2 corner space. Sl st to the first hdc to join. Do not turn.
Round 5: Ch 1, 1 sc in the first st, 1 sc in each st around, working (1 sc, ch 1, 1 sc) into every ch-2 corner space. Sl st to the first sc to join.
Fasten off, cut yarn, and weave in all remaining ends carefully using your yarn needle.
Styling Tips
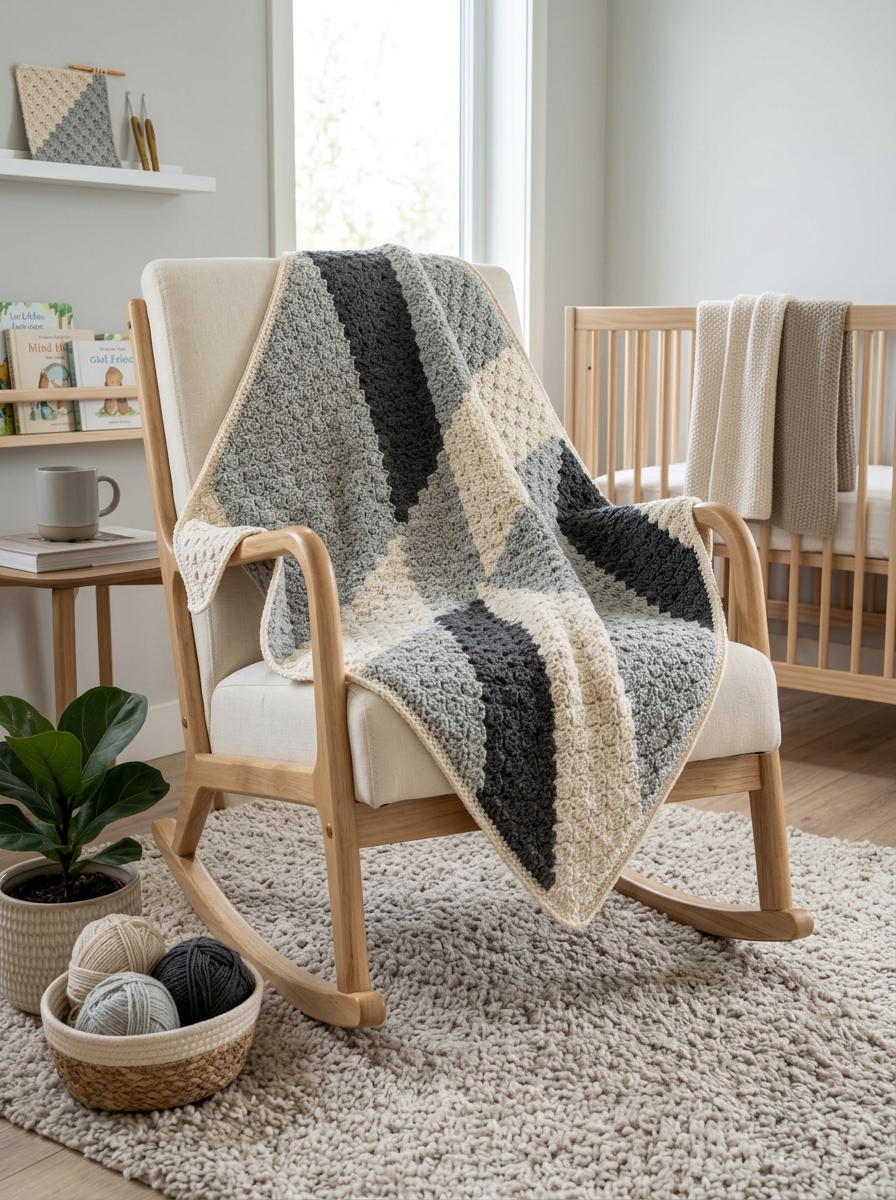
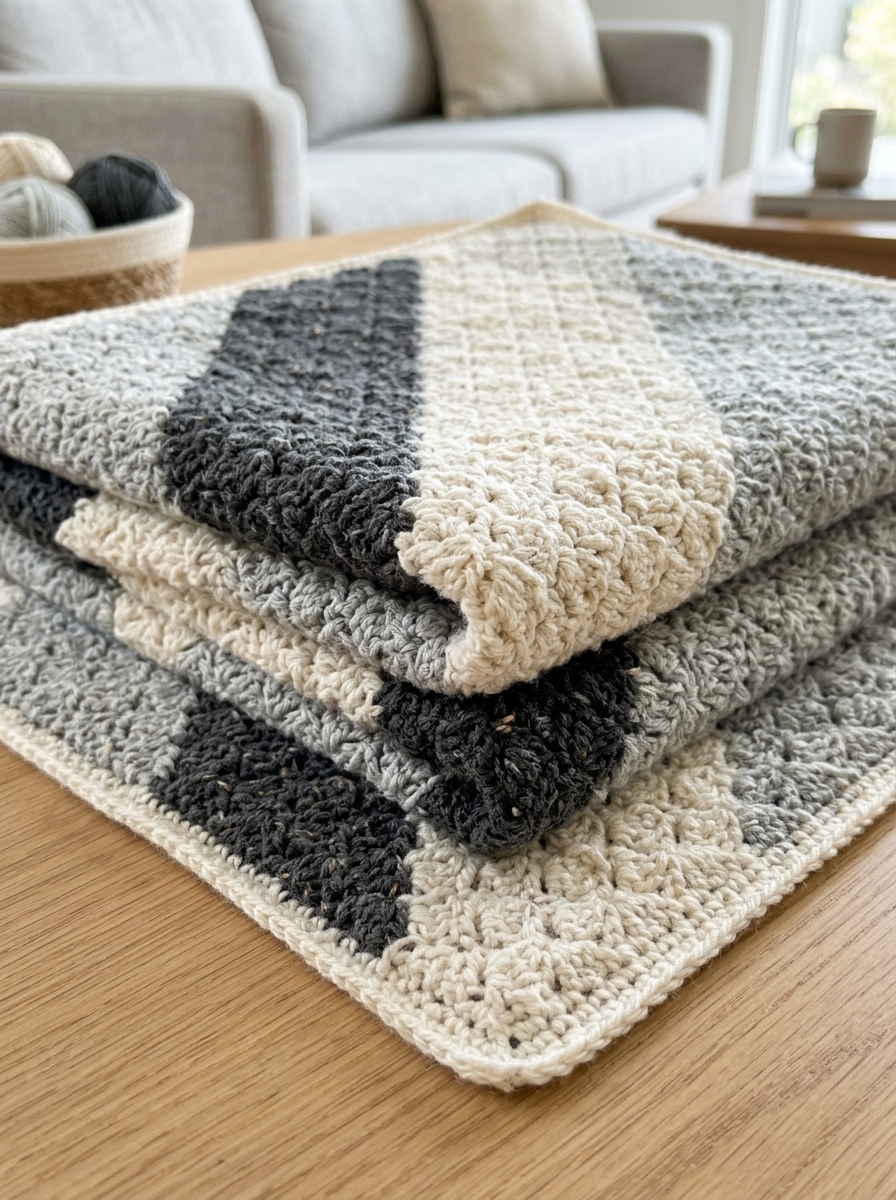
This blanket looks beautiful draped over a nursery chair or neatly folded in a crib for photos. Because of the subtle gradient of the yarn, it pairs perfectly with solid-colored nursery decor in white, cream, or soft gray.
Quick Reference Notes
- Turn your work clockwise at the end of each row for the neatest edges.
- Count your stitches occasionally to ensure the diagonal shape stays sharp.


0 Comments