Ingredients
Method
- Preheat your oven to 350 °F (175 °C). Line 2 round 8" cake pans with parchment paper on the bottom and then grease the sides of the pans.
- In a large bowl, stir together the sugar, flour, cocoa, baking powder, baking soda and salt.
- Add eggs, milk, oil and vanilla.
- Mix until combined and then stir in the boiling water. The batter will be almost as thin as water.
- Divide the batter between the two pans.
- Bake for 25 minutes or until a toothpick comes out with maybe some moist crumbs, but no uncooked liquid.
- Let cool for 5 minutes in the pans, and then turn out onto a rack to cool. Let cool completely, about 2 hours, before frosting.
- In a medium mixing bowl, beat the cream cheese and butter together with an electric hand mixer at medium speed until well combined. It's okay if it looks a little crumbly.
- Gradually beat in the powdered sugar until totally combined and then beat in the salt and vanilla. If it's firm enough, frost the cake.
- If you want it firmer, refrigerate for about an hour, stirring the frosting after about 30 minutes. Don't let it chill too long before frosting your cake, though, because it gets quite firm, like a cream cheese tart filling. If that happens, just bring it to room temperature and then frost.
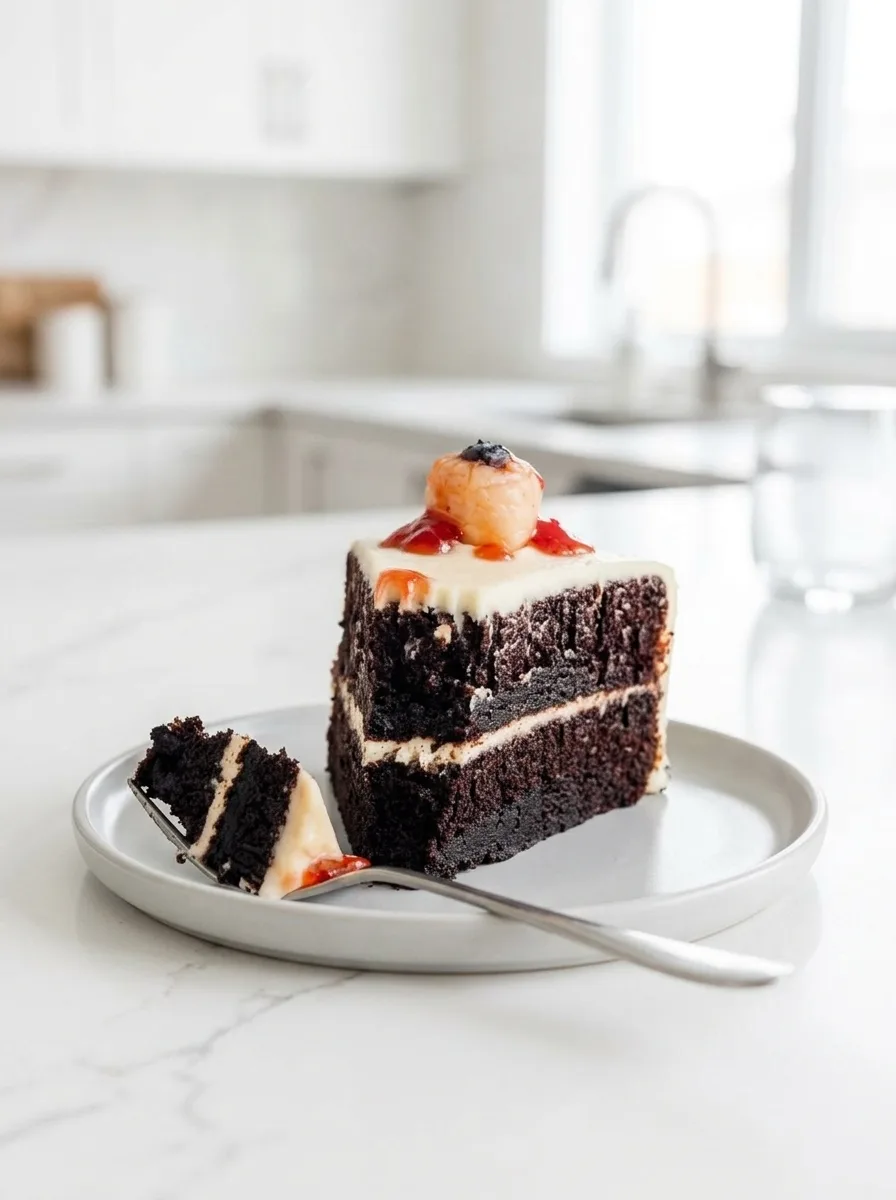
- The frosting firms up once refrigerated but gets softer as it sits at room temperature. I think it's best to chill the frosted cake until firm so that you can add the eyeballs + jam without worrying about the jam getting watery.
- I'd recommend decorating just a few hours before serving so that the jam doesn't start to run. I also recommend not transporting the decorated cake. It's best to transport the frosted cake and then decorate it once you get to your destination. It really only takes a few minutes.
- Rinse the lychees and pat them dry with paper towels.
- Place a blueberry in the center of the lychee and place on a paper towel-lined plate until all the eyeballs are ready. Place the eyeballs on the frosted cake (blueberry facing up).
- Spread about 1 - 1 1/2 teaspoons of jam over each eye and slightly onto the frosting. Use however many you think is enough.
- Keep chilled until ready to serve. It's fine to sit out at a party for a few hours. Store leftovers in the fridge for up to 4 days. The jam will probably get weird. I'd probably remove the decorations if you want to store it more than a day. You can also remove the eyeballs and freeze slices for a few months.
Nutrition
Notes
The secret to achieving a perfectly moist and rich cake lies in incorporating boiling water into the batter. This technique activates the cocoa powder, enhancing its flavor and ensuring the cake stays tender and decadent.